Dialogs
Dialogs are a feature of AI agents. Their purpose is to define fixed workflows that the AI agent can follow in a conversation. A dialog is composed of several different blocks, which are connected to each other. Each of these block have different functionalities and have different roles.
Each dialog consists of trigger and action nodes.
Create a dialog
The console calls this area Workflows. A workflow in the MCP server is an intent plus the dialog that the intent triggers.
- Console
- API
- MCP
- Open the AI agent and go to Workflows.
- Select Create dialog. If the menu opens, select Create empty dialog, or select Generate from description to let the Workflow Generator draft it.
- Add a trigger and the actions.
- If the dialog starts from an intent, create the intent first with
POST /v1/brains/{brain_id}/intents. - Create the dialog with
POST /v1/brains/{brain_id}/dialogs, withnameandnodes. See Add dialog. The node types and their fields are in Get dialog node types.
Use a manage API key.
moveo_create_agent_workflow with agent_id, name (up to 45 characters), nodes, and
intents. The tool creates the intents and the dialog in one call. Read
moveo://schemas/workflow-node-types and moveo://guides/workflow-authoring first.
Triggers
Every dialog starts with a single trigger. Moveo supports the following triggers:
| Type | Description |
|---|---|
| Intent | Triggered on text messages, when the AI agent recognizes an intent |
| Event | Triggered internally from a different dialog node |
| Fallback | Triggered when Moveo cannot match any of the dialog nodes given the recognized intent |
Add a trigger
To add a trigger to an empty dialog, follow these steps:
- Drag Intent or Event from Toolkit to the empty box on the canvas.
- In the side panel, enter the Node name.
- For an intent trigger, select the intent in the side panel.
Uses of triggers
Moveo has two different functionalities for triggers:
- They can be used as the parent trigger (,
nodes[0]) in a dialog. - They can be used as child triggers to provide a different response. See what happens for an intent trigger and a fallback trigger.
Enhance with AI
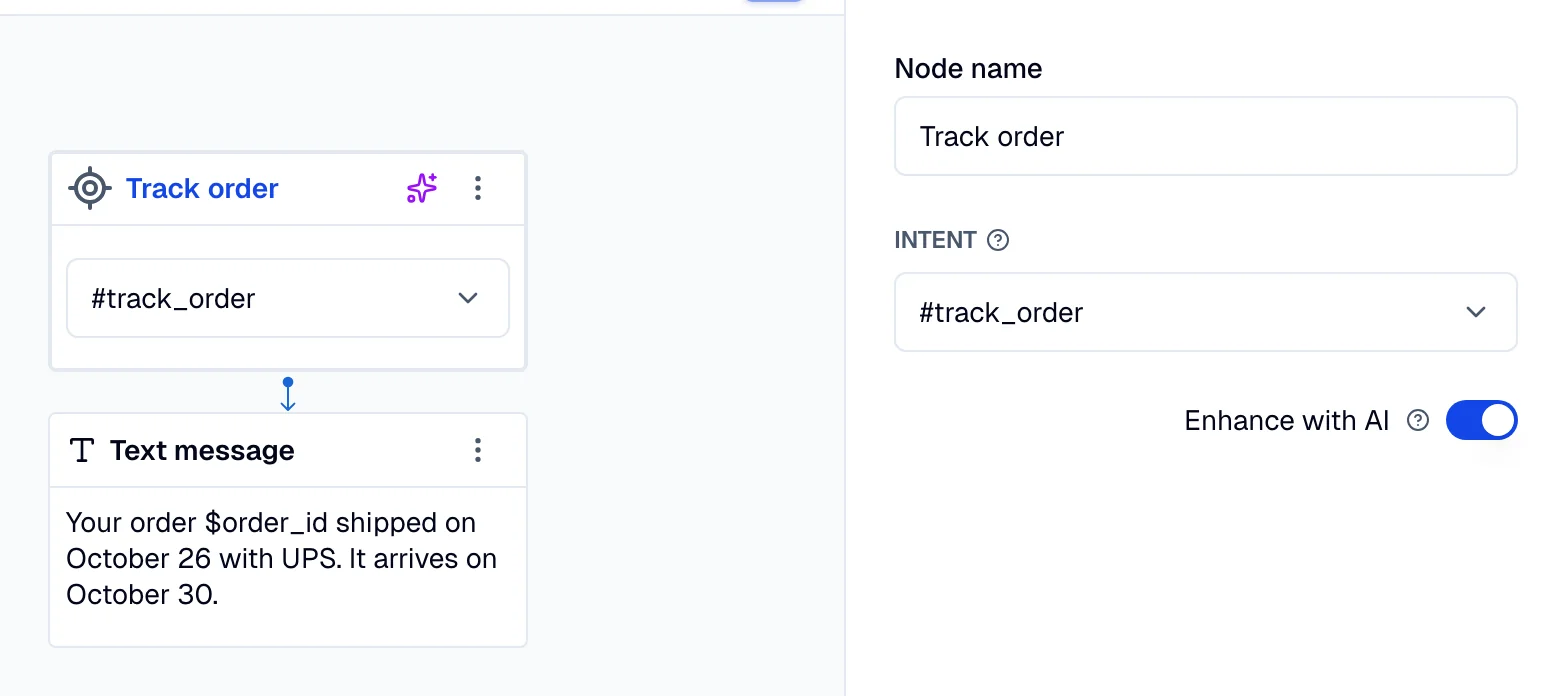
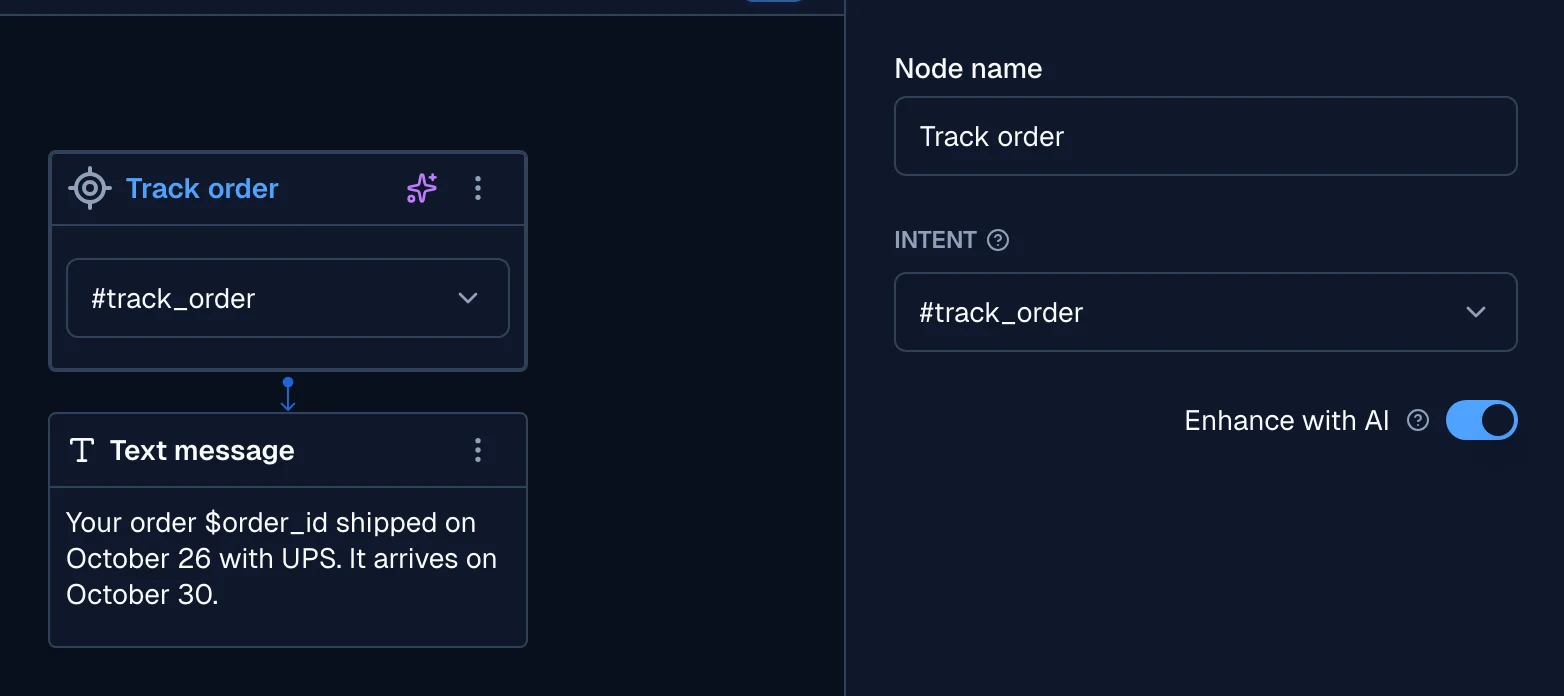
Toggle "Enhance with AI" in the trigger node’s sidebar to enrich responses with relevant contextual information.
Actions
Each time the user sends a message, the AI agent activates one or more triggers. It can then respond in a variety of forms.
Actions include plain text, links, menus, and options. Add one or more actions below a trigger by dragging and dropping them.
Types of actions
Moveo supports the following responses, operations, and extensions:
Responses
| Response | Description |
|---|---|
| Text | Reply with a text |
| Image | Send an image |
| Carousel | Reply with a carousel |
| Webview | Display a webview |
| Video | Send a video |
| File | Send a file |
| Survey | Display a survey |
| URL | Send a URL |
Operations
| Operation | Description |
|---|---|
| Question | Ask a question to the user |
| Jump to | Trigger a specific node |
| Condition | Create a logic tree |
| Handover | Transfer the conversation to an agent |
| Switch channel | Offer to continue on another channel |
| Tag | Label the conversation with a tag |
| Pause | Pause the conversation |
| Set variables | Set a variable equal to a value |
| Reset variables | Reset specific or all context variables |
| Resolve | Close the conversation |
Extensions
| Extension | Description |
|---|---|
| Webhook | Call a predefined webhook |
| Google Sheet | Store data in a Google Sheet |
| Send an email |
Add an action
To add an action below a trigger, follow these steps:
- Drag an action, for example Text, from Toolkit to the box under the trigger.
- In the side panel, set the action. For a text action, enter the Reply.
Folders
A folder is a group of dialogs. Its purpose is to create a clean and organized AI agent, so that you can coordinate better and be more efficient. It's like organizing clothes in a closet's shelves, instead of putting them all in one cupboard. To (re)name a folder, you can double-click its name and enter the new one.
Moving around dialogs
Drag and drop a dialog from any folder to another. Drag a dialog to the area at the bottom of the list to create a new folder, or select any dialog and then select Create dialog to create a dialog in the same folder.
Export and import a dialog
- Select the dialog you want to export.
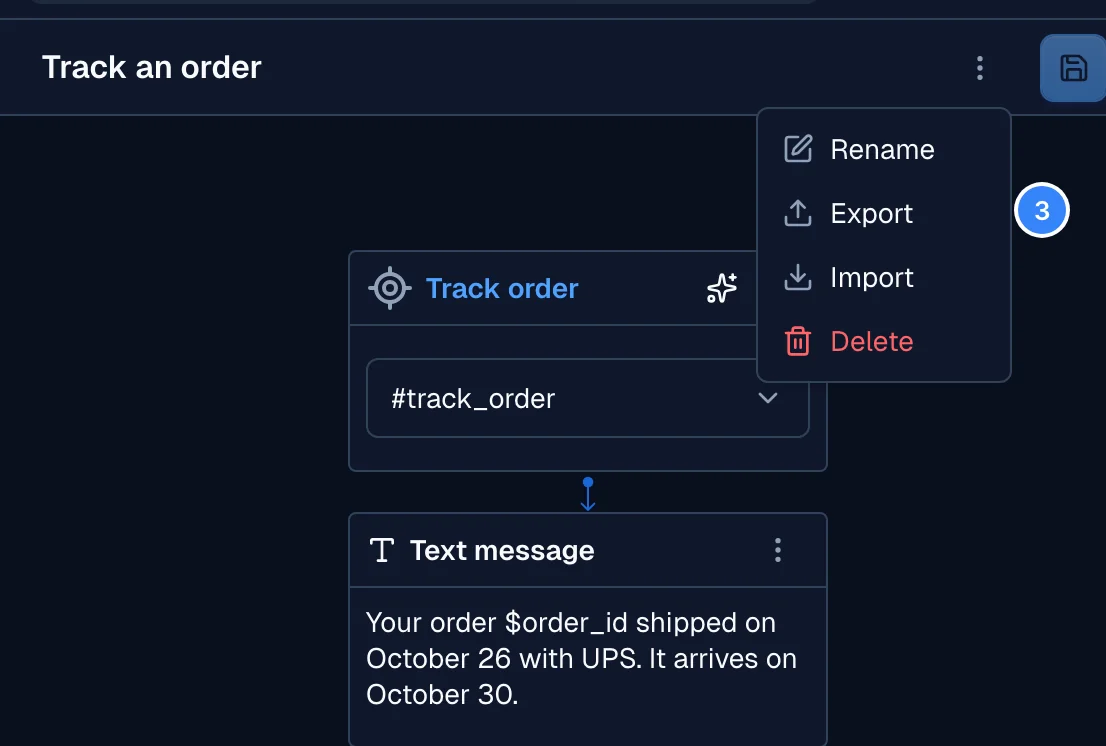
- Select the contextual menu in the top right corner.
- Select Export or Import.
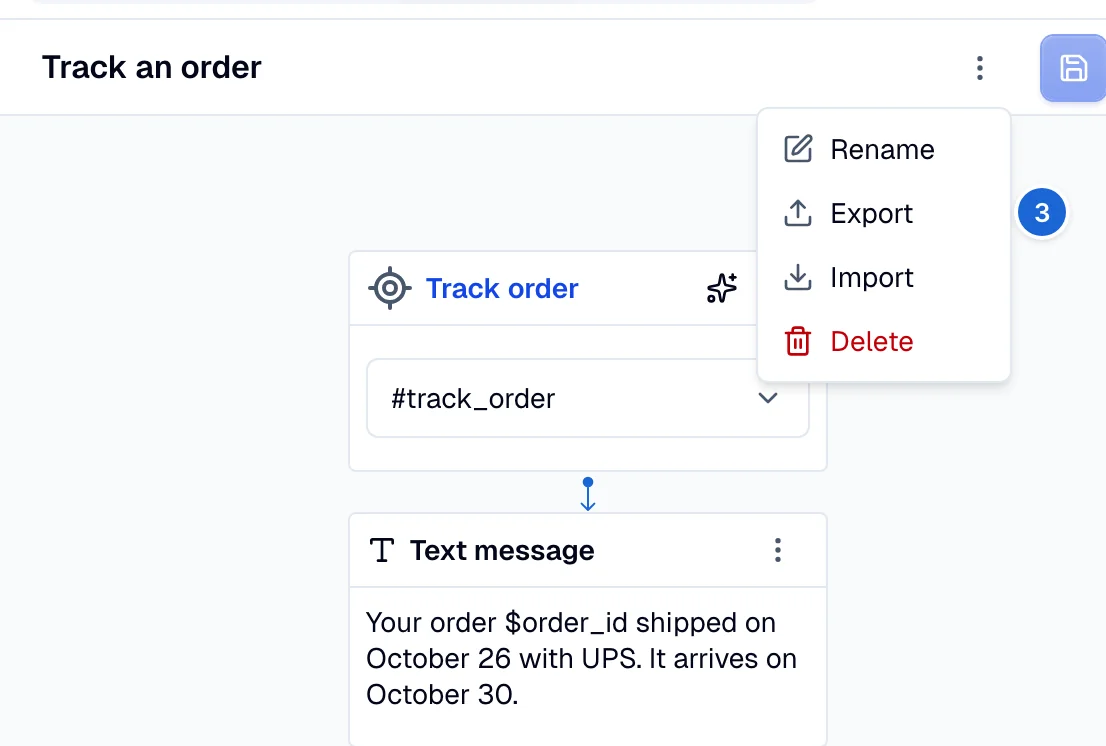
The exported dialog is a JSON file.
Limits
Each new dialog turn in Moveo is designed to efficiently handle up to 80 trigger nodes and completes within a maximum timeframe of 17 seconds. This setup ensures optimal performance and user experience during interactions. In practice, these limits are rarely reached unless an unintended infinite loop is introduced through the dialog's event structure.
Loop detection
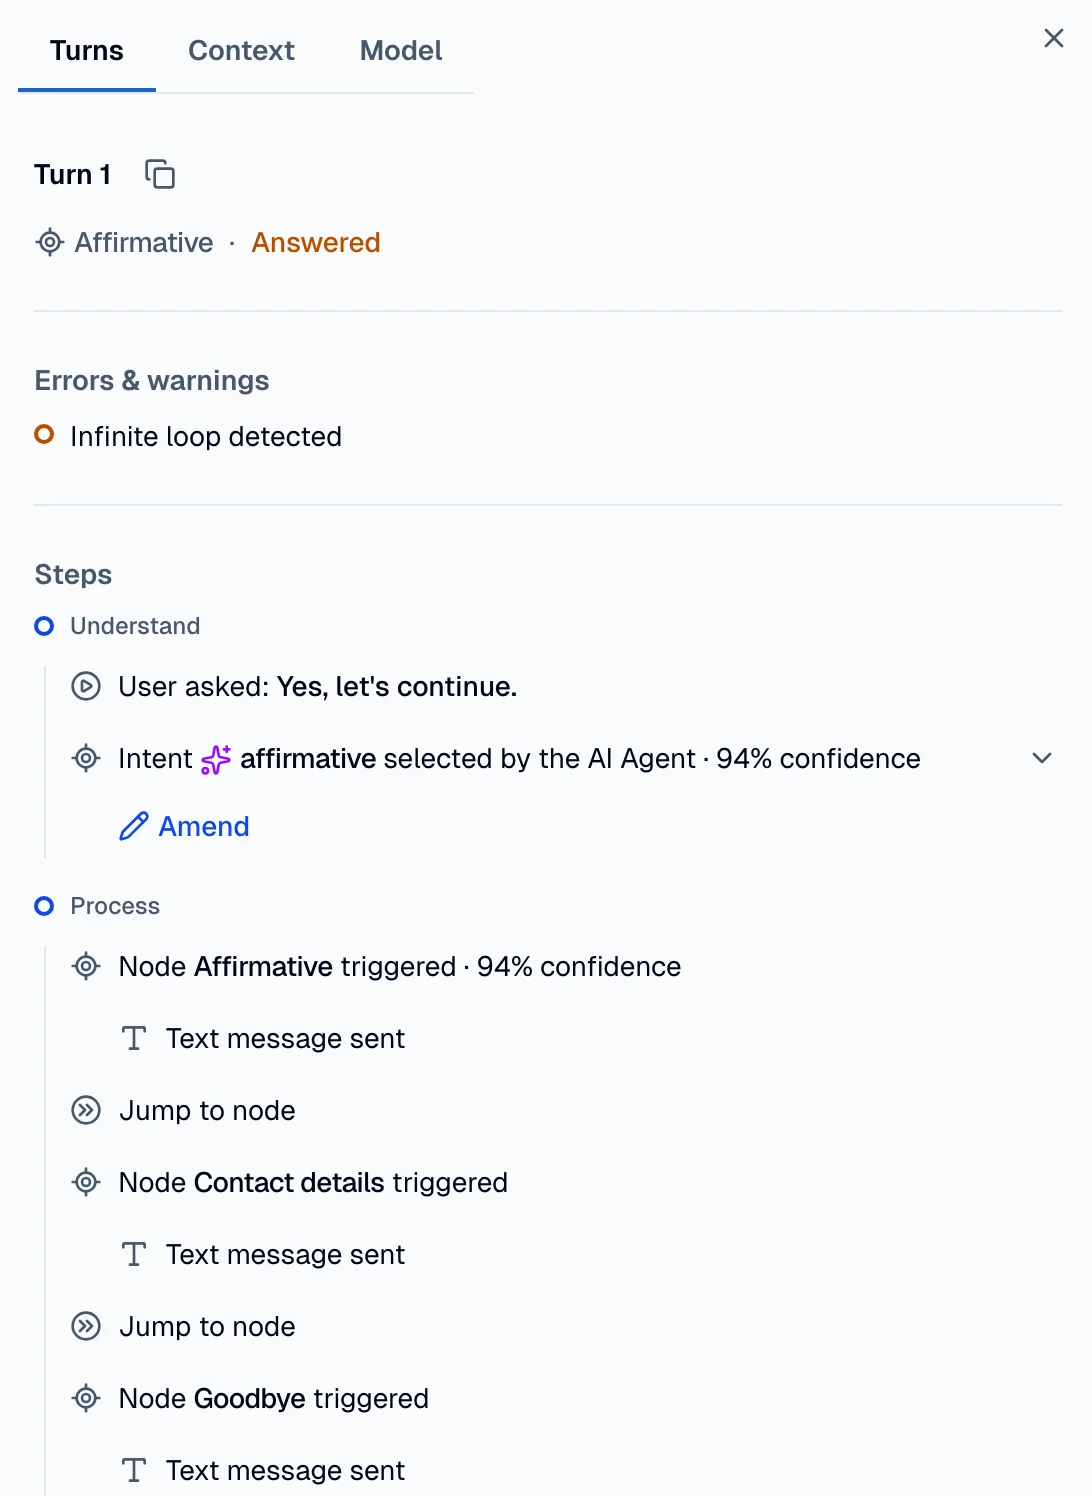
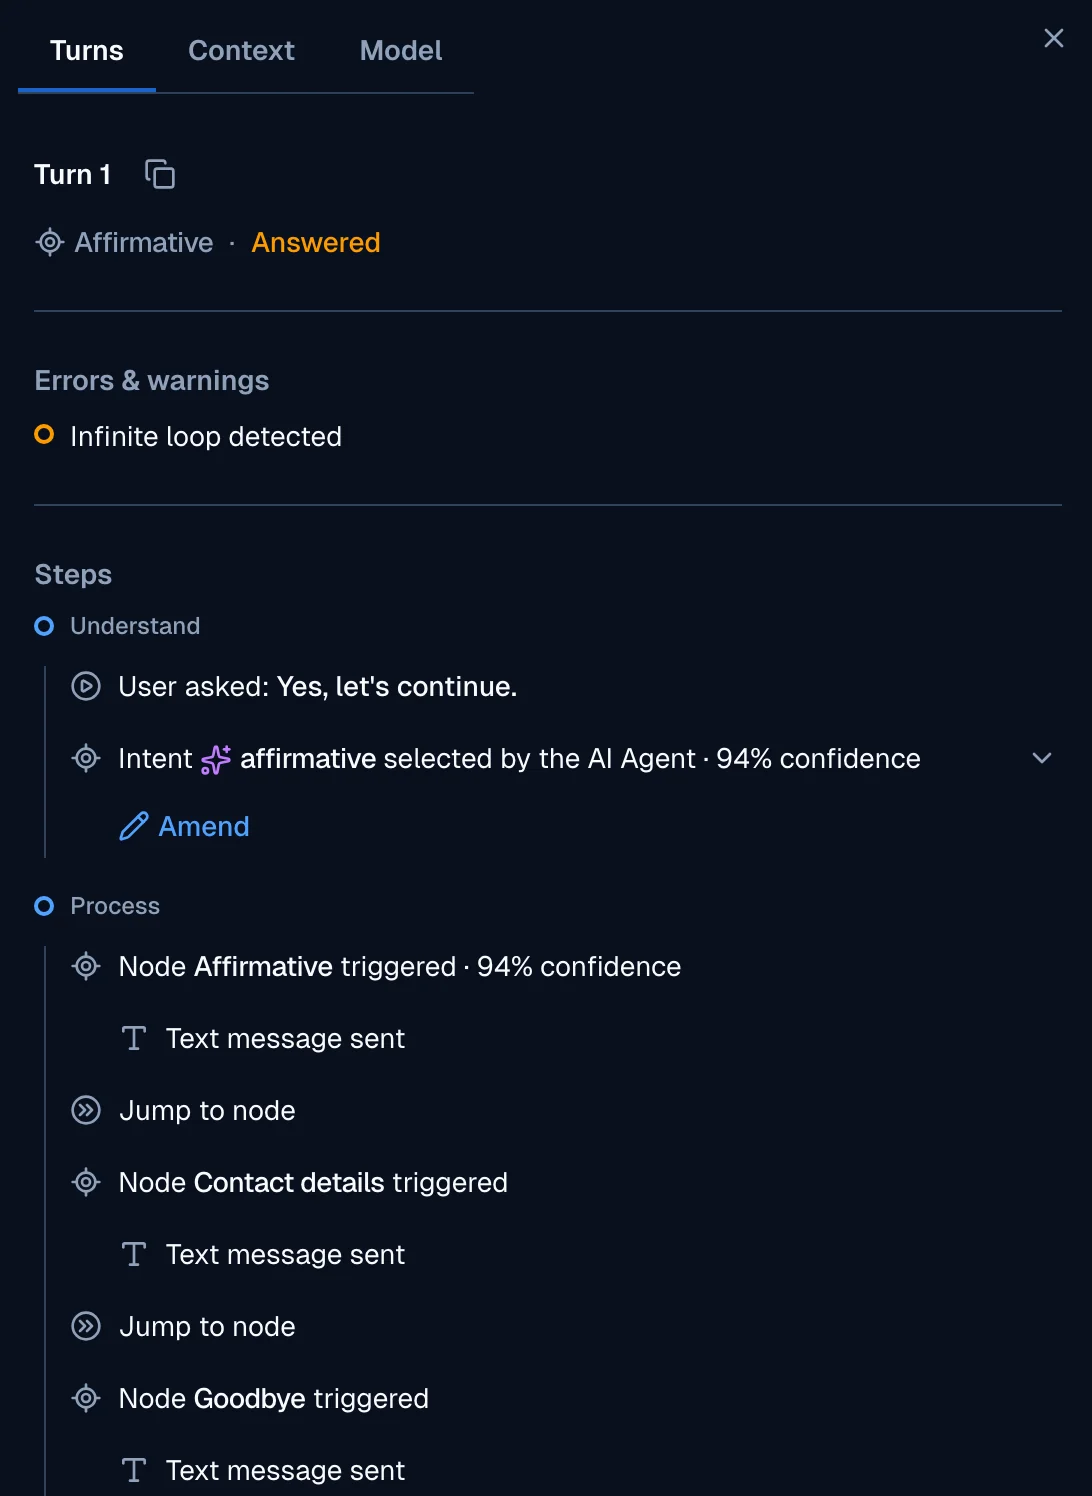
A loop usually comes from Jump to actions that create a cycle between dialogs. For example, a dialog named "Affirmative" jumps to "Contact details", which jumps to "Goodbye", which jumps back to "Affirmative".
Moveo stops a turn when it reaches one of the limits. Most loops are accidental, so test the AI agent after you add a jump. When a turn stops in a loop, the Turns tab of the test modal shows Infinite loop detected under Errors & warnings. The steps show each jump, so you can find the action that closes the loop. If the loop is part of your design, you can ignore this warning.
Troubleshooting
When naming an intent trigger, keep in mind that you are not allowed to use more than 45 characters.
Whenever you use a condition, you must add at least one rule and attach a response (action). Otherwise, you cannot save your changes.
The field inside an intent trigger cannot be empty. If it is empty, you cannot save the changes. Consider converting the intent trigger to an event trigger if you encounter this issue.
To attach a new file in a dialog, ensure that the file is accessed through a URL. If you want to use a photo or video, make sure the file is accessed through a URL. For carousels, the title's maximum length is 32 characters and the subtitle's is 160 characters. Some channels show a shorter subtitle. For the limit of each channel, see Carousel response. Each card supports a maximum of 3 buttons, with up to 6 cards total. The Carousel's title, Button's Label, and Postback are mandatory fields.
Always remember that when you save your changes, they are not visible to the end user. To make them visible, you must Publish them.