AI agent training and testing
Confidence level
When the AI agent is not 100% certain about a user's message, it makes an elaborate prediction based on its smart AI algorithm and responds according to its confidence level.
If the user's message exactly matches an intent expression you have written, the AI agent answers with 100% confidence. No other case reaches 100%.
Review these predictions and use the Amend functionality inside the test to manually link the intent with the correct expression.
Feed your AI agents the language and the jargon of your profession. This training raises their confidence level, and it teaches them to adapt to your needs.
Your AI agent combines NLP algorithms with machine learning. With a little guidance from you, it holds complete conversations with your users.
Test your AI agent
Open the test modal to talk to your AI agent and check its answers. Pretend to be an end user and see whether the agent answers your questions correctly. Nothing you send here reaches a real user, and the conversations are recorded as test conversations.
- Open your AI agent.
- Click Test → Test with Moveo.
- Type a message in the composer and send it.
- Read the answer, then open the Turns tab to see how the agent produced it.
The modal has two halves. The conversation is on the left, with the composer at the bottom. The right half holds the tabs that explain the selected turn. A turn is one user message and everything the AI agent did to answer it. Click any turn on the left and the right half follows your selection.
The chat header carries the session controls. Reset conversation starts a new test session, and the ⋯ menu holds Copy conversation ID and Create simulation….
Reset conversation clears the messages and the context variables of the session. You cannot undo it.
Test through the API or the MCP server
- Console
- API
- MCP
Open the AI agent and select Test → Test with Moveo, as in the steps above.
Send POST /v1/brains/{brain_id}/message with a use or manage API key. See
Send a message using an AI agent. Pass the same session_id on each
call to continue one conversation. The AI agent must be trained.
{
  "session_id": "5b0e7c1a-9d2f-4c3e-8a61-2f4d7e9b1c30",
  "channel": "test",
  "input": { "type": "text", "text": "Where is my order?" }
}
moveo_send_test_message with agent_id and message. Omit session_id to start a conversation,
and pass the returned one to continue it. The reply includes the intent, the nodes that ran, the
webhook errors, and the tools that the AI agent called. To run saved test scenarios, use
moveo_run_simulation. See Simulations.
Turns
The Turns tab explains the selected turn step by step. The steps are grouped into two phases. Understand covers how the agent read the message, and Process covers what it did about it.
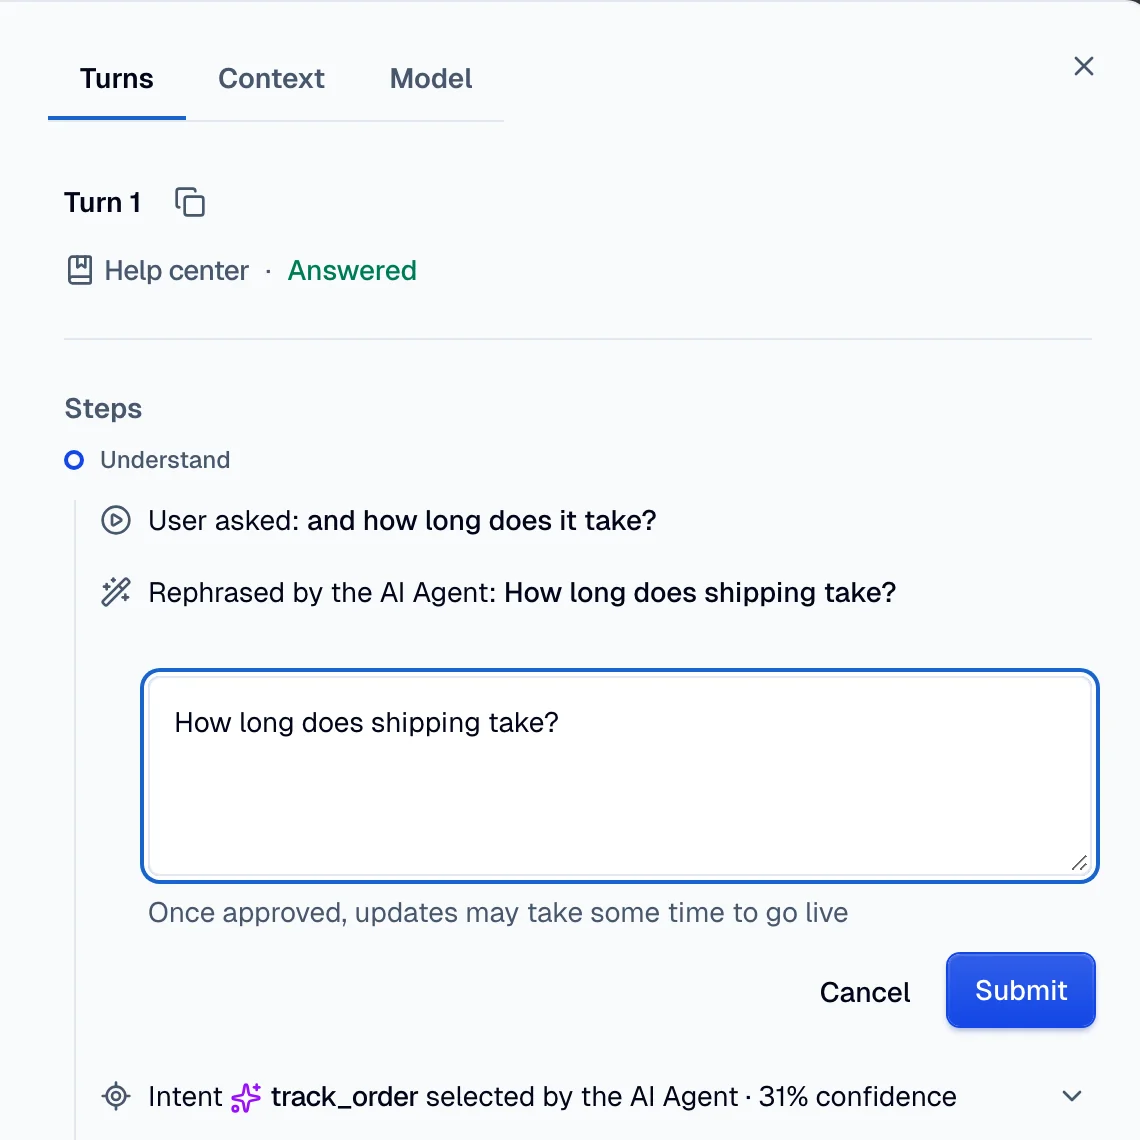
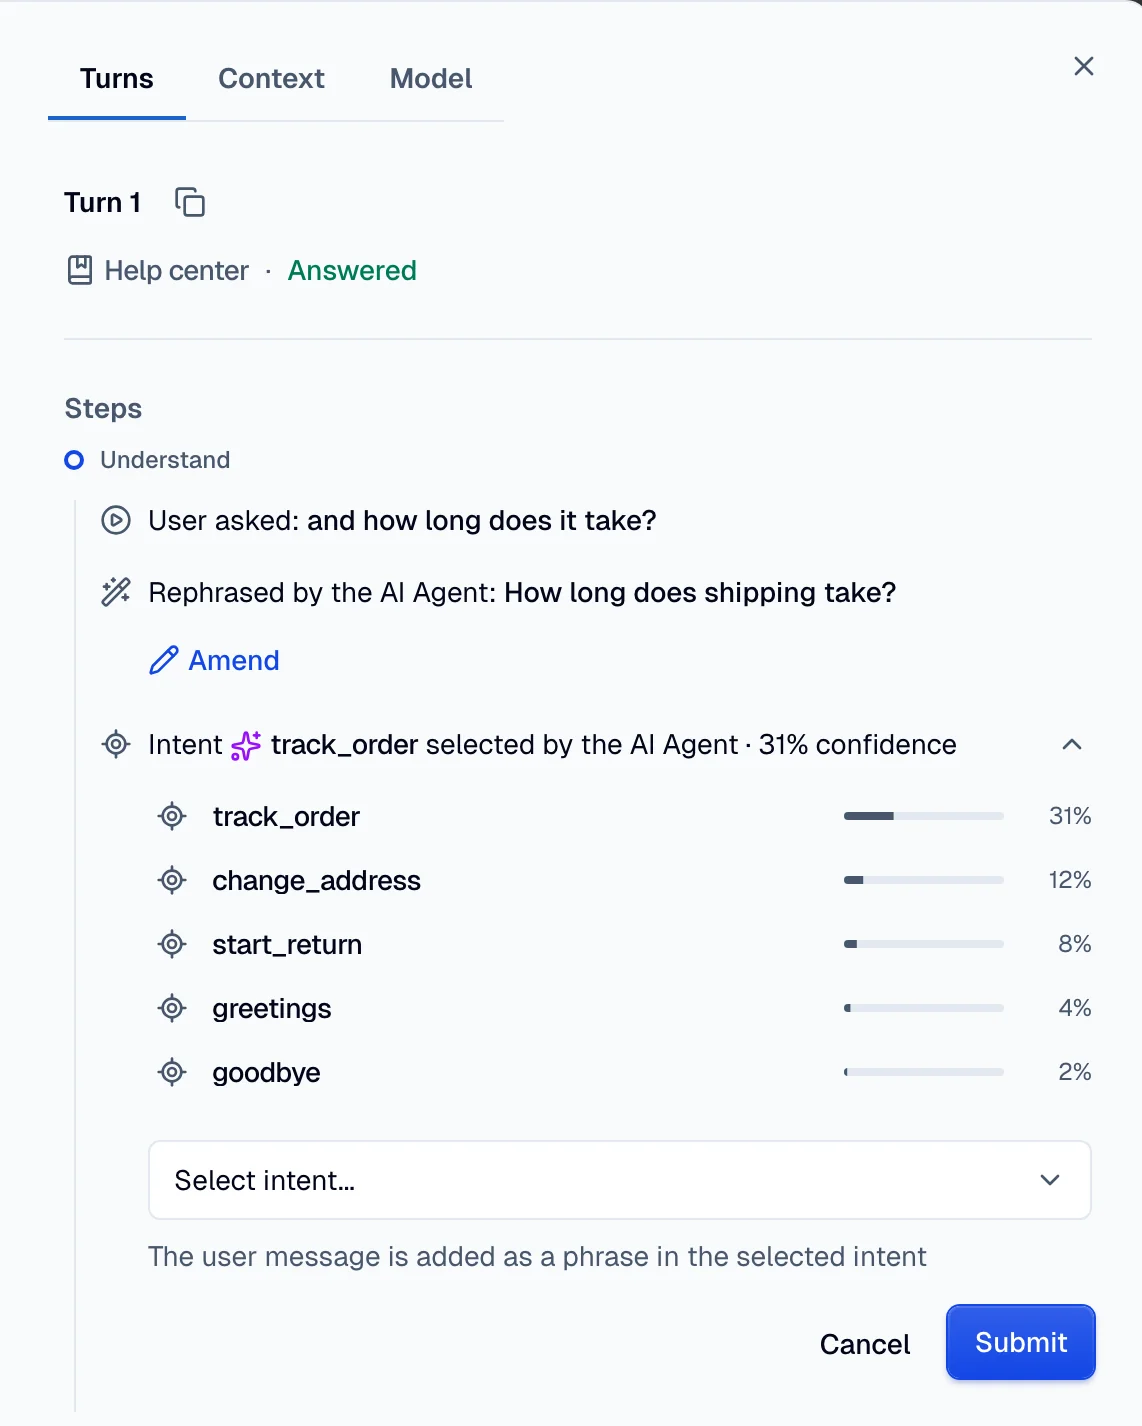
Understand opens with the message the user sent. When the agent rewrote that message, the rephrased version follows it. The last row names the intent the agent selected and its confidence. Expand that row to see every intent the agent considered.
Under Process you see the work the agent did: the dialog node it triggered, the knowledge base it searched, the sources it retrieved and selected, the tools it called, and the messages it sent. Rows that point at something you can edit carry a link, such as Go to node or Go to knowledge base.
Model
The Model tab runs the test against one specific model. The override skips the fallback chain you configured, so use it to compare models rather than to reproduce production behavior. Click Clear override to go back to the configured setup.
The tab also lists the Current fallback chain of the AI agent, grouped into internal, external and proxy models. Change that chain in the settings of the AI agent, not here. For details, see Model strategy.
Authentication
When the session includes an authentication step, the Authentication tab appears. It shows the current step, the identification method, the expected value, the failed attempts and the reason the Authentication Agent exited. For setup, see Authentication.
Context
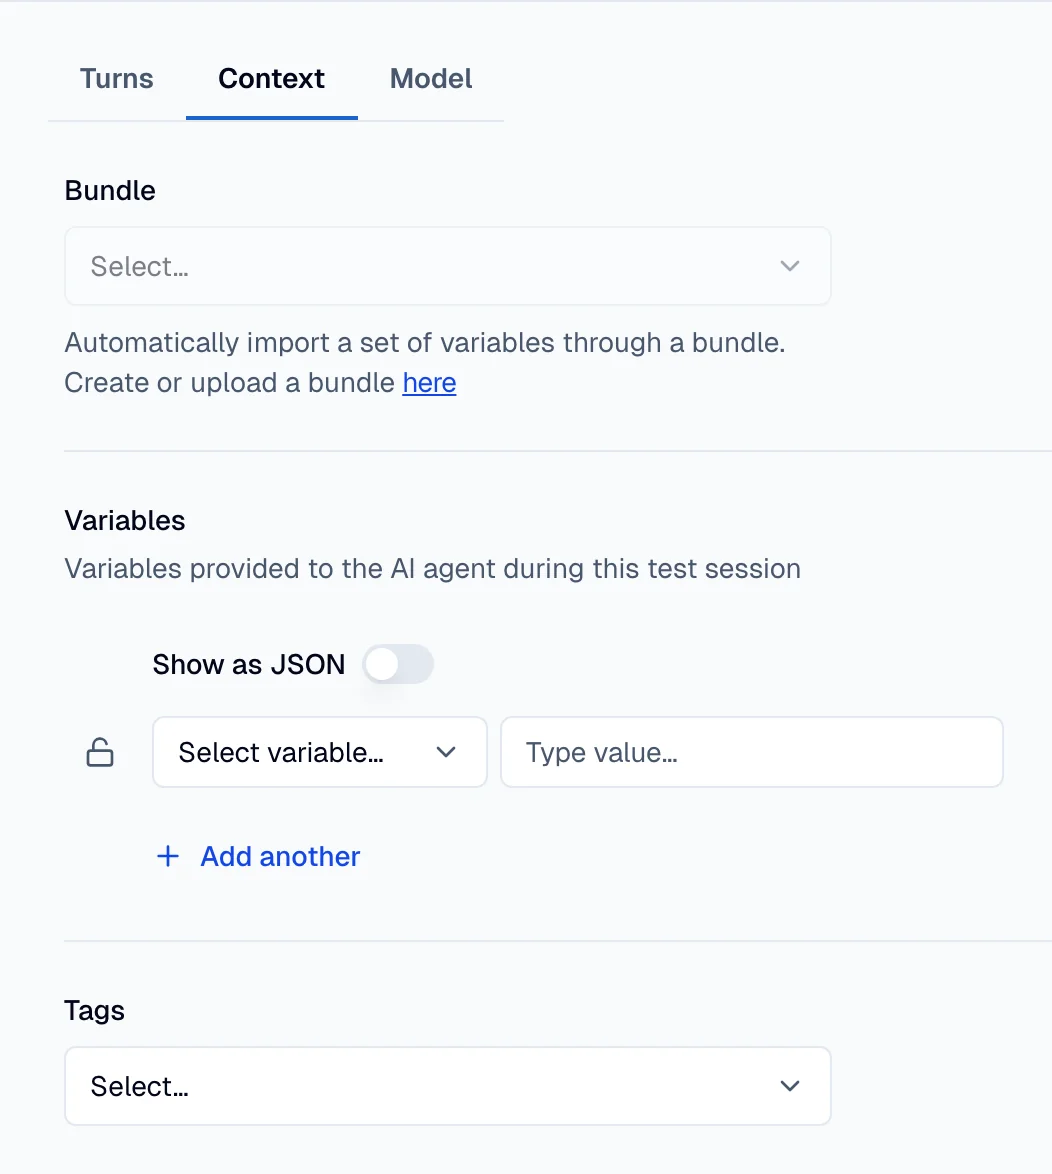
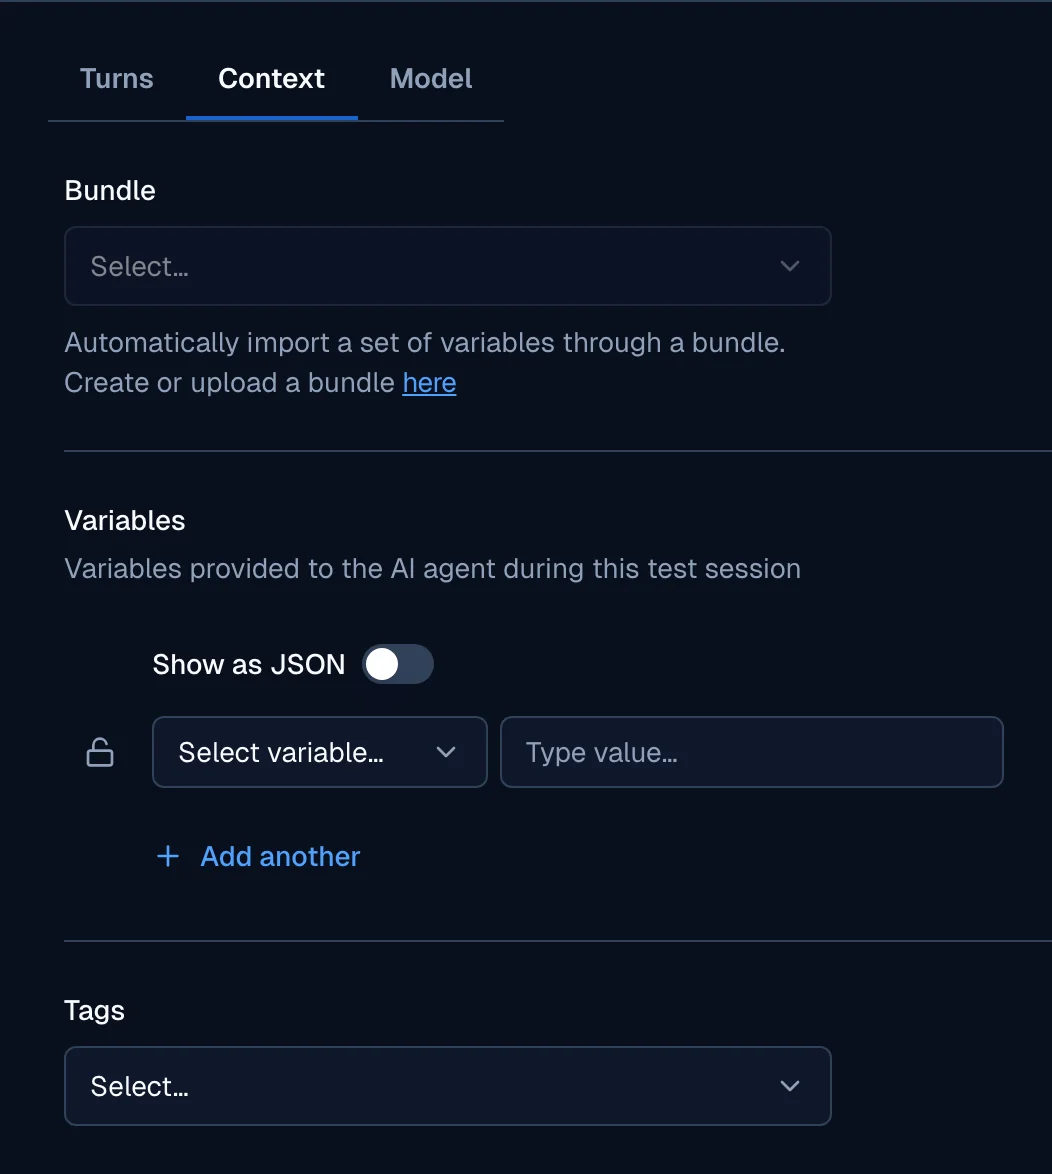
Add context variables, custom user information, or tags to the session to test the AI agent under specific circumstances. The Context tab holds three sections: Bundle, Variables and Tags.
Bundle
A context bundle is a saved set of variables that the conversation imports automatically. Select one in the Bundle picker to apply it to the test session. The picker lists the bundles of every environment in the account and groups them by environment name.
The variables of a bundle do not appear in the Variables list below. They arrive under the
$global.bundle prefix instead. To check that a bundle works, send a message whose answer uses one
of its values. To create a bundle, see
Context bundles.
Variables
The Variables section holds the variables that this test session provides to the AI agent. Each
row has a name and a value. Open the name field to pick one of the predefined user variables, such
as user.email, or type a name of your own.
Three controls sit on every row:
- The padlock locks a variable. A locked variable is read-only, and Clear all does not delete it.
- The arrows expand the value into a larger text area, which helps with long values.
- The bin deletes the row.
Turn on Show as JSON to edit every variable at once. The editor uses the shape below. When you
turn the switch back off, a nested object becomes a dotted name such as demo.preferred_slot:
{
  "context": {
    "user": {
      "email": "alex.rivera@example.com",
      "language": "en"
    },
    "customer_tier": "gold",
    "demo": {
      "preferred_slot": "Tuesday morning"
    }
  }
}
The JSON editor ignores the global and tags keys. Set tags in the Tags section
below, and apply a bundle in the Bundle picker.
Tags
Add tags to label the test conversation. The field suggests the tags that the AI agent already
uses, and you can type a new one. A tag accepts letters, digits, _ and -, but no spaces. A
conversation holds eight tags at most.
Create a simulation from the test session
Turn the open test session into a regression test. In the chat header, open the ⋯ menu and click Create simulation…. The Simulations list opens in a new tab with the context variables already filled in. For the full procedure, see Create a simulation from a test conversation.
Amend
Amend corrects what the AI agent got wrong, so that later versions do better. Every correction goes to a review queue first.
A correction does not take effect immediately. Moveo reviews it, and the updates take some time to go live.
Rephrasing
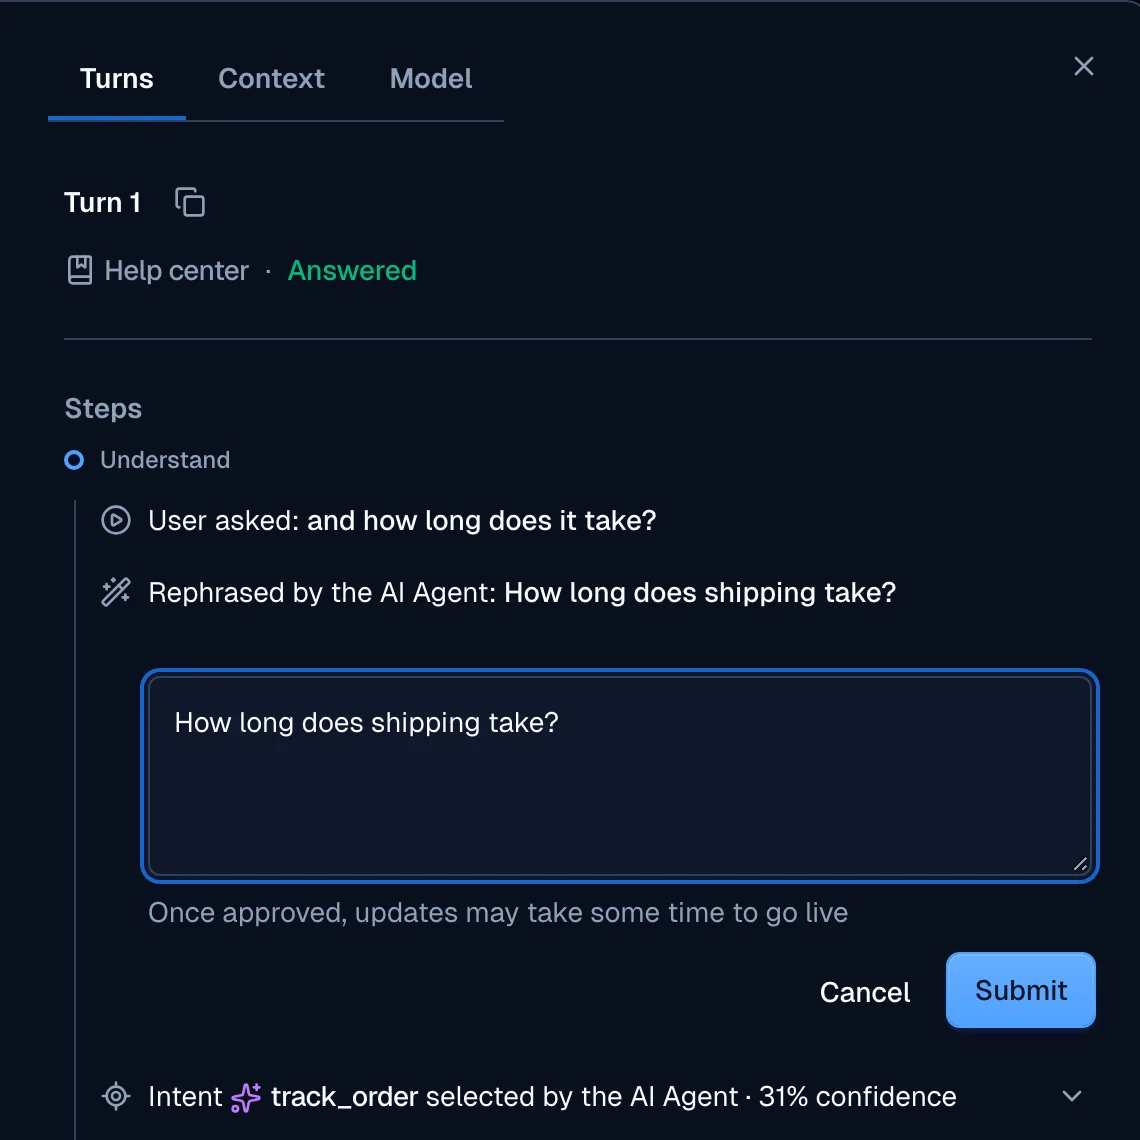
Before the user's message reaches the AI agent, a specialized LLM reads it and routes it to an intent. During this process the agent can rewrite the message into a standalone question. The rewrite is not always accurate, and a poor rewrite lowers the confidence of the intent match.
Open the Turns tab and find the Rephrased by the AI Agent row. Click Amend, correct the text, then click Submit.
Add new training phrases
When the agent matches the wrong intent, or matches none at all, add the user's message as a new training phrase of the correct intent. This teaches the AI agent to recognize the message next time. An intent that already matches at 100% offers no Amend control.
Open the Turns tab and find the intent row. Click Amend, pick the correct intent in Select intent…, then click Submit.
Amend the response
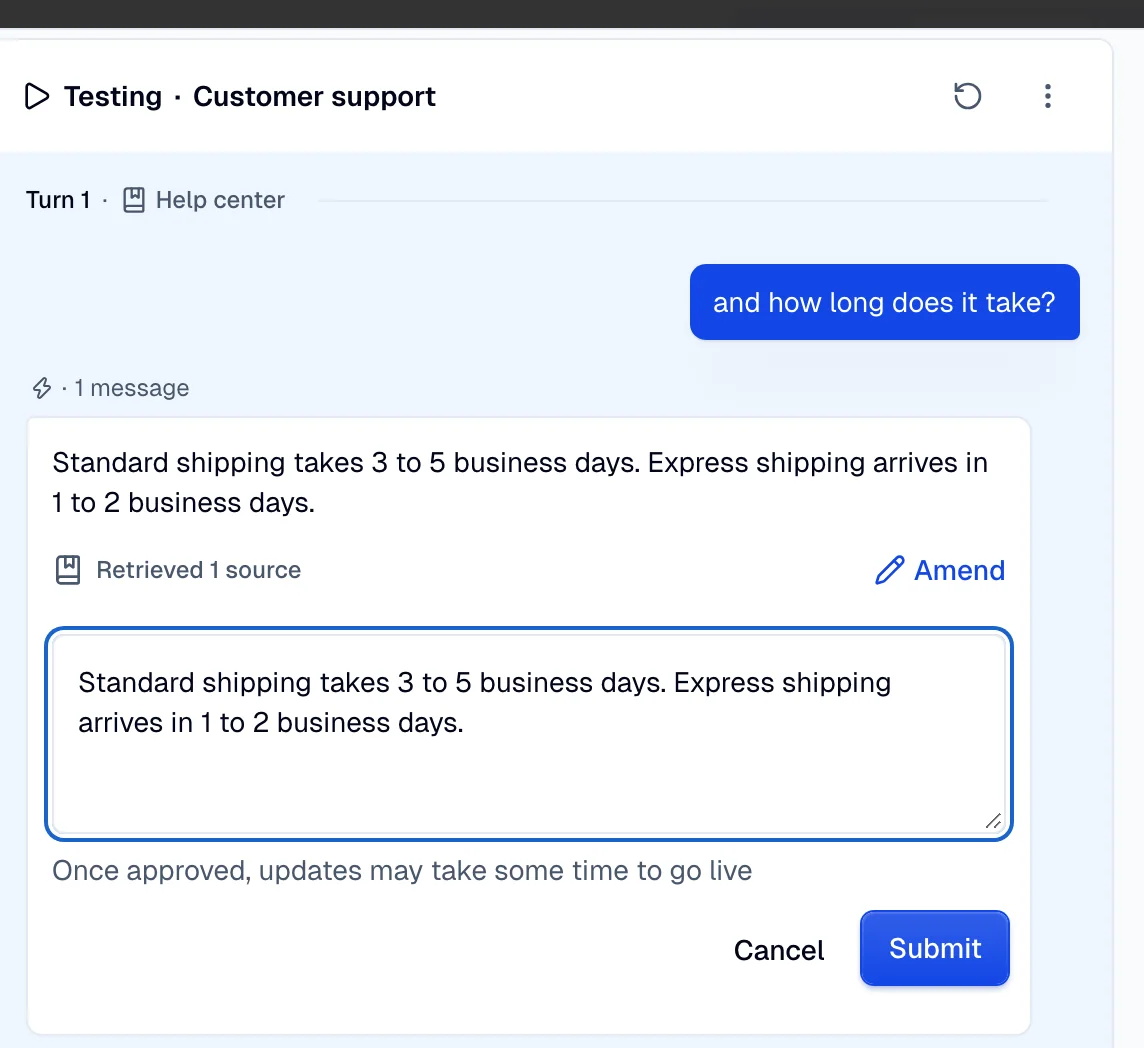
When the AI agent generates an answer instead of sending a written one, you can correct the answer itself. The control sits on the message in the conversation, not in the right half of the modal.
On the answer, click Amend, edit the text, then click Submit.
Mark a source as incorrect
When the agent answers from your knowledge base and picks the wrong document, open the Turns tab and find the row that names the selected source. Click Mark as incorrect to report it.
Test with WhatsApp
Test the AI agent from your own phone over WhatsApp. When the environment has a WhatsApp integration, this option appears in the Test menu.
- Open your AI agent.
- Click Test → Test with WhatsApp.
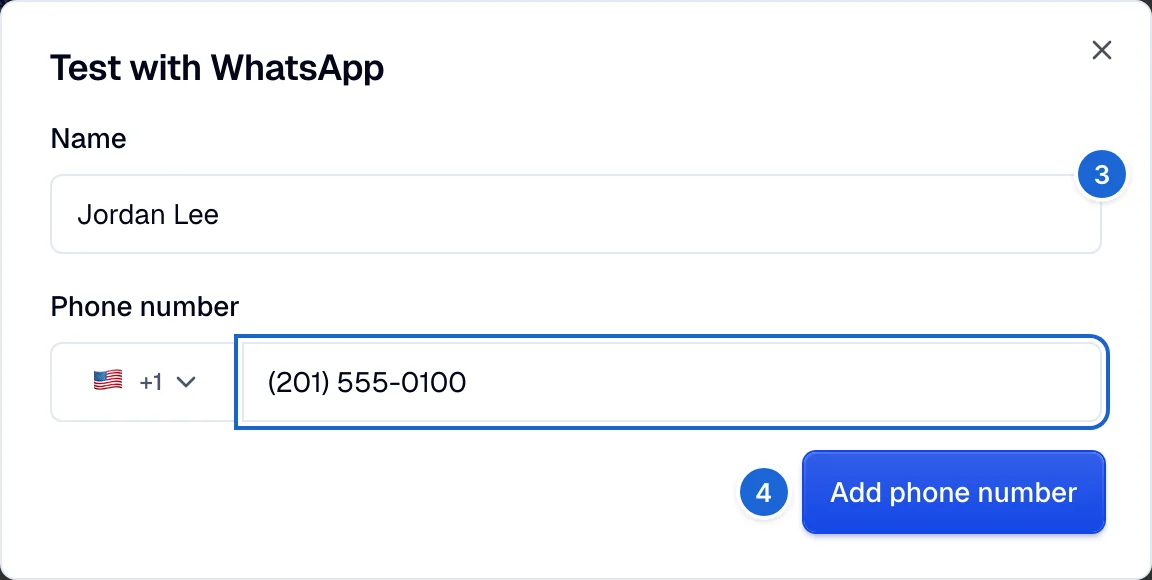
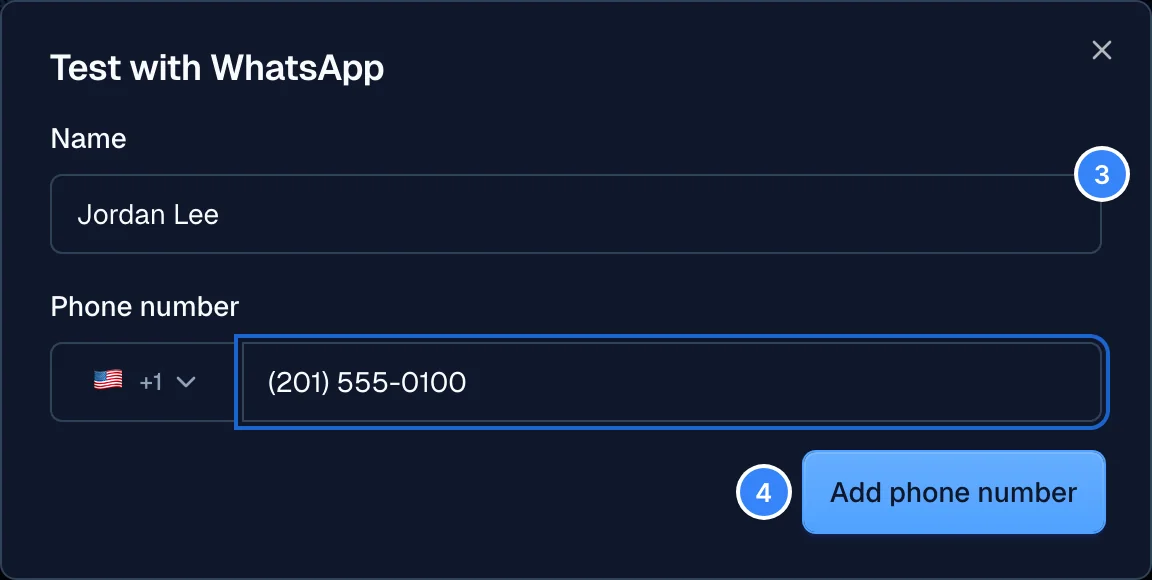
- Enter a name and the phone number you want to test from.
- Click Add phone number, then start the conversation from WhatsApp.
This test uses the Moveo WhatsApp number, not your own. It is different from an integration with WhatsApp. You must have a WhatsApp account on the number you enter.