Staging and live environments
In certain cases, you may need to use two environments for your AI agent: a staging (development) environment and a live (production) environment. In the staging environment, you can immediately view the changes you make to the AI agent, whereas the production environment should contain the assistant that your customers converse with. Check out the following guide, which demonstrates the full procedure of creating the staging and production environments.
New environment
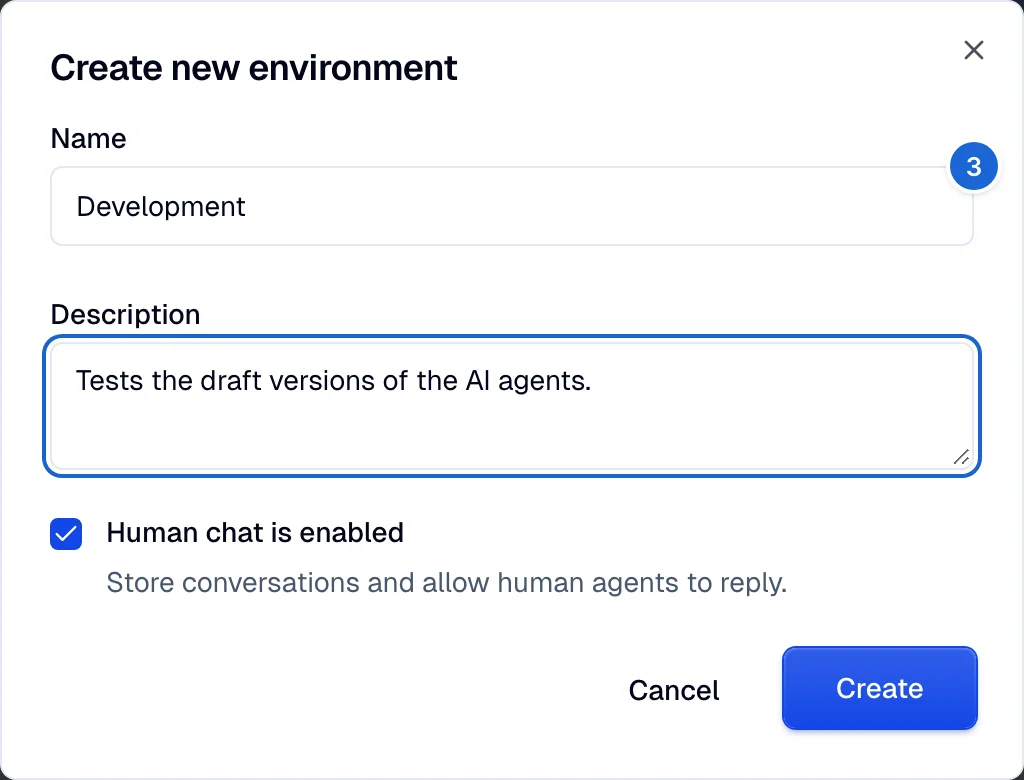
To create the dev environment, follow these steps. This environment is similar to any other
environment, but you set up a rule to route the conversation to a draft version of an AI
agent.
- Select your avatar and go to the Profile section.
- Select the + button next to the Environments tab on the sidebar.
- Choose a name for your new environment and decide whether you want Human chat enabled or not.
Routing rules
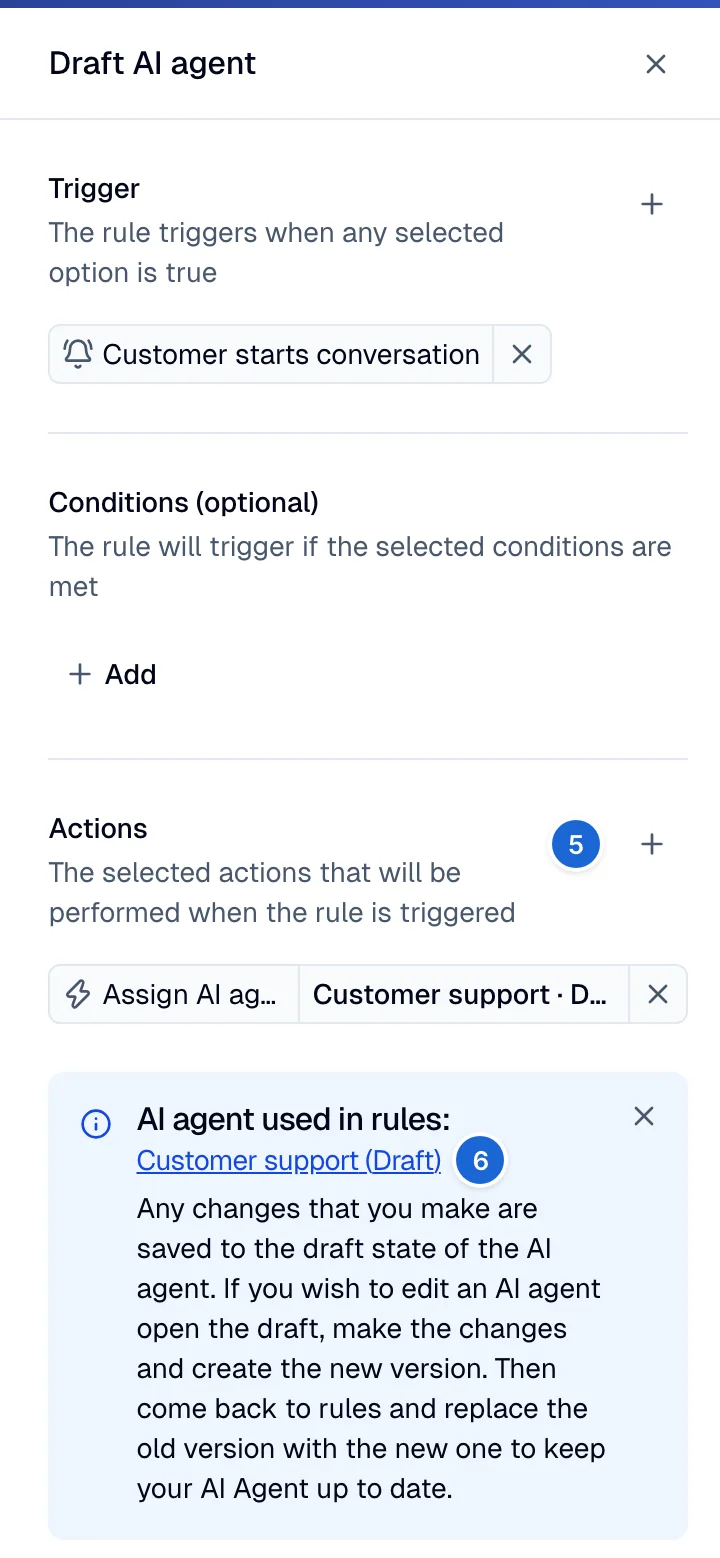
After creating your new environment, you need to set up a routing rule to route the conversation to
the draft version of the AI agent. This version reflects the state of your agent as you see it
when editing, without publishing a new version.
- Go to Deploy → Rules.
- Select the dropdown menu in the subnavigation bar and select the environment that you created.
In this example, it is
Development. - Select the + Create button.
- Choose a name for your rule and select Create.
- Select Add action and select Assign AI agent from the menu.
- In a production environment, you would select the latest version of the agent, but in the
development environment, you should select the
draftversion. - Activate the rule and save changes.