Create your first AI agent
The following is a complete guide to help you build your first AI agent and launch it to the public. You can use this guide as a checklist to deploy your AI Agent to your users.
Collections
You can start designing your AI Agent by utilizing the resources you already possess. A collection
can be used to enable Moveo to reply to your end users from your knowledge base. Collections allow curating a set of documents from various platforms such as web pages, file uploads, and knowledge bases. The purpose of collections is to provide an extensive repository of information that can be used by your AI agent to answer user questions accurately and reliably.Create a collection
To create a collection, go to Build → Collections and select + Create collection. Choose a name and the language of the collection. Then, add your datasources. Once the ingestion process is completed, you are ready to move on to the next part.

AI Agents
An AI Agent is typically designed to tackle one use case and can handle multiple user intents.
An AI Agent in Moveo is made up of intents
, which represent the different types of user questions or topics that you want your chat experience to support. For each intent, you can create a set of dialogs that provide accurate and helpful responses to user inquiries. You can also define entities within each intent to help Moveo better understand the user's needs.In addition to the platform's core elements, Moveo offers powerful integration capabilities that allow you to connect with third-party systems using webhooks
. This enables you to leverage Moveo's intelligence across your entire technology stack.Use the AI Agent for more task-oriented flows and the collection for more dialog-oriented flows.
Finally, Moveo's live chat
feature ensures that your customers always receive the support they need. If necessary, conversations can be seamlessly transferred to a live agent, ensuring a smooth and satisfying customer experience.Create an AI Agent
To create an AI Agent, go to Build → AI Agents and select + Create new AI Agent. Choose a name, (optionally) a description, and the language of the AI Agent.
Don't forget to modify the pre-made dialogs and intents according to your needs!
Create your first dialogs
After defining the scope of your AI Agent, you need to build it. You can either create the intents
and respective dialogs, or generate your dialogs from your description. You can also connect the collection you created from the relevant tab.Consider an example where you want your AI Agent to reply to questions regarding your business hours. The following guides show you in detail how you can do this in both ways.
- Create intent and dialog
- Generate from description
Once you have a functional version of your AI agent, save your progress by creating its first version
.Test your dialogs
The following demonstration shows how you can test
your AI Agent. Write a question an end user could ask your AI Agent and based on the confidence, decide whether or not you need to further train your AI Agent.
Environments
After you create your AI Agent, configure the environment
in which your AI Agent will operate by going to the settings of your account. By default, Moveo creates an environment called Inbox. Configure the environment settings, which include the environment name, the live chat option, and the Keep alive time, which is the number of seconds after which resolved conversations expire and additional user messages create a new conversation.Rules
Connect your environment to the AI Agent you have created using a rule
. For this example, you can use a simple rule that assigns your AI Agent whenever a customer starts a conversation with the virtual agent. Below, you can find a simple implementation.
Integrations
To connect your AI Agent to the channels you wish, go to

Web
Select Web from the available channels and configure the settings, which are described in detail in the webchat integration
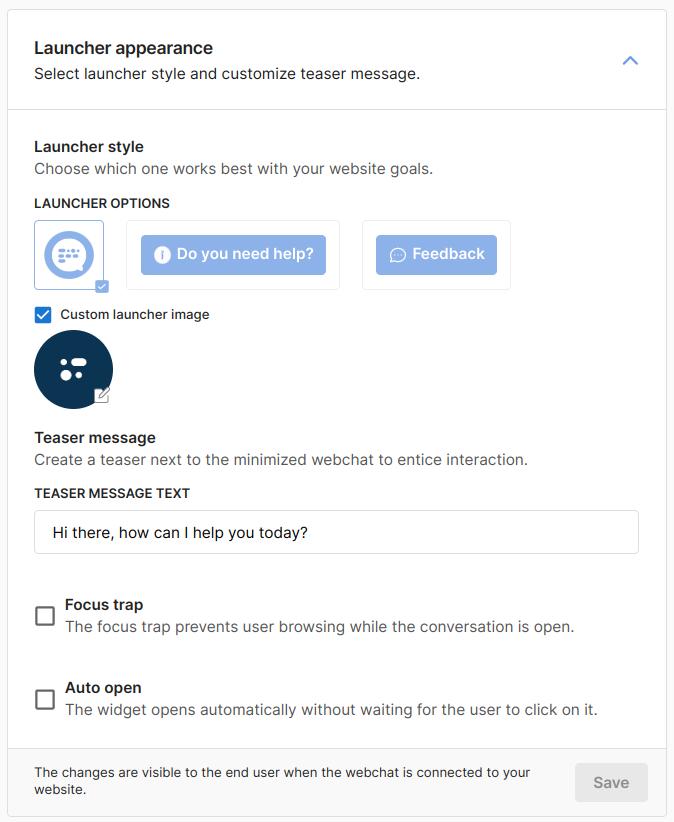
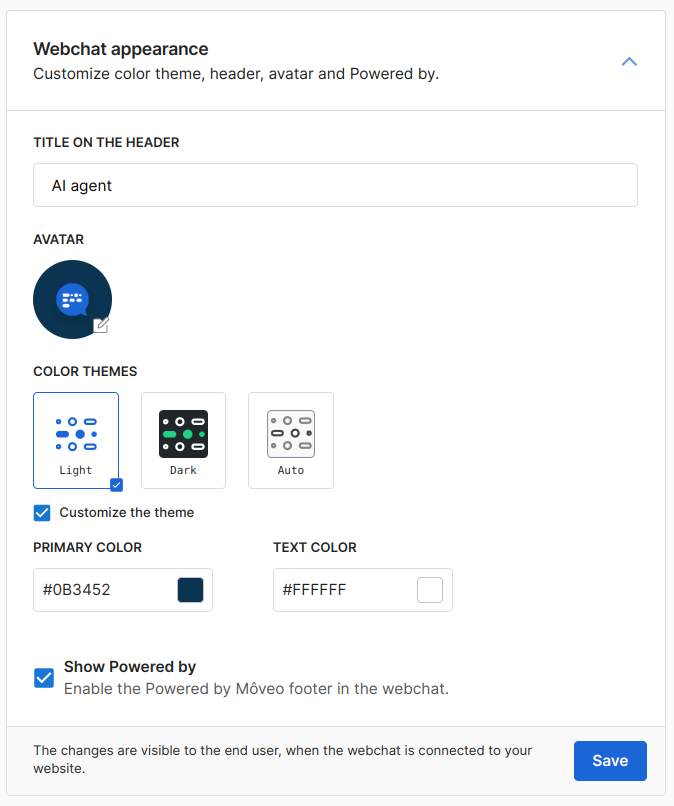
. The settings include both the customization of your AI Agent and the connection to your website.Customization
The following images show an example webchat customization.
- Launcher appearance
- Webchat appearance
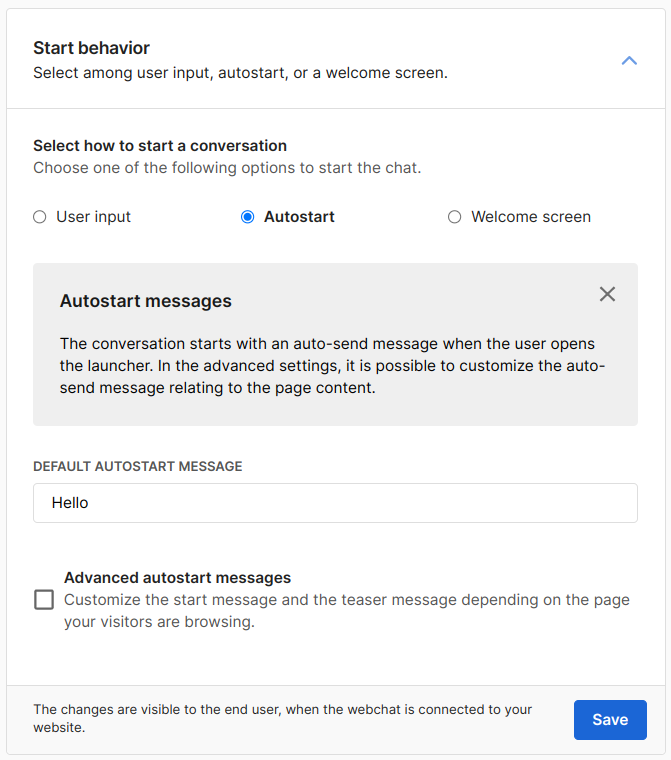
- Start behavior
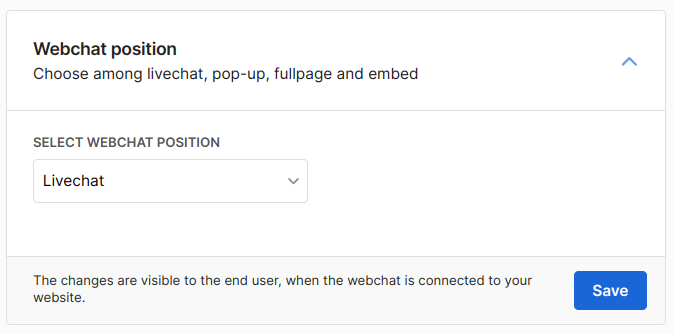
- Webchat position
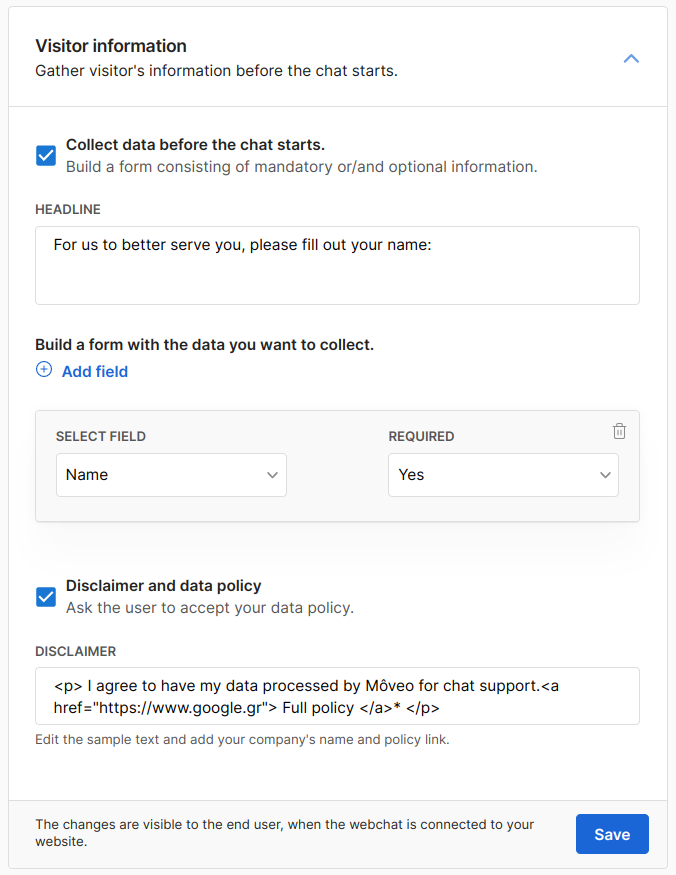
- Visitor information
After you finish the configuration of your webchat integration, activate your webchat by setting its state to Active and select Preview webchat to find out how your customers will engage in conversations with your AI Agent's environment. Share the preview URL with your colleagues to get their feedback!
Connection
To complete the webchat integration, follow these final steps.
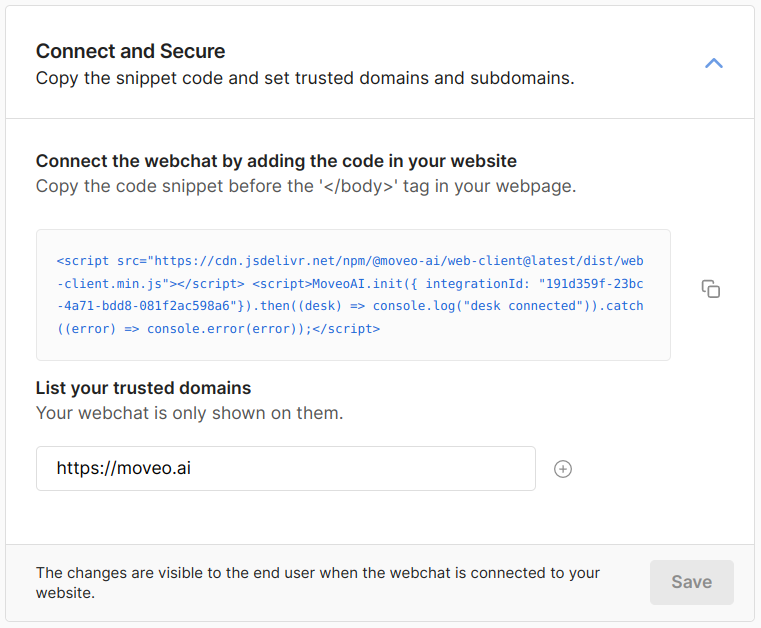
- Connect and secure
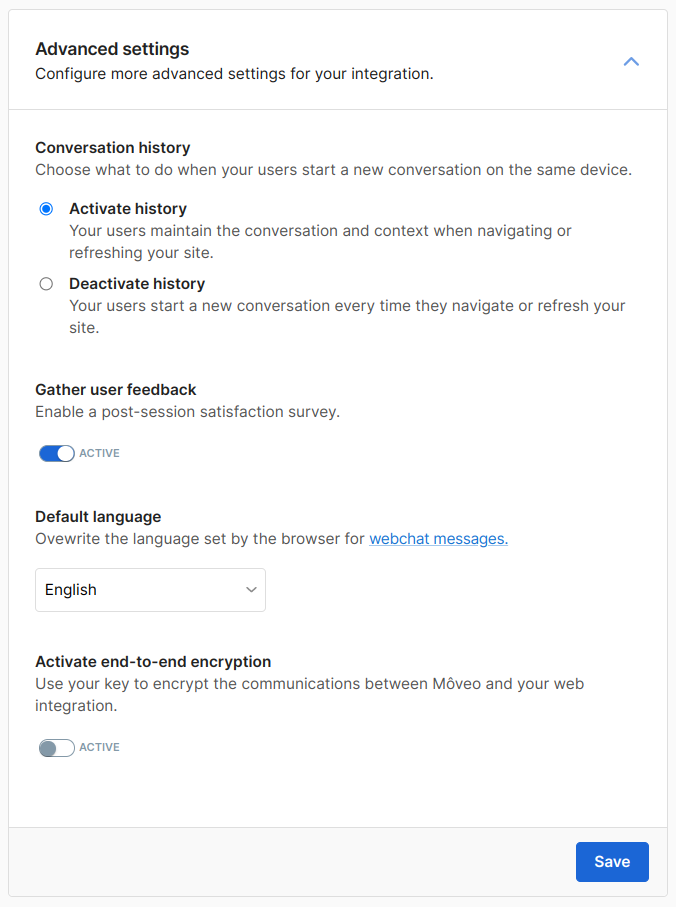
- Advanced settings
To integrate the webchat with your website, copy the generated code snippet (as displayed in the following image) and paste it as close to the closing </body> tag of your webpage as possible.
Optional: List the websites where you want your assistant to be visible.
External channels
You can also choose from a variety of available channels for your end users to communicate with your AI Agent. The omnichannel experience ensures consistency across channels. Find out more about the supported channel integrations
.