Web widget
Connection
To connect your AI Agent to your website, perform the following steps:
-
Go to the Integrations section of your account and select the environment you want to connect with your website.
-
Click Connect below the Web integration.
-
Customize the settings of your Webchat integration. These settings are the following:
By default, a conversation in the Webchat integration stays active for one hour if the user does not close the window.
The web widget does not load if the user agent (browser) is a bot.
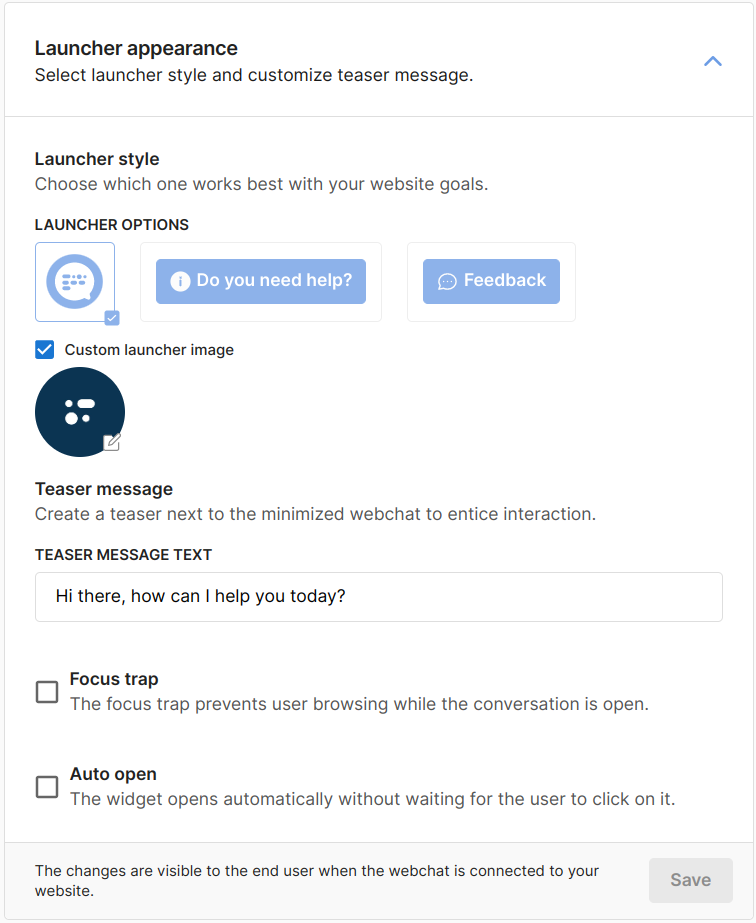
Launcher appearance
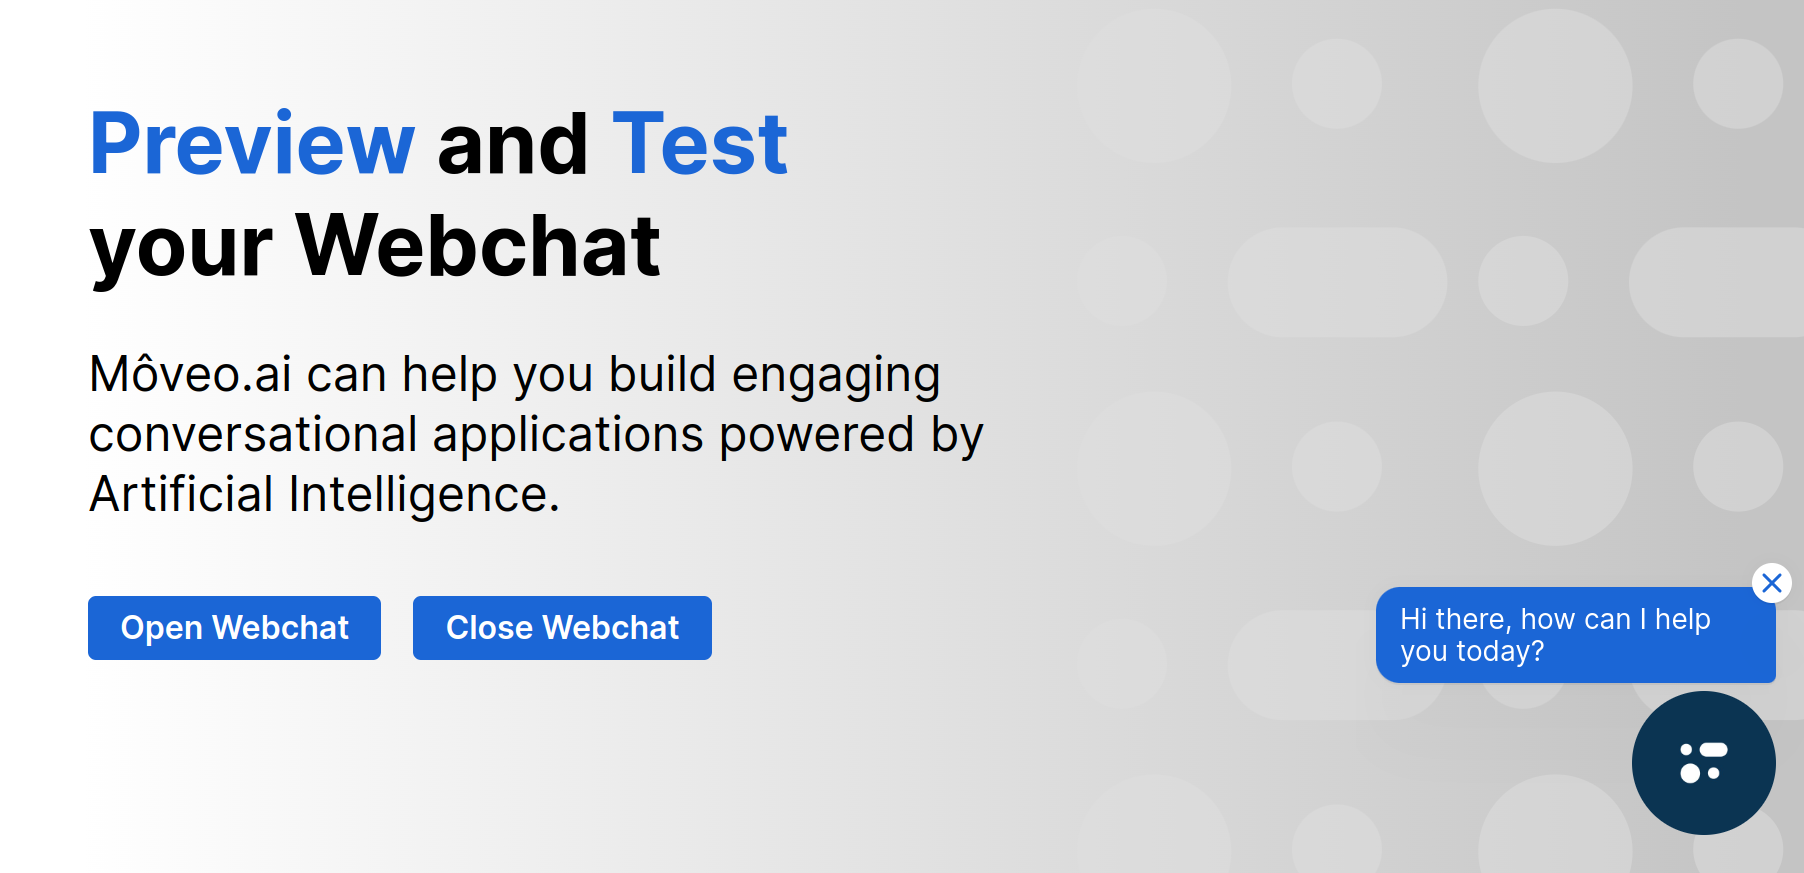
You can select how the webchat launcher looks. Select the style of the launcher, which can either be a circle (default) or a pre-defined box, as shown in the image below. You can also customize your teaser message to entice interaction with your users. Finally, you can enable the Focus trap to prevent users from browsing when conversing with your AI Agent, and the Auto open option so the widget automatically opens when your website loads.
- Configuration
- Appearance
Webchat appearance
Another set of options is the webchat appearance. Select a title on the header of the webchat, the avatar of the AI Agent, and then customize the theme by selecting the colors that are consistent with the branding of your company. The default colors are in the following table:
| Default colors | Primary color | Text color |
|---|---|---|
| Description | Moveo blue | White |
| HEX code | #1B66D6 | #FFFFFF |
| RGB value | 27, 102, 214 | 255, 255, 255 |
- Configuration
- Appearance

Start behavior
Select how you want the conversation to start by picking one of the three available options:
- User input: The AI Agent starts the conversation when a user sends the first message.
- Autostart: The conversation starts with an auto-send message when the user opens the launcher. In the advanced settings, it is possible to customize the auto-send message relating to the page content.
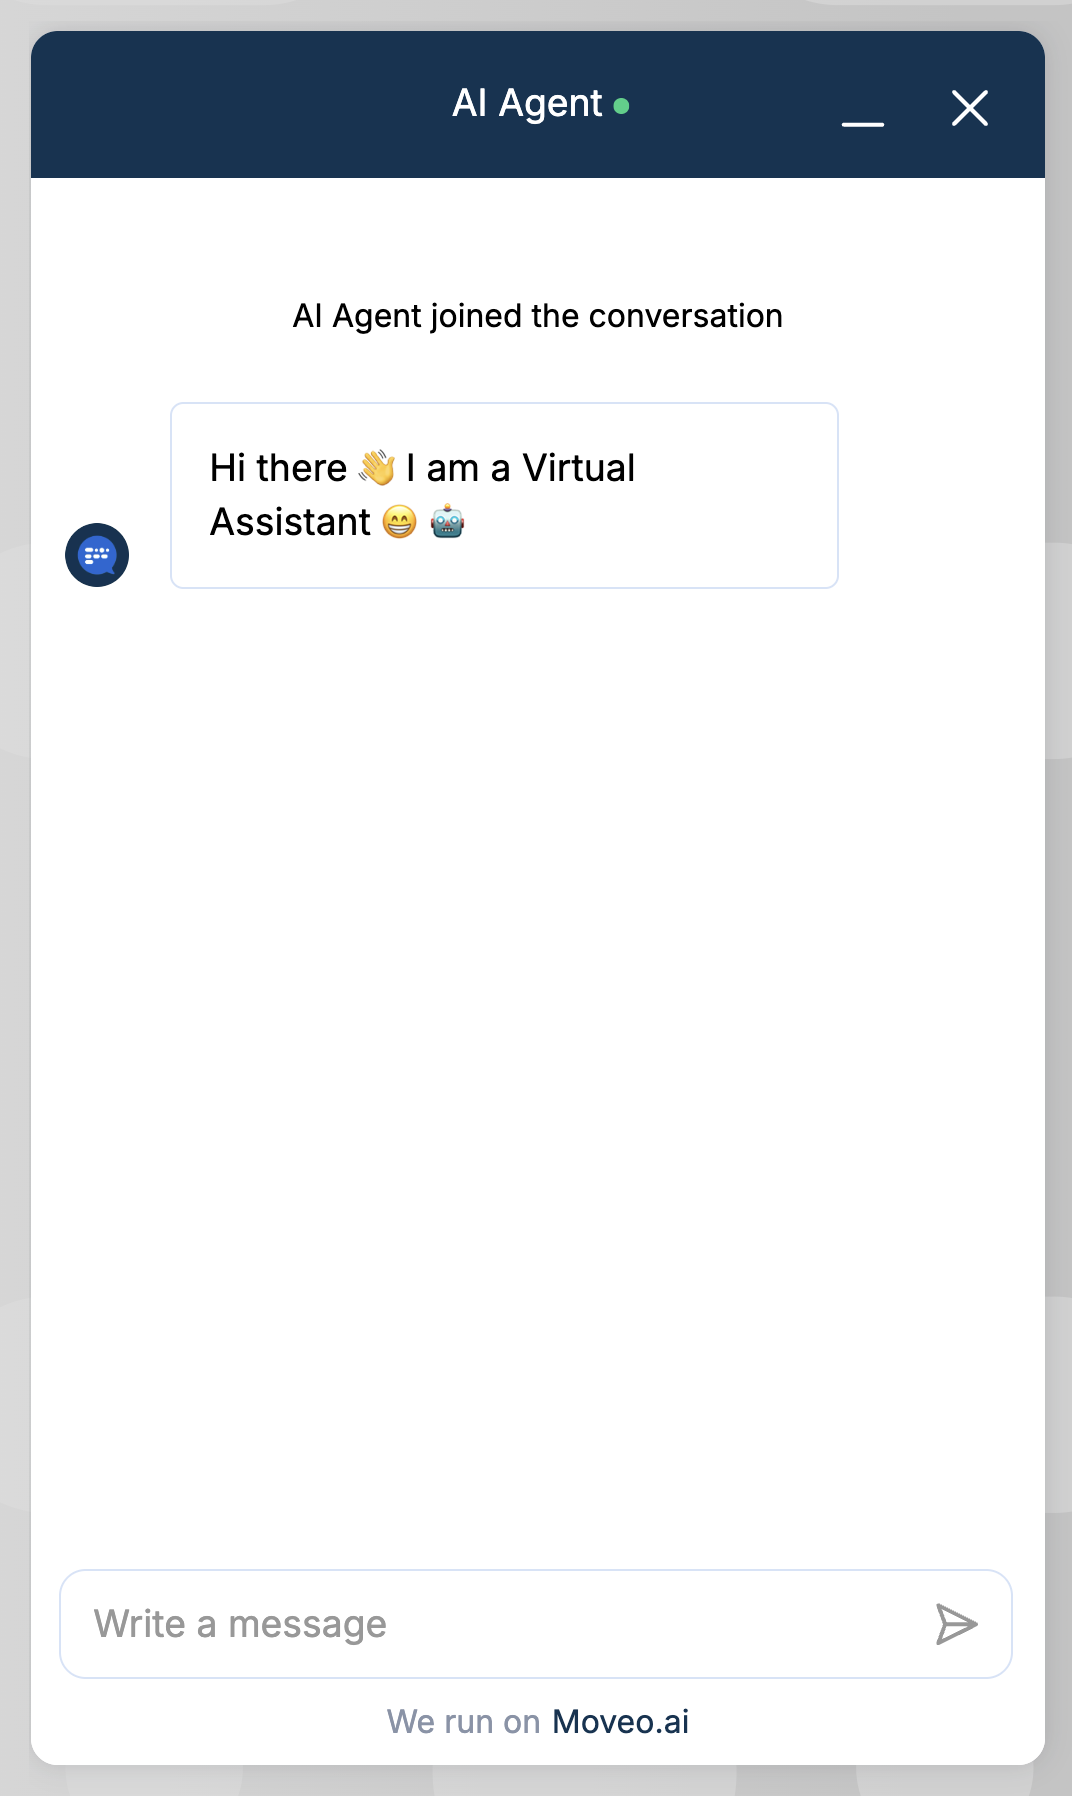
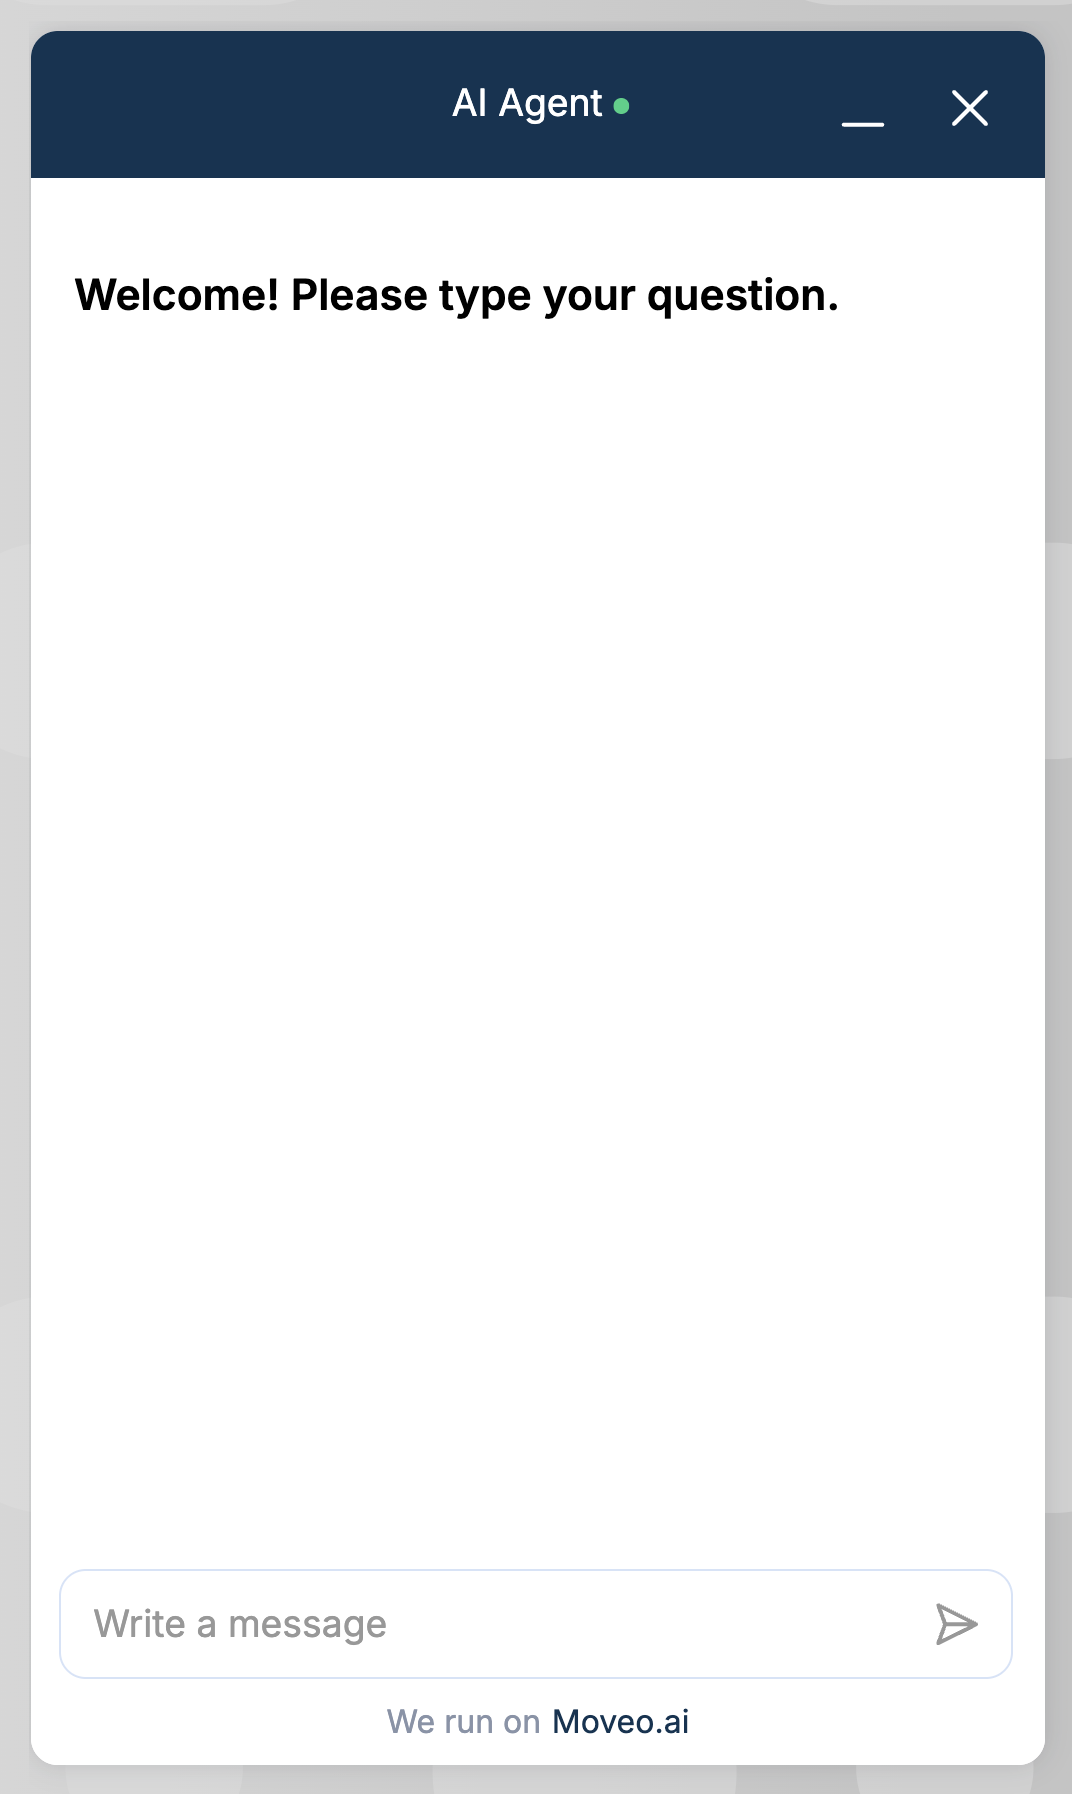
- Welcome screen: The AI Agent displays a screen with a header and up to 3 frequently asked questions, from which the user can either pick one or write their own text.
- User input
- Autostart
- Welcome screen
Webchat position
You can select the position you want the AI Agent to appear in:
-
Livechat (default): The webchat appears in the bottom right of your website.
-
Embed: The webchat renders in a specific location within your page content. You can change the DOM element that renders the widget. You simply need to create an element with the same ID that the webchat will search for — for example, you can use
document.getElementById("embed")to search for an element withid = "embed".<script src="https://cdn.jsdelivr.net/npm/@moveo-ai/web-client@latest/dist/web-client.min.js"></script>
<script>
MoveoAI.init({
integrationId: "YOUR-INTEGRATION-ID",
element: document.getElementById("embed"),
})
.then((desk) => console.log("desk connected"))
.catch((error) => console.error(error));
</script> -
Pop-up: The webchat pops up in the center of your website.
- Livechat
- Embed
- Pop-up

Custom position
You can customize the position of your webchat by changing the CSS of the class .web-client-container in your website. For example, to display the webchat on the left you can use the following snippet:
<style>
  .web-client-container {
    left: 12px;
  }
</style>
If the launcher is to be displayed on the left side of the page, removing the teaser message
setting is recommended to maintain visual balance.Visitor information
You can gather information from the visitor before the conversation starts. You can enable the following options:
- Collect data before the chat starts: You can ask the user to input the following fields:
| Field | Variable |
|---|---|
user.email | |
| Name | user.display_name |
| Phone | user.phone |
| Address | user.address |
| Language | user.language |
| Latitude | user.location.latitude |
| Longitude | user.location.longitude |
- Disclaimer and data policy: You can ask the user to accept your data policy.
- Collect user location: You can ask the user to share their location using the browser API. This will provide a more accurate location, otherwise it is based on the IP address.
Connect and secure
Connect the Webchat integration with your website by copying the generated snippet before the </body> tag of the website HTML. The snippet should look like the following, with YOUR-INTEGRATION-ID being the integration ID.
<script src="https://cdn.jsdelivr.net/npm/@moveo-ai/web-client@latest/dist/web-client.min.js"></script>
<script>
  MoveoAI.init({ integrationId: "YOUR-INTEGRATION-ID" })
    .then((desk) => console.log("desk connected"))
    .catch((error) => console.error(error));
</script>
Don't forget to list your trusted domains in the respective field — your webchat is only shown on them.
Advanced settings
You can configure the following fields in the advanced settings:
-
Activate file upload to allow users to upload files in the conversation. Users can upload files by clicking the clip icon in the webchat. The following limits apply:
- Max file size: 5MB
- Max number of files: 4
-
Activate conversation history to activate the history and maintain the conversation upon refresh and navigation.
-
Gather your users' feedback by enabling a post-session satisfaction survey.
-
Set the default language of the AI Agent, overwriting the language set by the browser. Learn more about the webchat language
. -
Activate end-to-end encryption
and use your key to encrypt the communications between Moveo and your web integration.
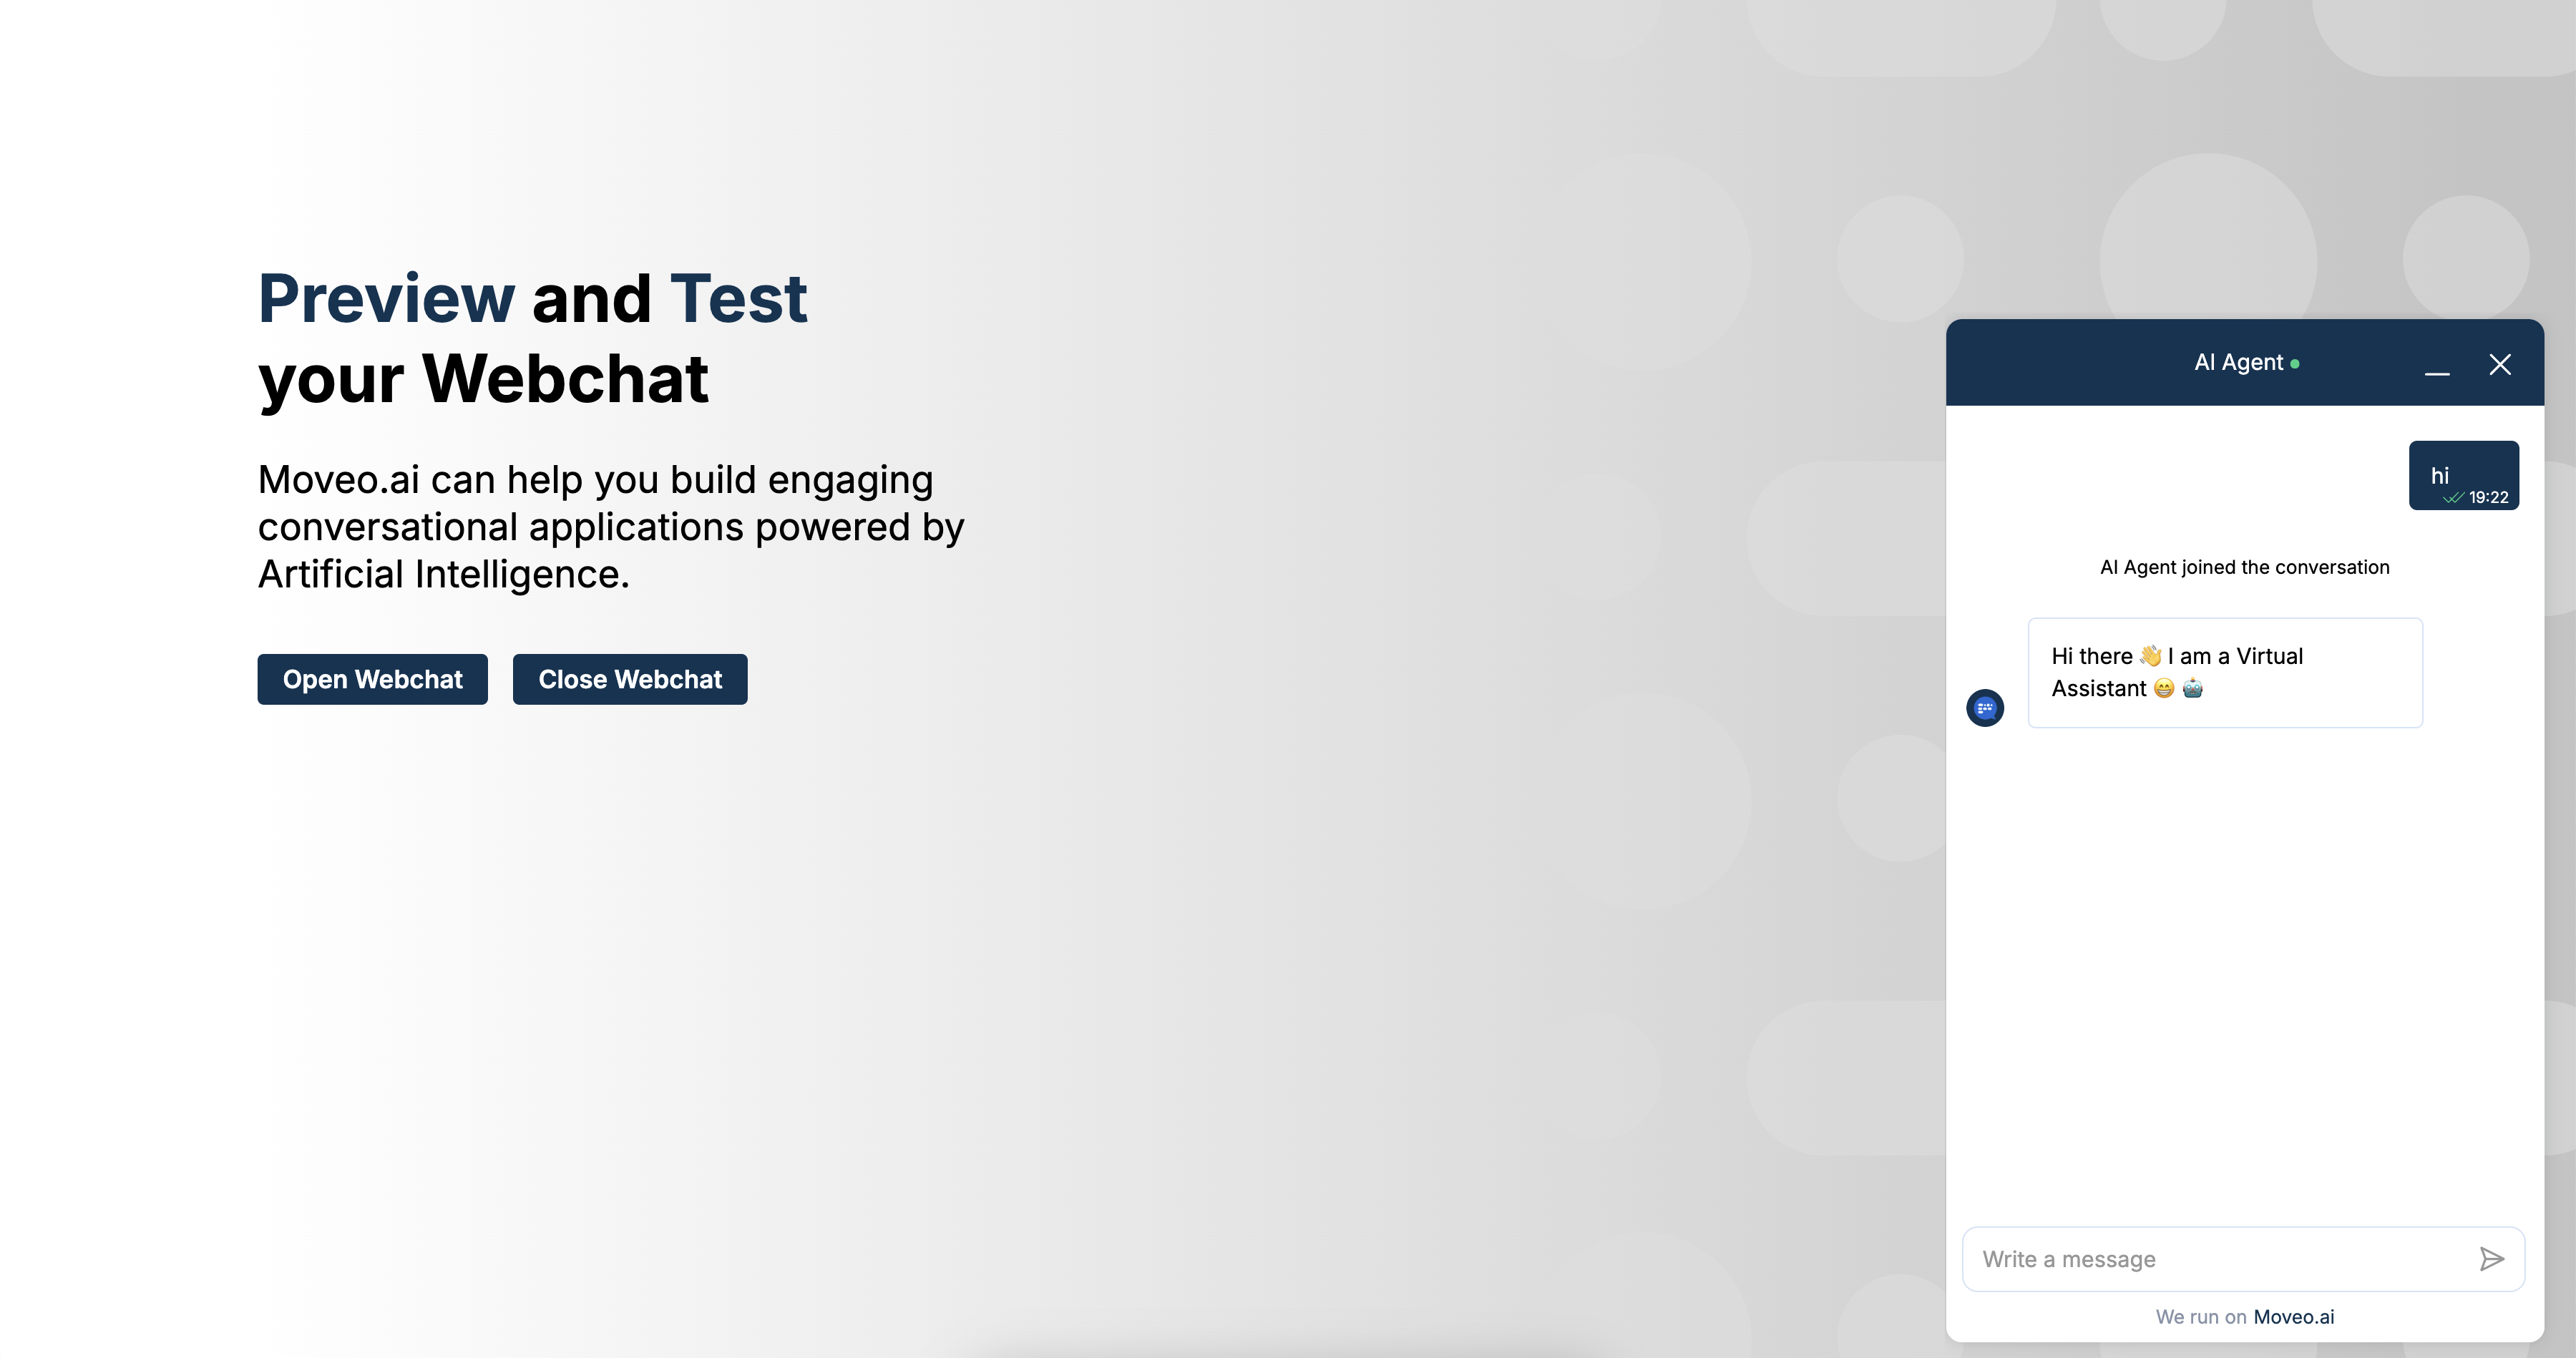
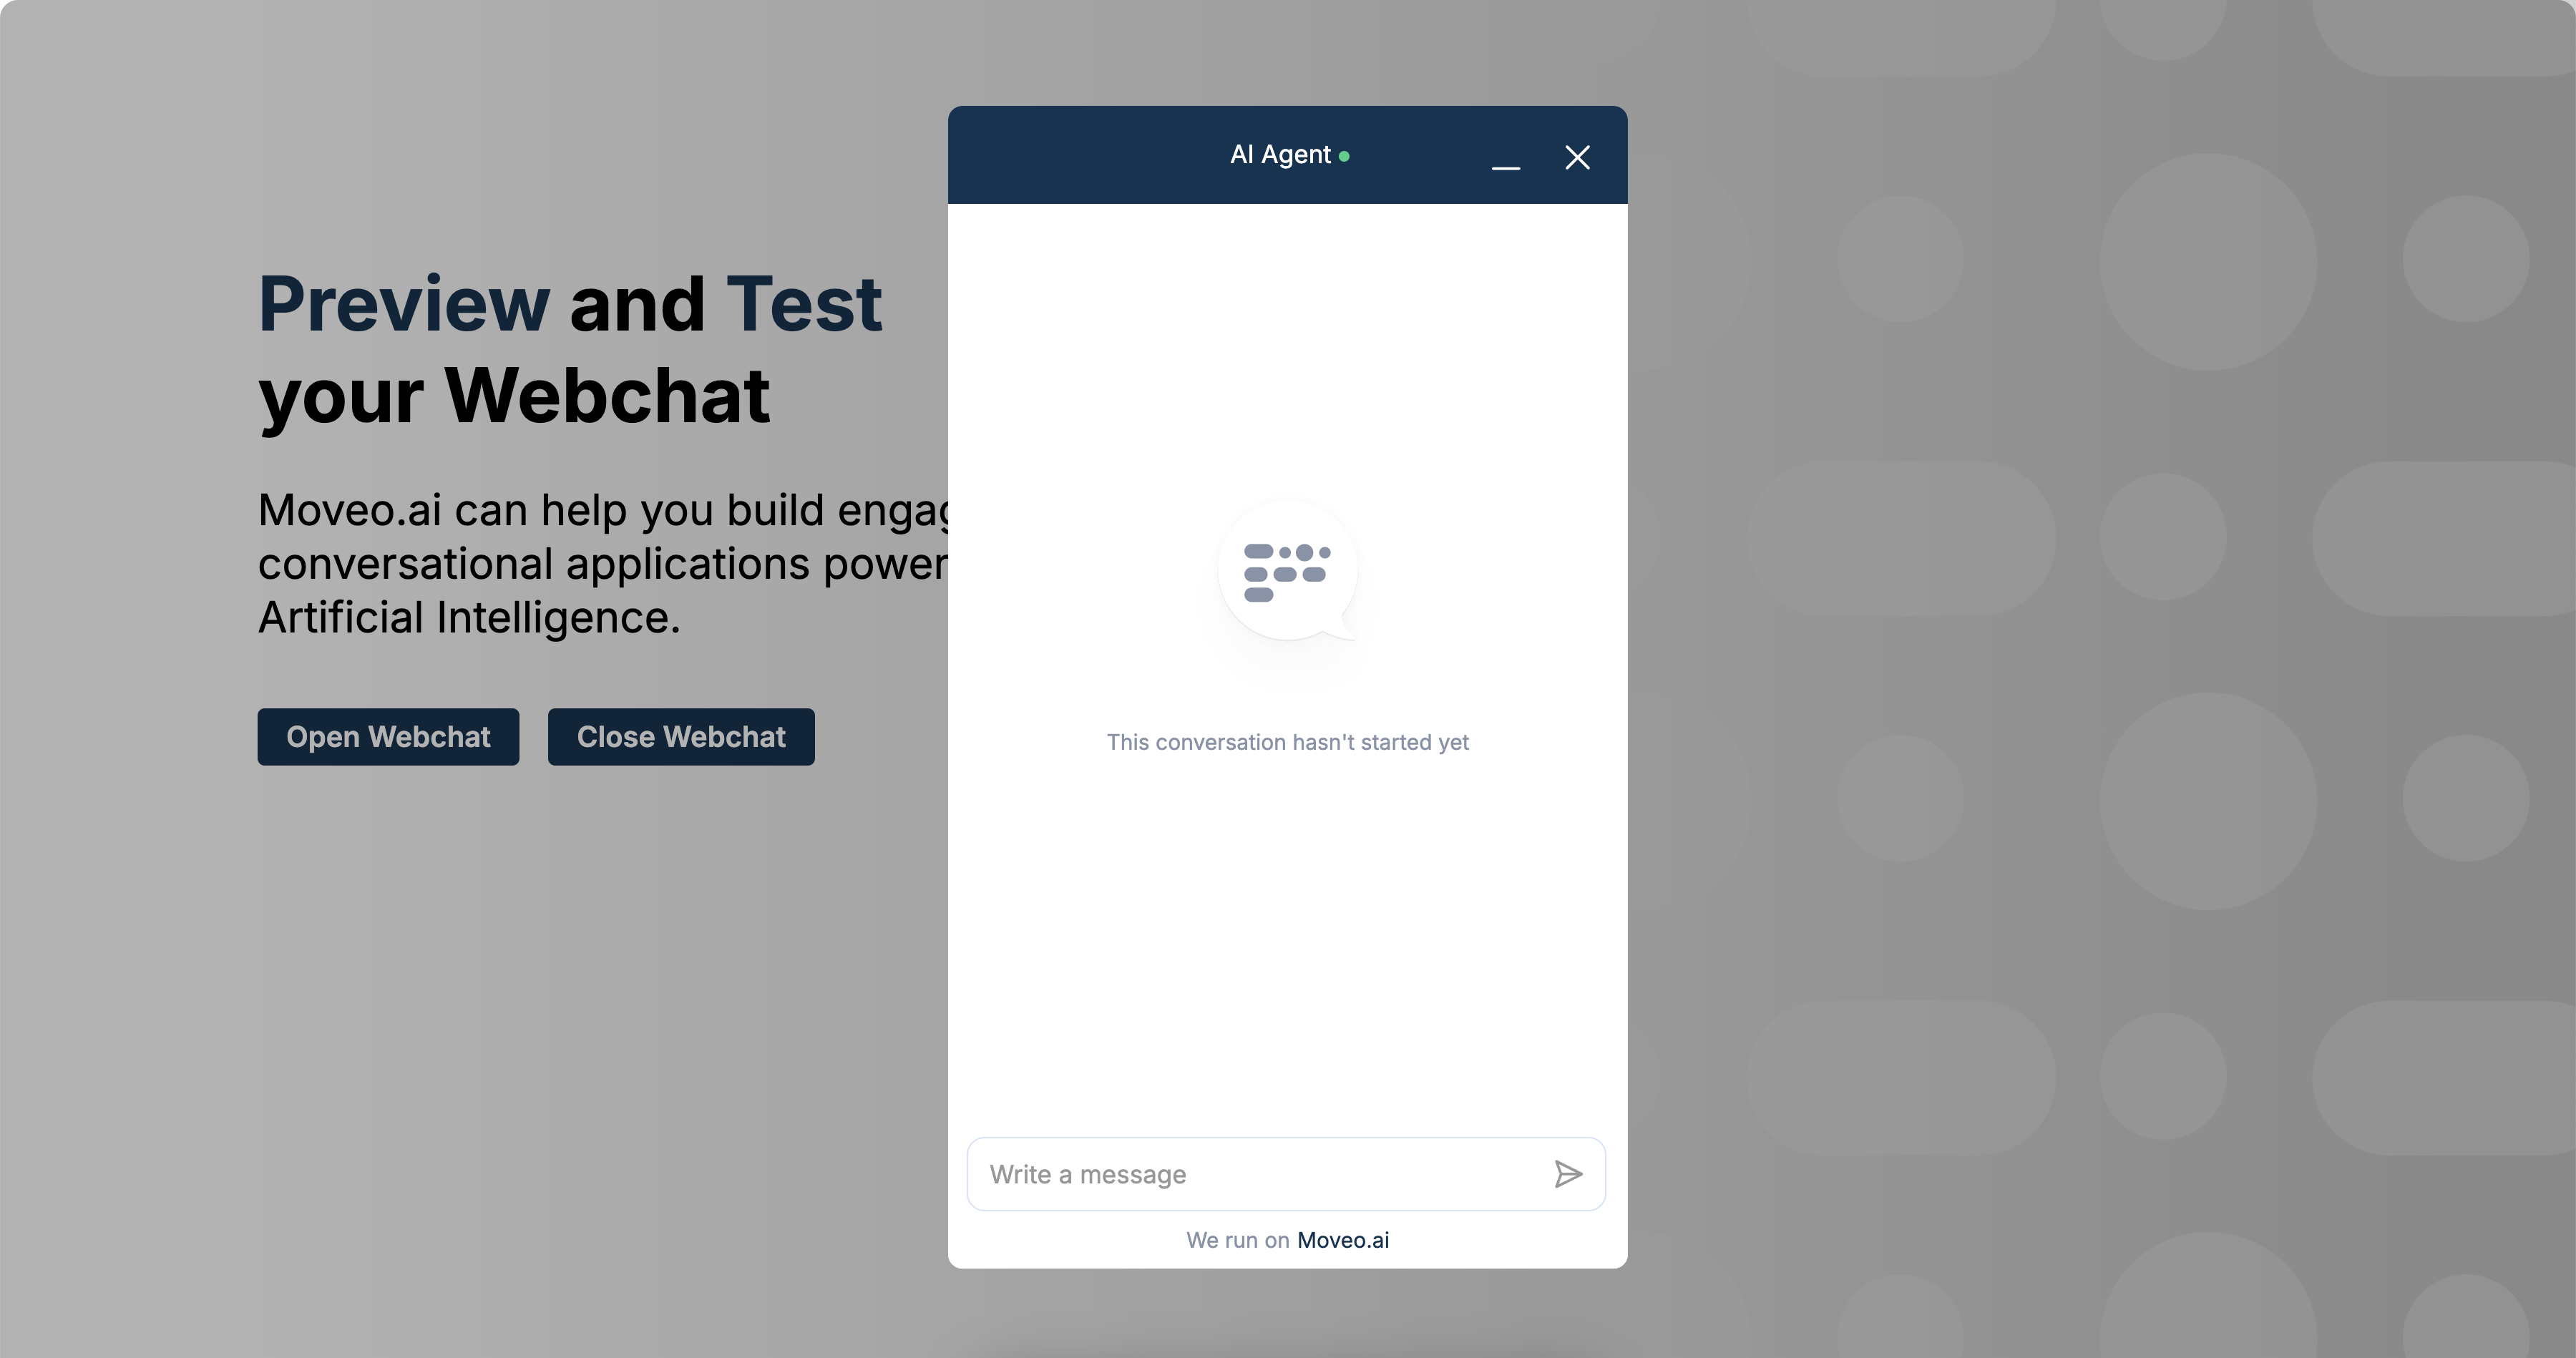
Webchat state
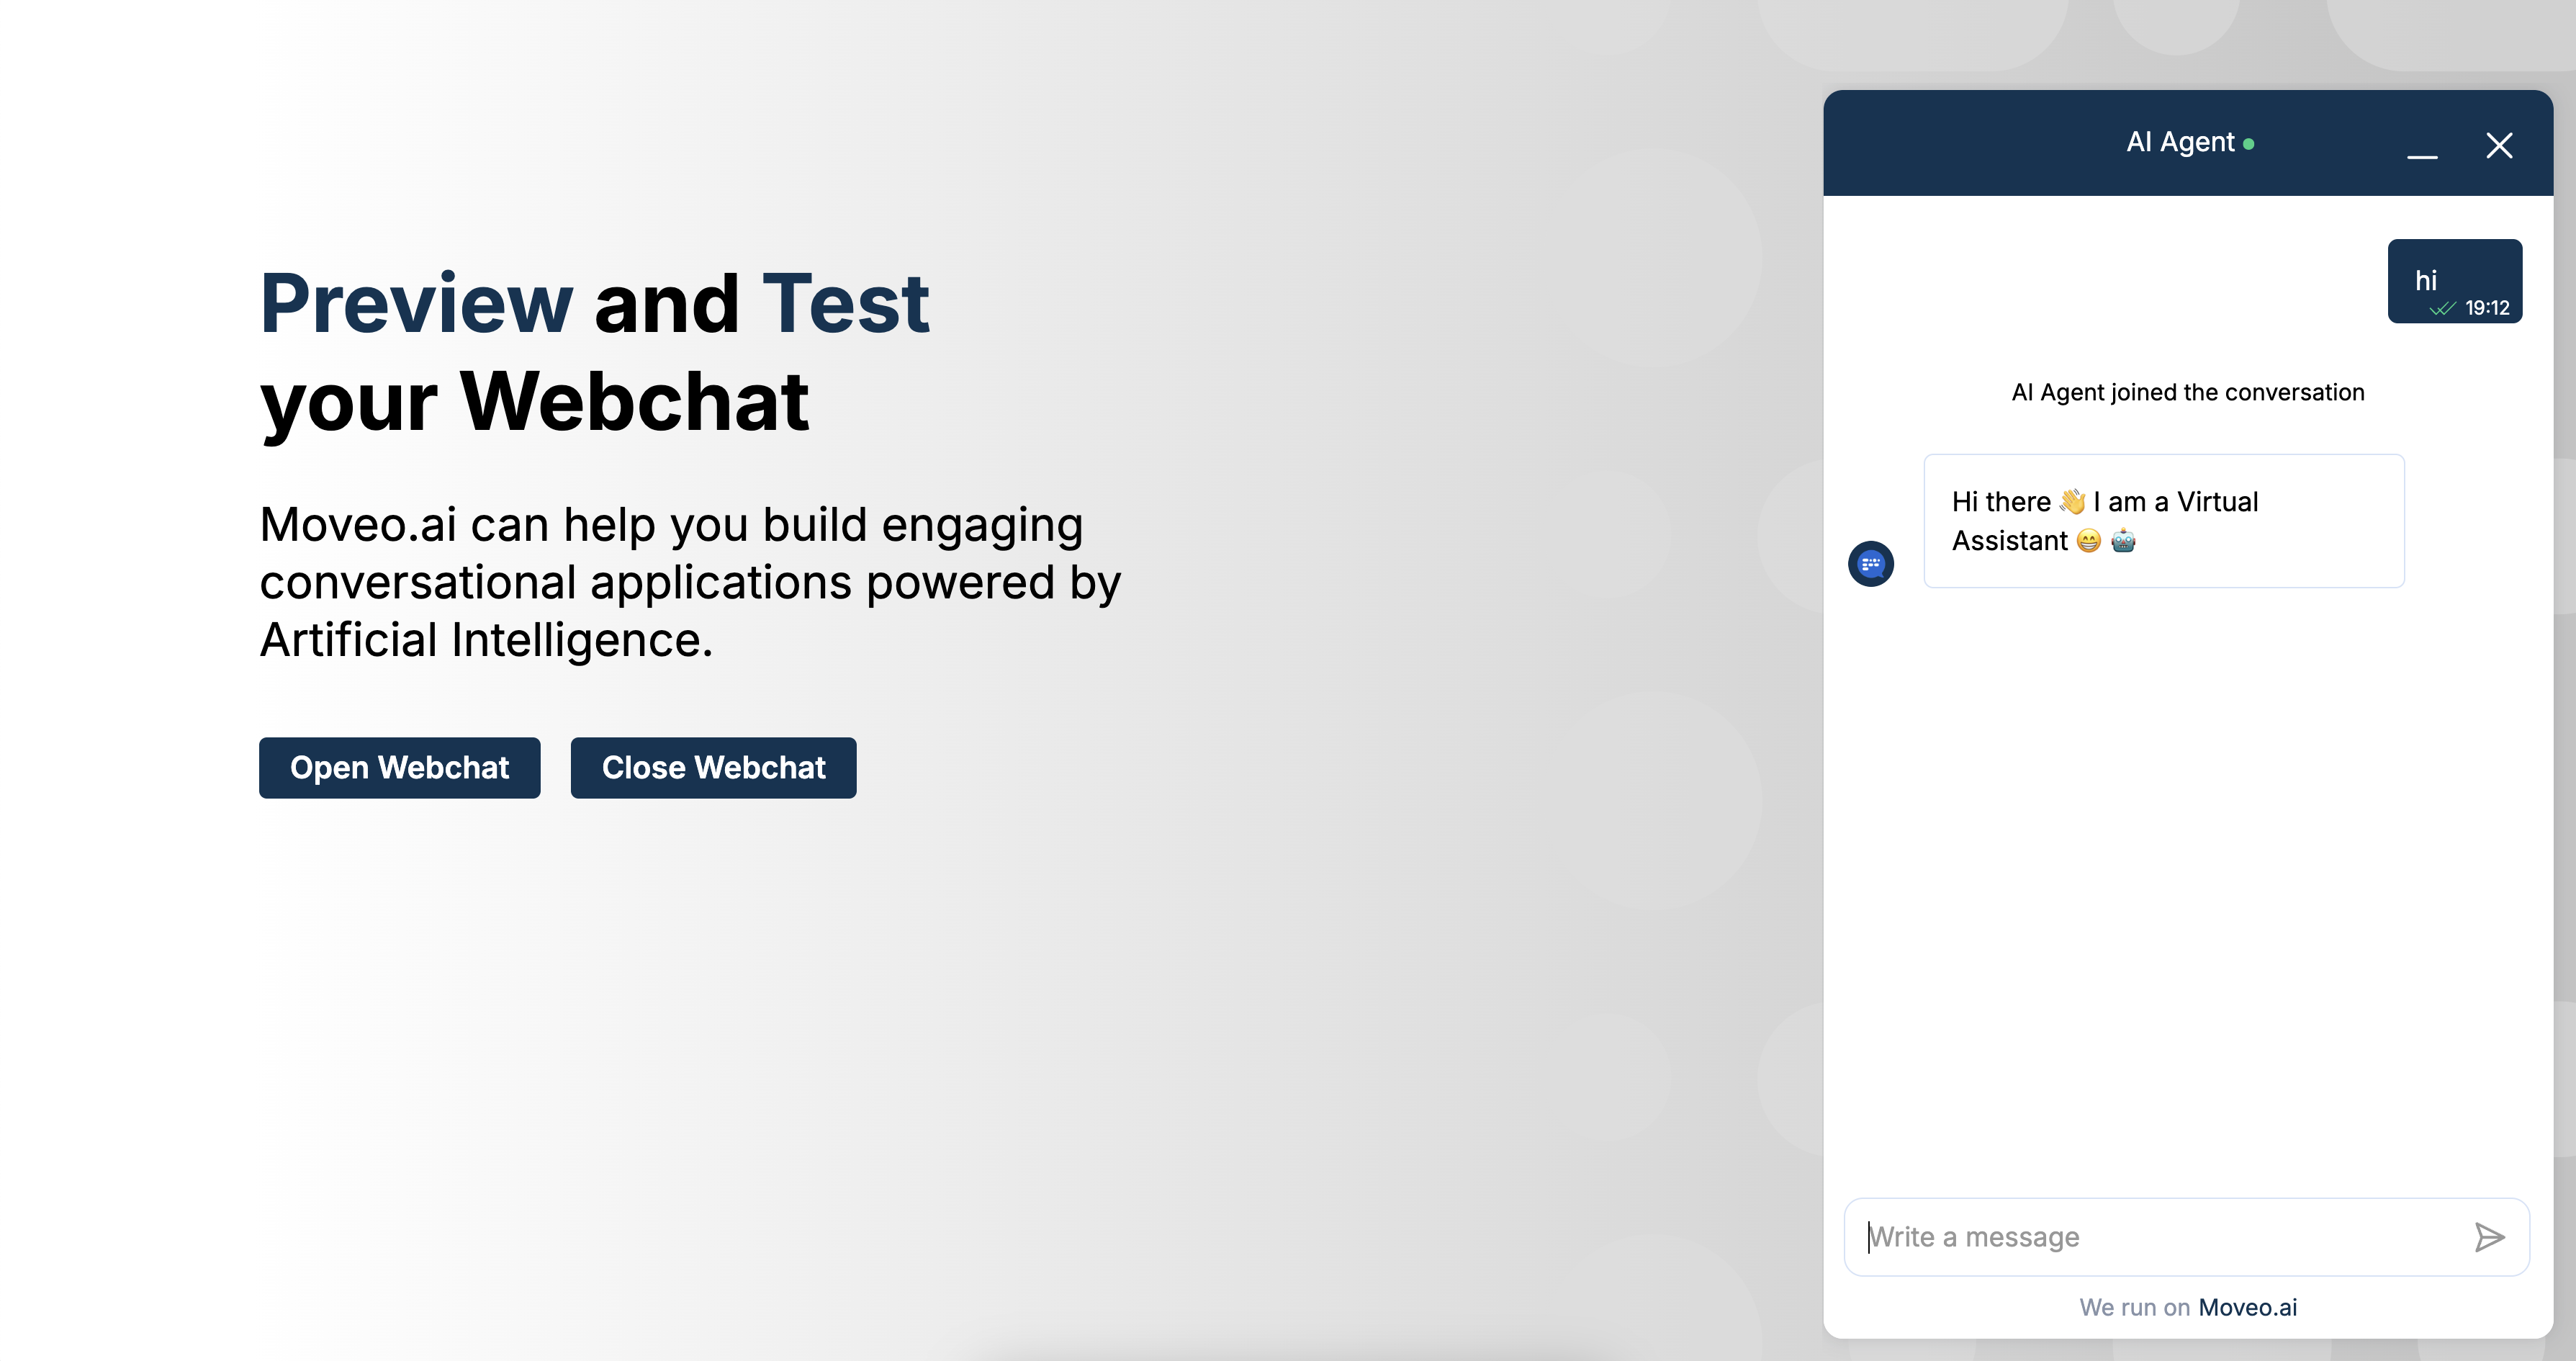
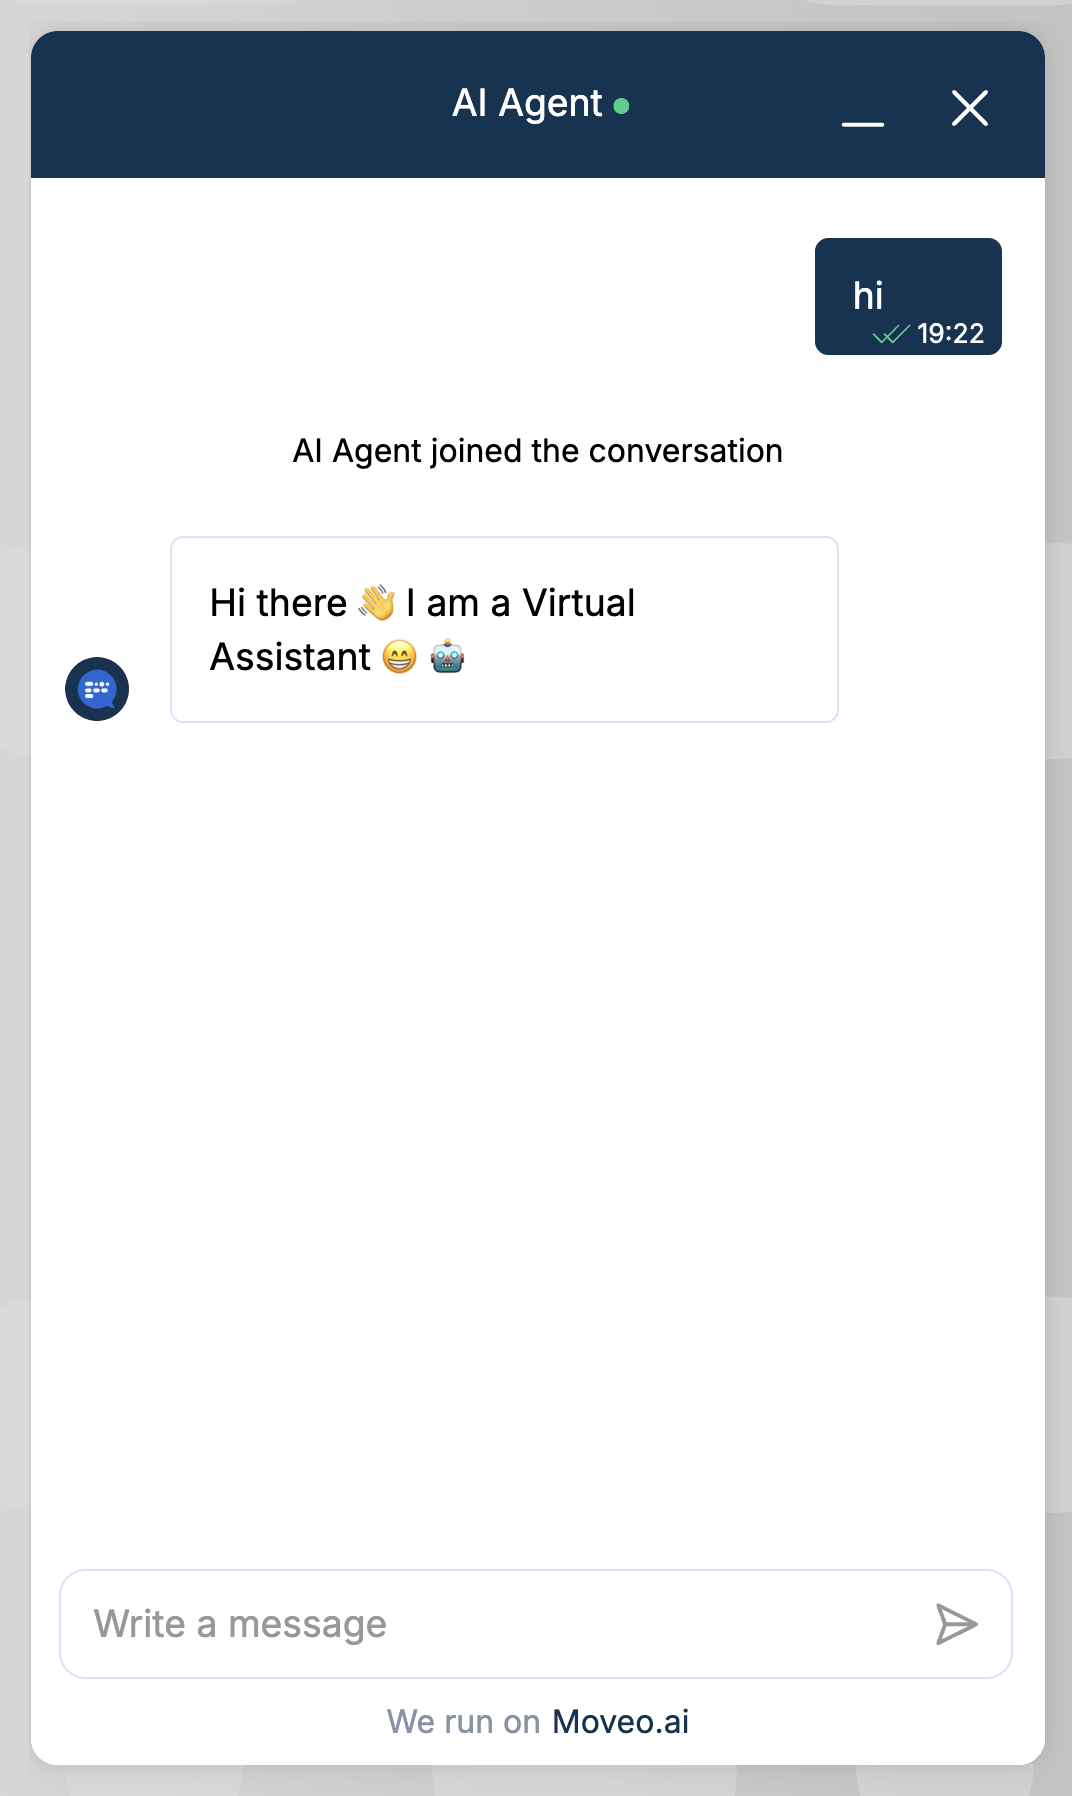
Set the webchat state to active in order to receive messages. You can also preview your webchat by clicking on Preview webchat on the top right of your screen.
Use webchat on a mobile application
Host the webchat on a webpage accessible by a URL, as described here
. This page will act as the webchat's host, which you'll embed in your mobile app.Then you can use an iframe to embed this webpage within your mobile application.
Troubleshooting
WordPress
There are cases where inserting the script by WordPress or other CMSs adds a defer attribute to the web-client script.
You then need to wait for the script to be loaded before initializing Webchat by changing the snippet to this:
<script src="https://cdn.jsdelivr.net/npm/@moveo-ai/web-client@latest/dist/web-client.min.js"></script>
<script>
  window.addEventListener("DOMContentLoaded", function () {
    MoveoAI.init({
      integrationId: "YOUR_INTEGRATION_ID",
    })
      .then((instance) => console.log("connected"))
      .catch((error) => console.error(error));
  });
</script>
Google Tag Manager
- Create a trigger of DOM Ready type.

- Create a custom HTML and insert the following script (now that the trigger will wait for the page to load, and then fetch the web-client code, the
DOMContentLoadedlistener is not needed).
Google Tag Manager doesn't support ES6 features.
<script src="https://cdn.jsdelivr.net/npm/@moveo-ai/web-client@latest/dist/web-client.min.js"></script>
<script>
  MoveoAI.init({
    integrationId: "MY_INTEGRATION_ID",
  })
    .then(function (desk) {
      console.log("desk connected");
    })
    .catch(function (error) {
      console.error(error);
    });
</script>
Magento
When integrating Moveo's web client into a Magento site, you might encounter issues due to Magento's use of RequireJS for module loading. To ensure the Moveo snippet works properly within this environment, use the following code:
<script src="https://requirejs.org/docs/release/2.3.7/minified/require.js"></script>
<script>
  require([
    "https://cdn.jsdelivr.net/npm/@moveo-ai/web-client@latest/dist/web-client.min.js",
  ], (MoveoAI) => {
    MoveoAI.init({
      integrationId: "YOUR-INTEGRATION-ID",
    })
      .then(() => console.log("Moveo Connected"))
      .catch((error) => console.error(error));
  });
</script>
Local development
In your local environment, you may encounter some unexpected issues when loading the webchat if your local URL includes localhost (e.g., http://localhost:3000). You should use 127.0.0.1 instead.