Deploy your first AI Agent to production
Getting Started with Your AI Agent
This guide walks you through the steps to get your AI agent up and running and interacting with your customers. The goal is to get you from zero to a fully functional agent in just a few minutes.
A quick note for new users: If you've just signed up, you might find that some of these steps are already done! The initial onboarding process guides you through tweaking your first agent and deploying it to a web integration. If you followed that tour, you're ahead of the game. This guide is perfect if you skipped the tour or need a refresher.
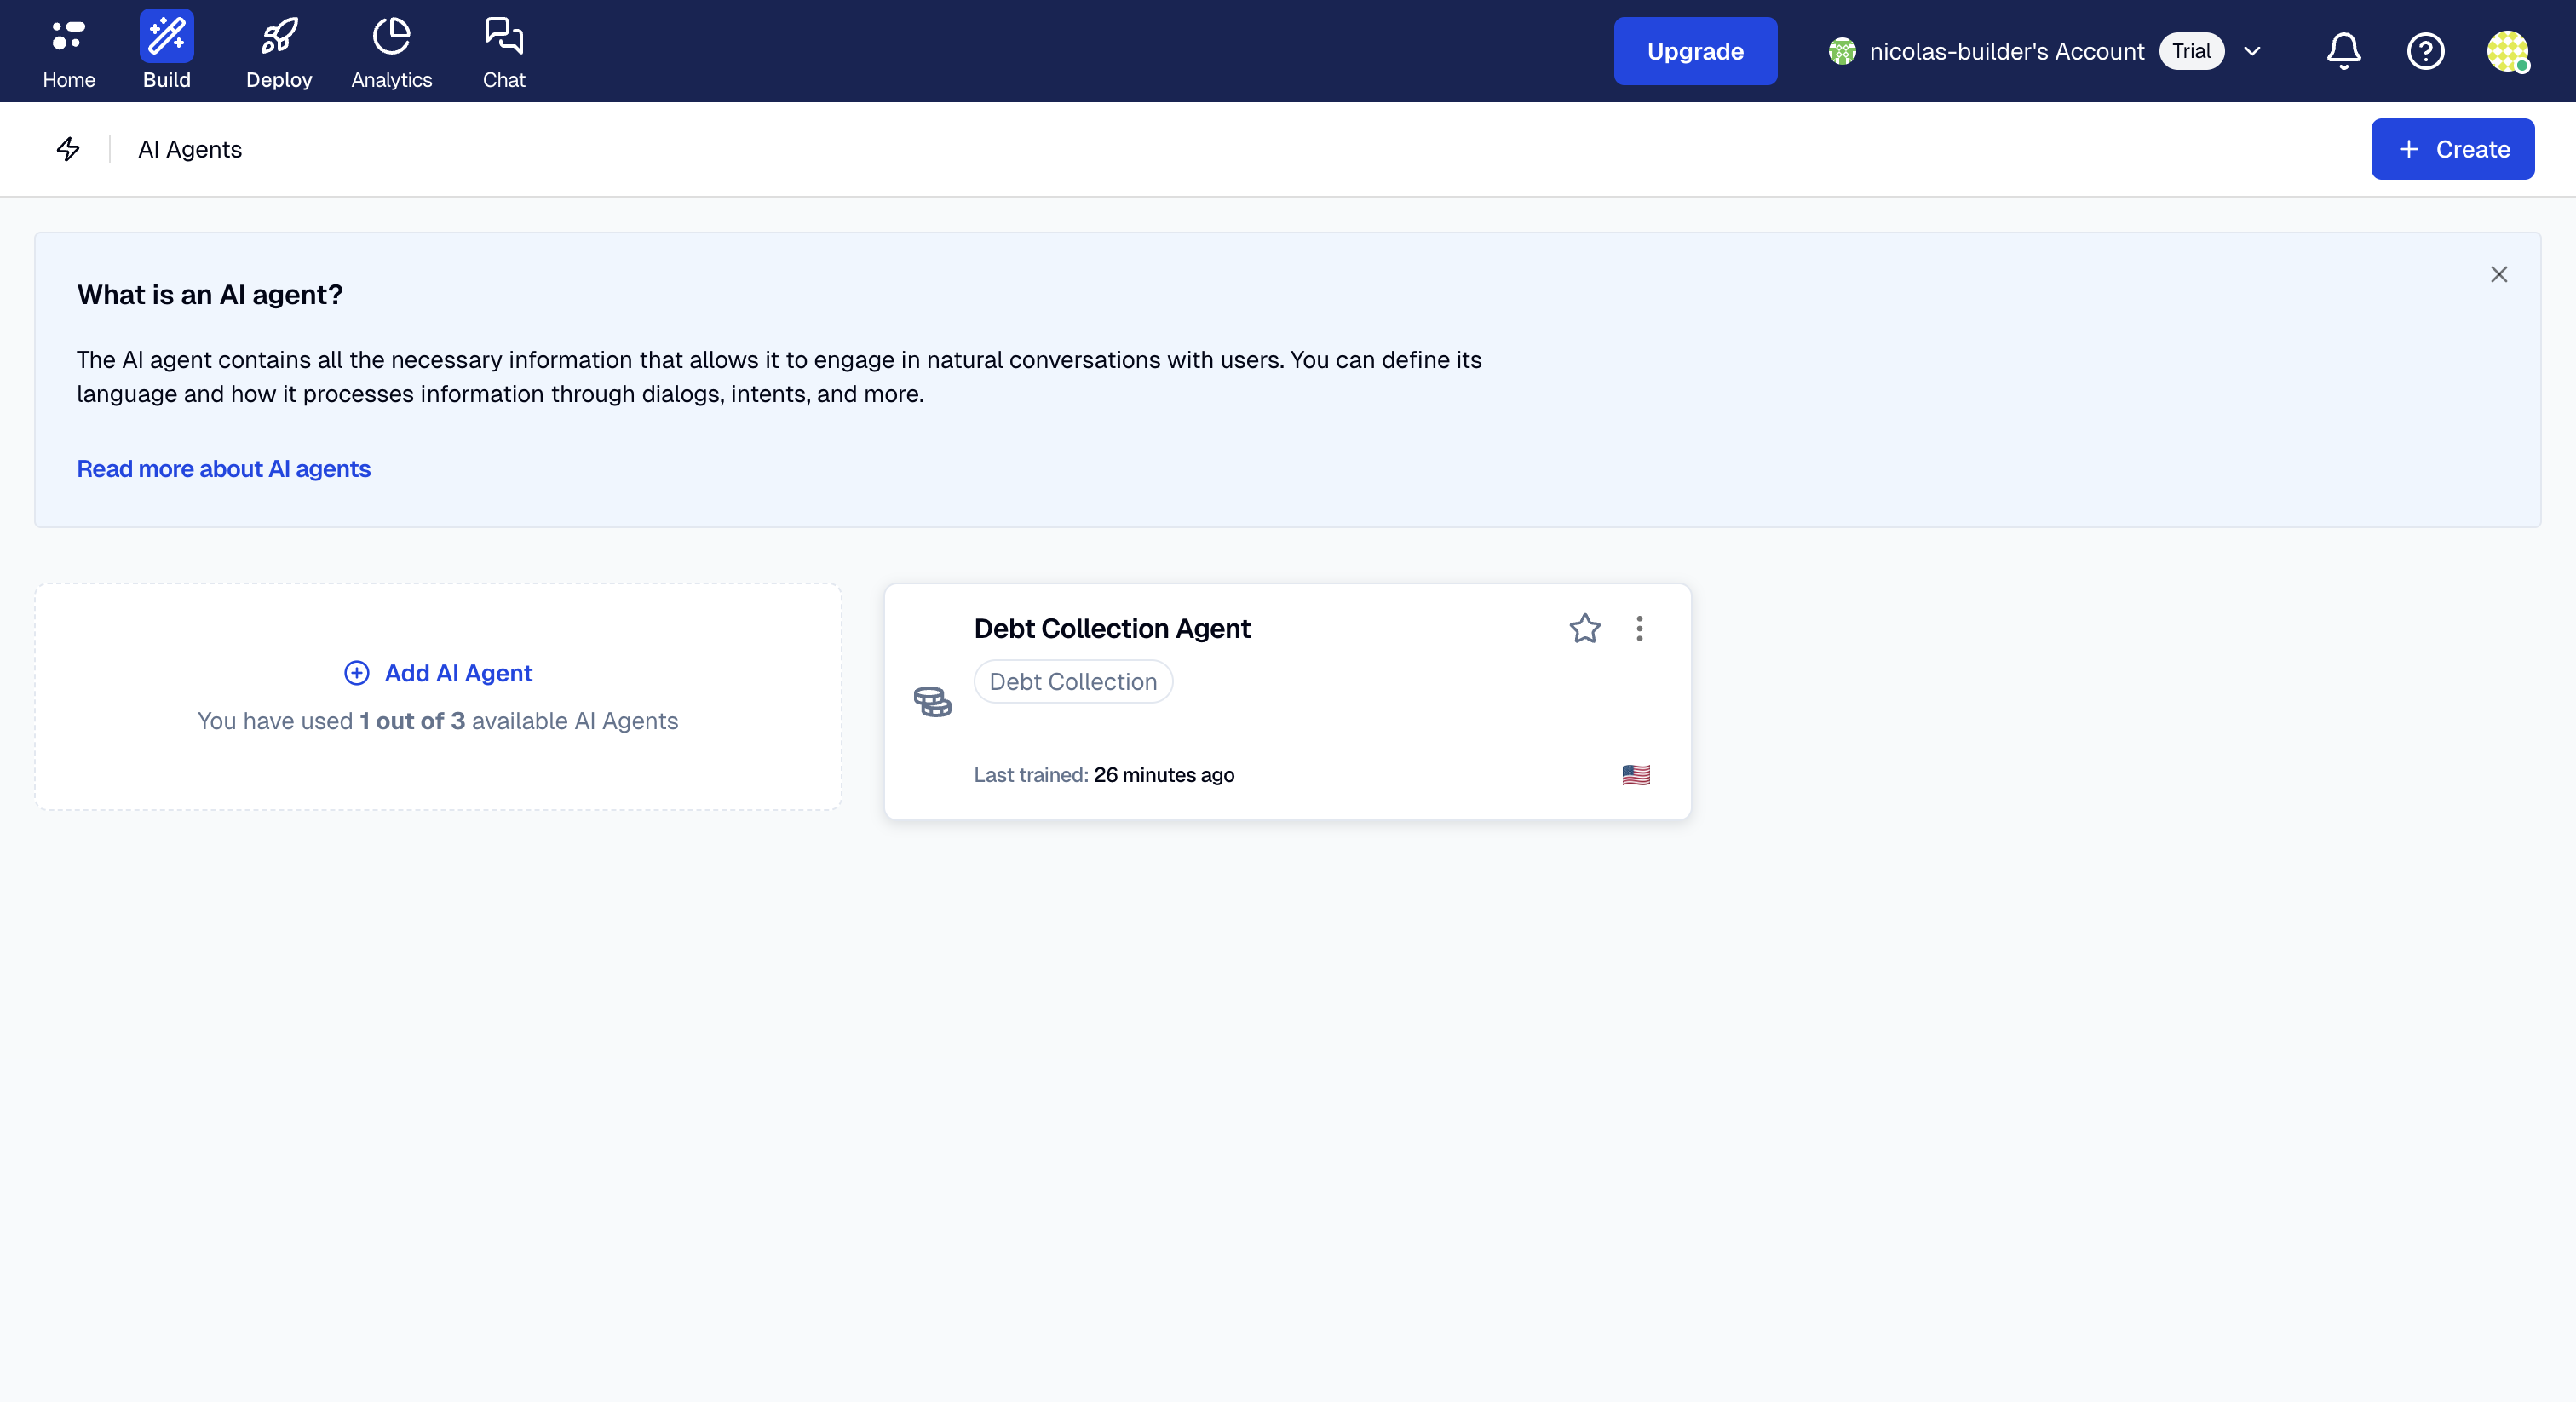
Step 1: Your AI Agent
Before you can deploy your AI agent, you need to have one! We'll assume you've already created an agent. If you haven't, or if you want to build a more specialized one from scratch, you can follow this handy guide to build your first AI Agent.
It's good to know that when you create a new account, a default AI agent is automatically created for you, so you can get started right away. This agent is ready to be customized and taught. You can start with this agent and mold it to fit your brand's voice and needs. A great way to do this is by adding more knowledge using Knowledge base. Think of Knowledge base as a library of information that your agent can use to answer questions instantly. For example, you could create a knowledge base of your most frequently asked questions (FAQs) or upload documents with product information. This gives your agent the specific knowledge it needs to be truly helpful to your customers. You can learn more about them here.
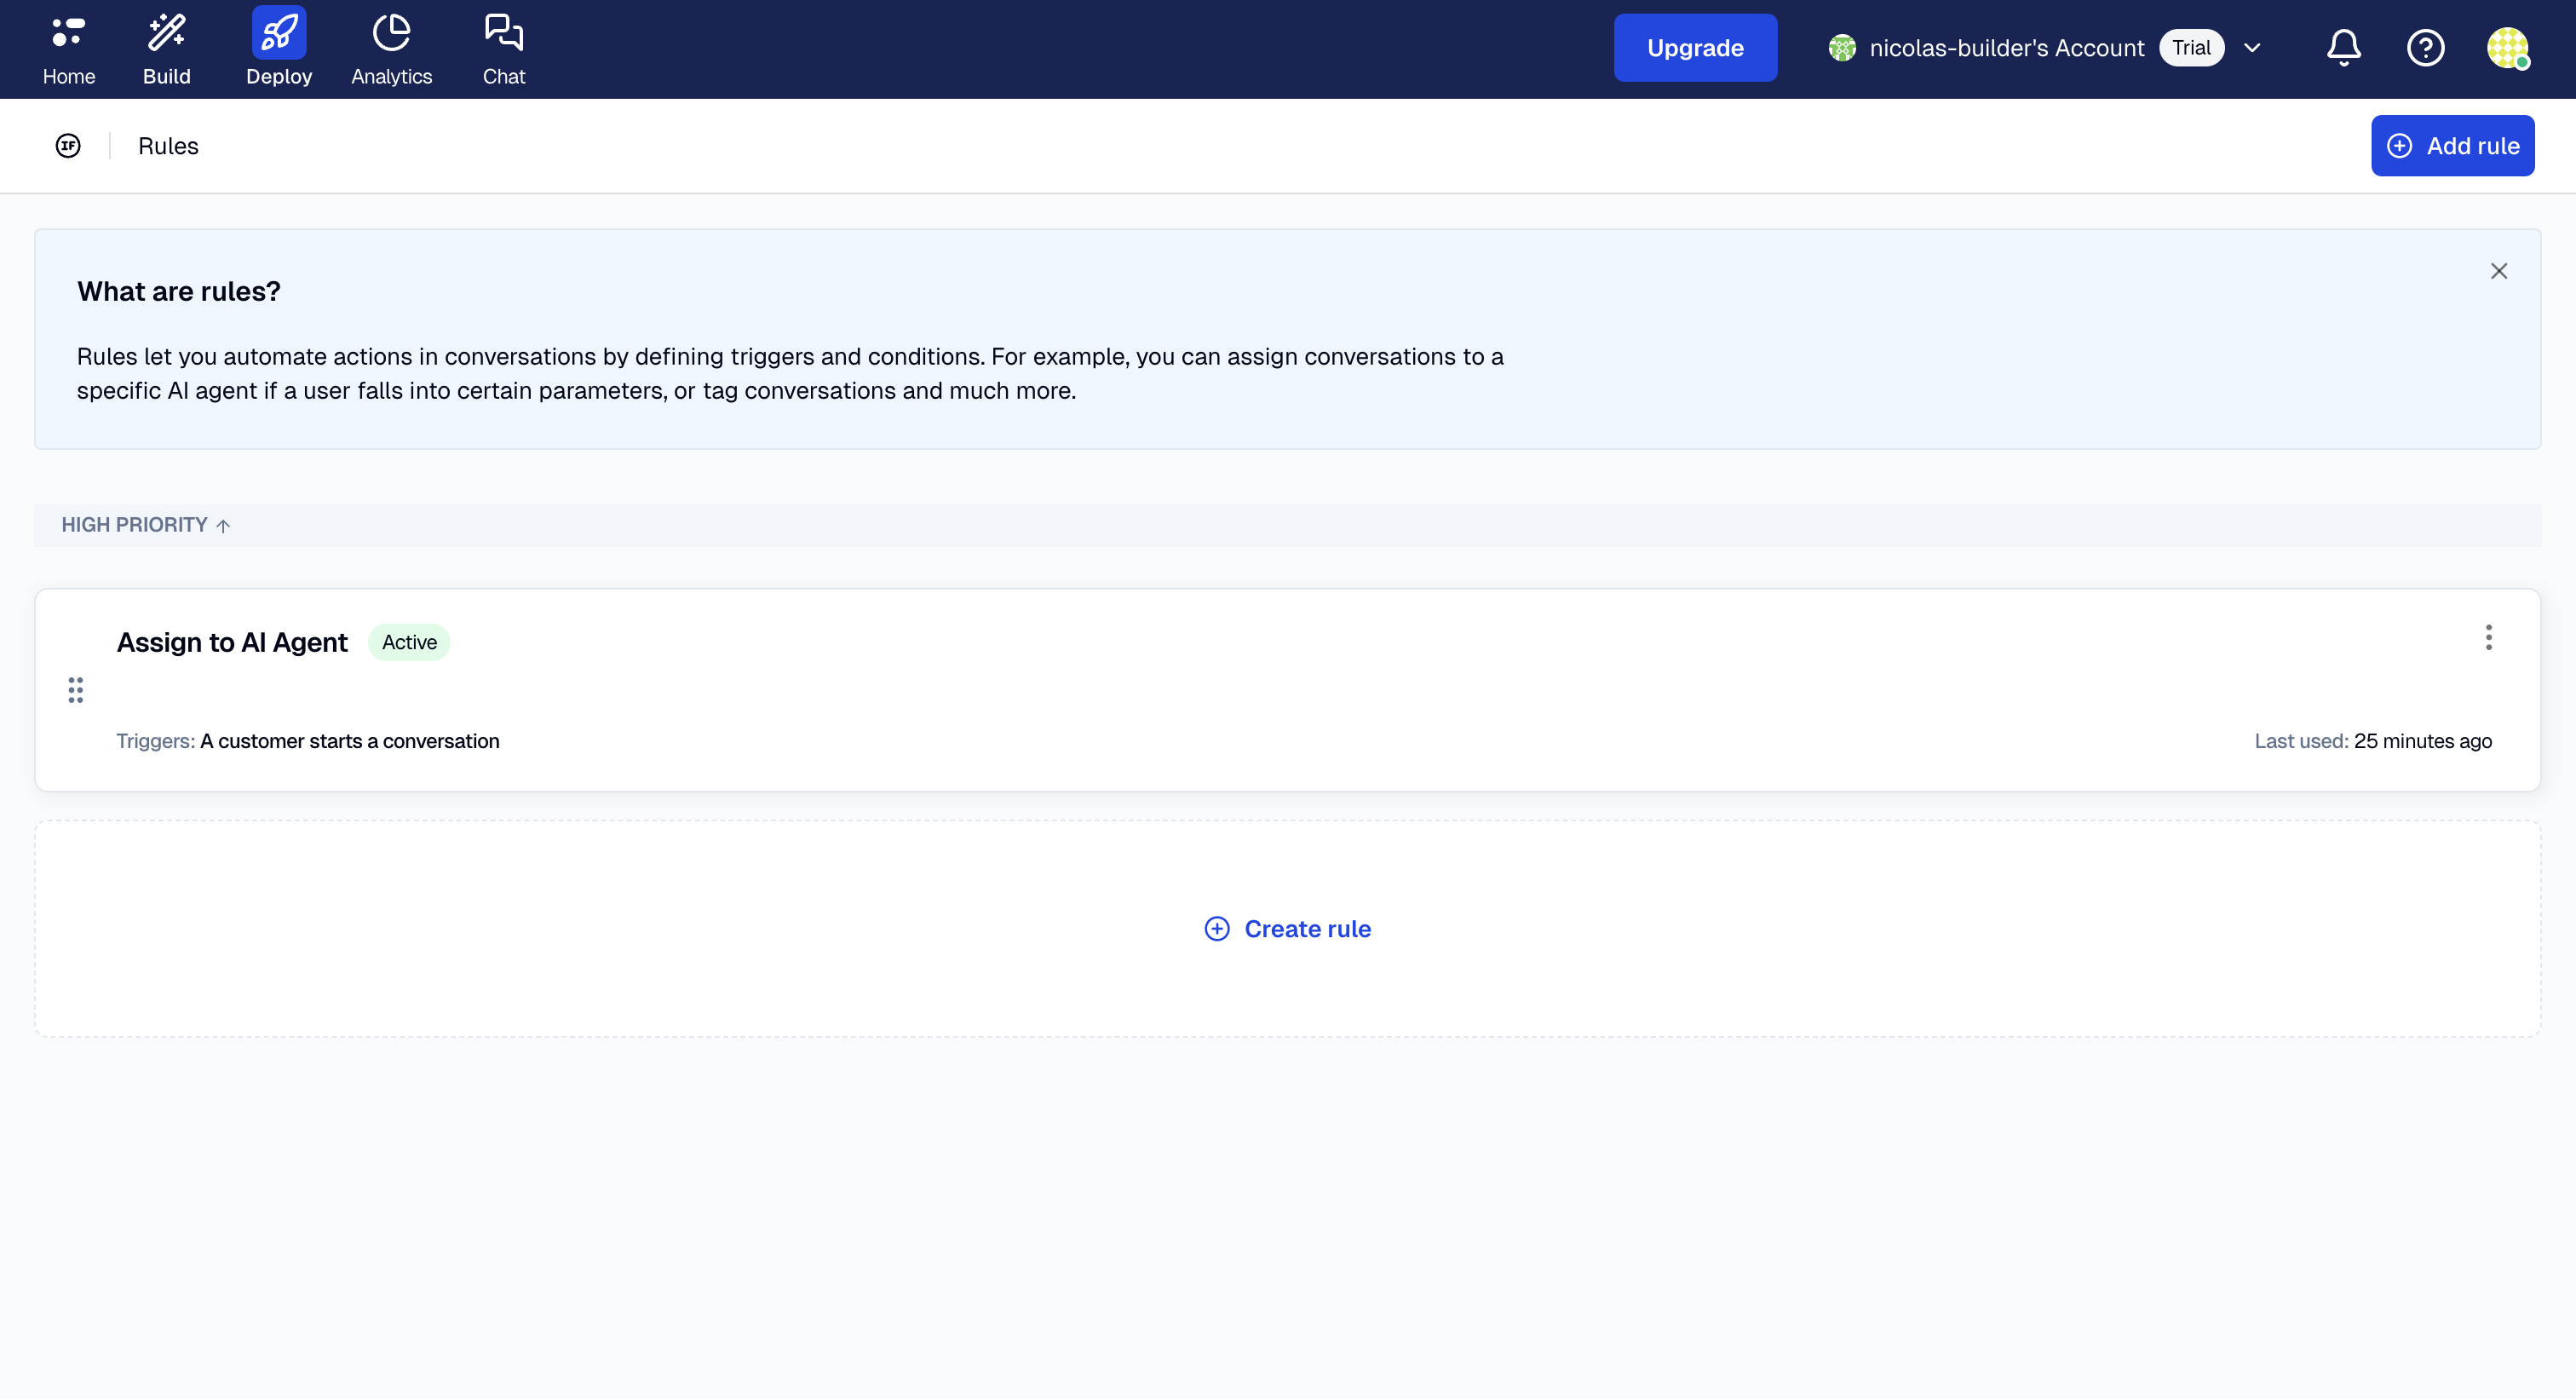
Step 2: Set up the Rules
Next, you need to tell the system when to use your AI agent. This is done with rules, which are powerful automated workflows. In a new account, a fundamental rule is already set up for you and connected to the default agent, making things even easier. If you're using the default agent and haven't created a new one, you can skip this step entirely.
You'll want to set up a rule that says:
- When: A customer starts a conversation
- Then: Assign the AI agent
This simple but crucial instruction means that whenever a new conversation is started on any of your connected channels, your AI agent will be the first to respond, ensuring your customers get an immediate reply. It acts as the entry point for your automated support.
Environments?
You might see the term Environments in the platform. Don't worry about this for now. An environment is like a workspace, often used to separate testing from the live, customer-facing setup. For this quick start, all you need to know is that a live environment is automatically created for you, so you don't need to configure anything here to get started.
Step 3: Connect to your Channels
Now it's time to connect your agent to the channels your customers use. This is the final step to bring your agent to life and make it accessible! You can connect to one or many channels, depending on where your customers prefer to interact with you.
You might see that the web integration is already connected to the default agent. This is because the default agent is automatically created for you when you create a new account.
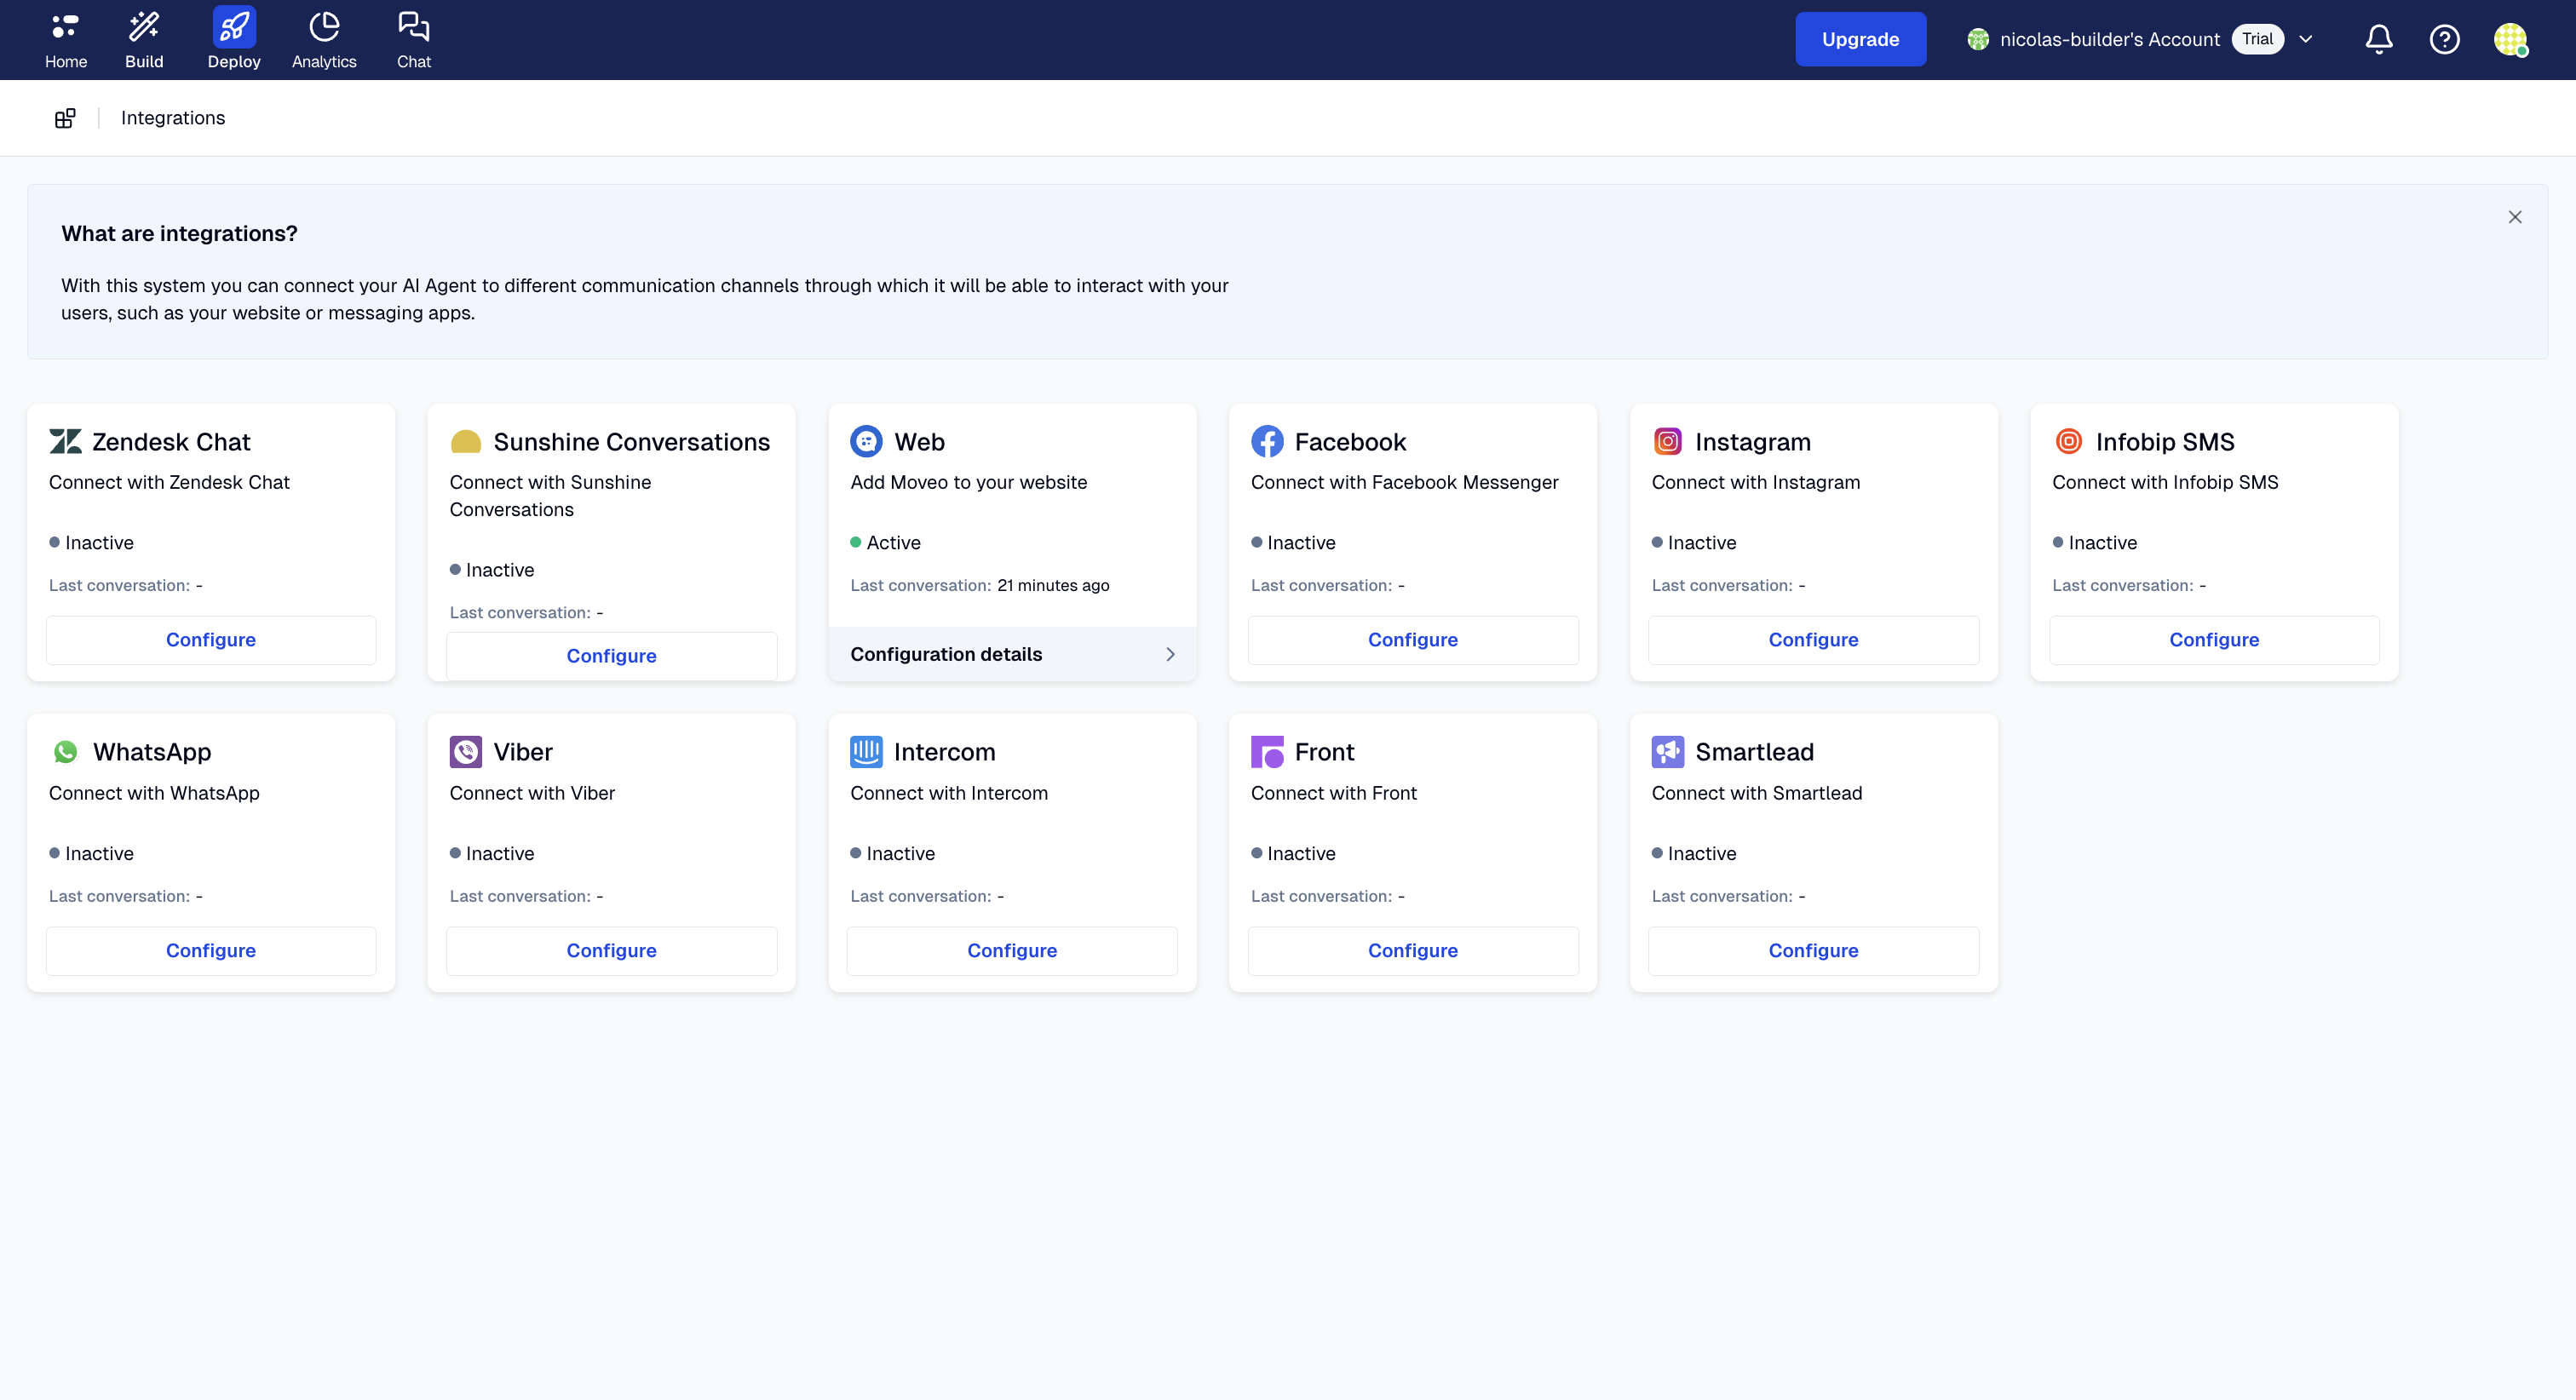
Here are the available integrations and links to their setup guides. Choose the channel you want to start with and follow the instructions.
| Integration | Setup Page |
|---|---|
| Web | Web Widget |
| Facebook Messenger | Facebook Messenger |
| Viber | Viber |
| Intercom | Intercom |
| Zendesk Chat | Zendesk Chat |
| Sunshine Conversations | Sunshine Conversations |
| Front | Front |
| Smartlead | Smartlead |
| Infobip-SMS | Infobip-SMS |
| Twilio Voice | Twilio Voice |
And that's it!
Once you've set up your integration, your AI agent is ready to go. Congratulations! Your agent is now live and will begin handling incoming conversations immediately, providing instant support to your customers. Your setup is now production-ready.