Overview
Email integration enables your AI Agent to communicate with customers through email. This channel provides a familiar and widely-used method for customer support, sales inquiries, and engagement through automated email conversations.
Moveo's email integration uses enterprise-grade email infrastructure to ensure reliable delivery, secure message handling, and professional presentation of all automated responses.
Prerequisites
Before setting up the email integration, ensure you have:
Email domain requirements
- A verified domain that you own and can configure DNS records for
- Access to your domain's DNS management (via your registrar or DNS provider)
- Ability to add DNS records (CNAME records for domain verification)
Email service requirements
- An email service account (Google Workspace, Microsoft 365, or custom mail server)
- Access to configure email forwarding rules in your email provider
- A dedicated email address for your AI Agent (e.g.,
support@yourdomain.com)
How it works
The email integration requires two essential setup steps to enable both receiving and sending emails:
Receiving emails (inbound):
- Customer sends email to your configured email address.
- Email forwarding rule forwards the message to Moveo's email processing system.
- AI Agent receives the message content.
Sending emails (outbound):
- Response is generated based on your configured knowledge and dialogs.
- DNS records authorize Moveo to send emails on behalf of your domain.
- Reply is sent back to the customer from your domain.
- Thread management maintains conversation context.
- Handover available to human agents when needed via Live chat.
All emails are processed securely and maintain proper email threading for natural conversation flow.
Connect email in Moveo
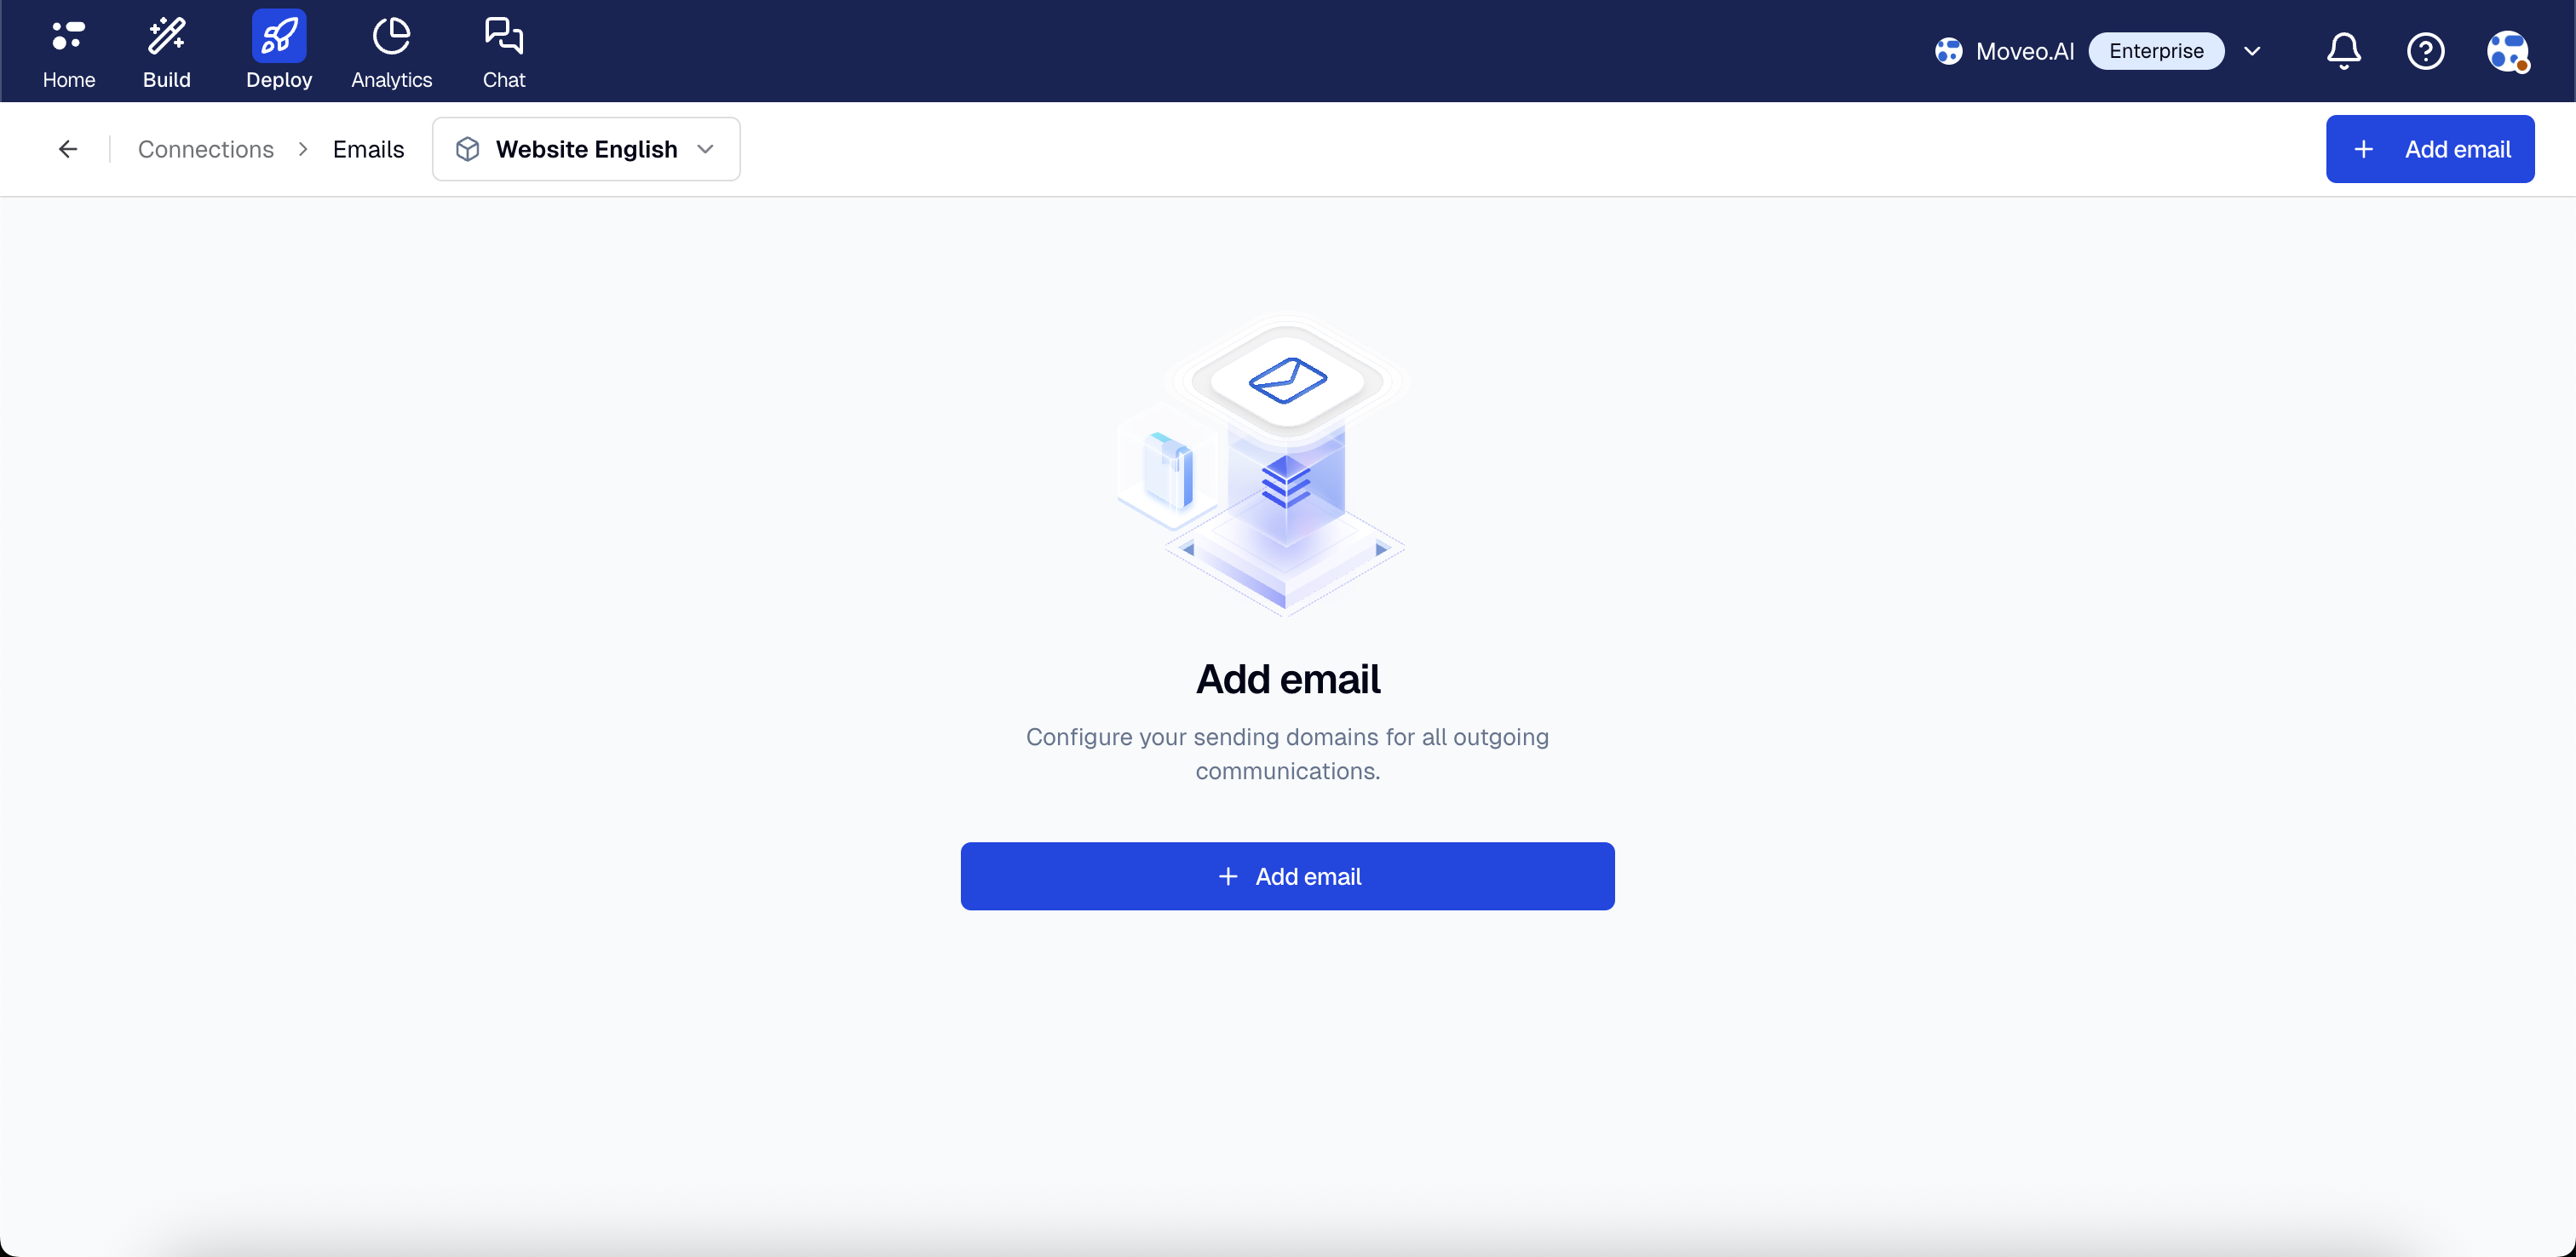
Step 1: Navigate to Connections
- Log in to your Moveo account.
- Navigate to Connections → Emails.
- Select your desired environment.
- Click Add Email in the top navigation bar.
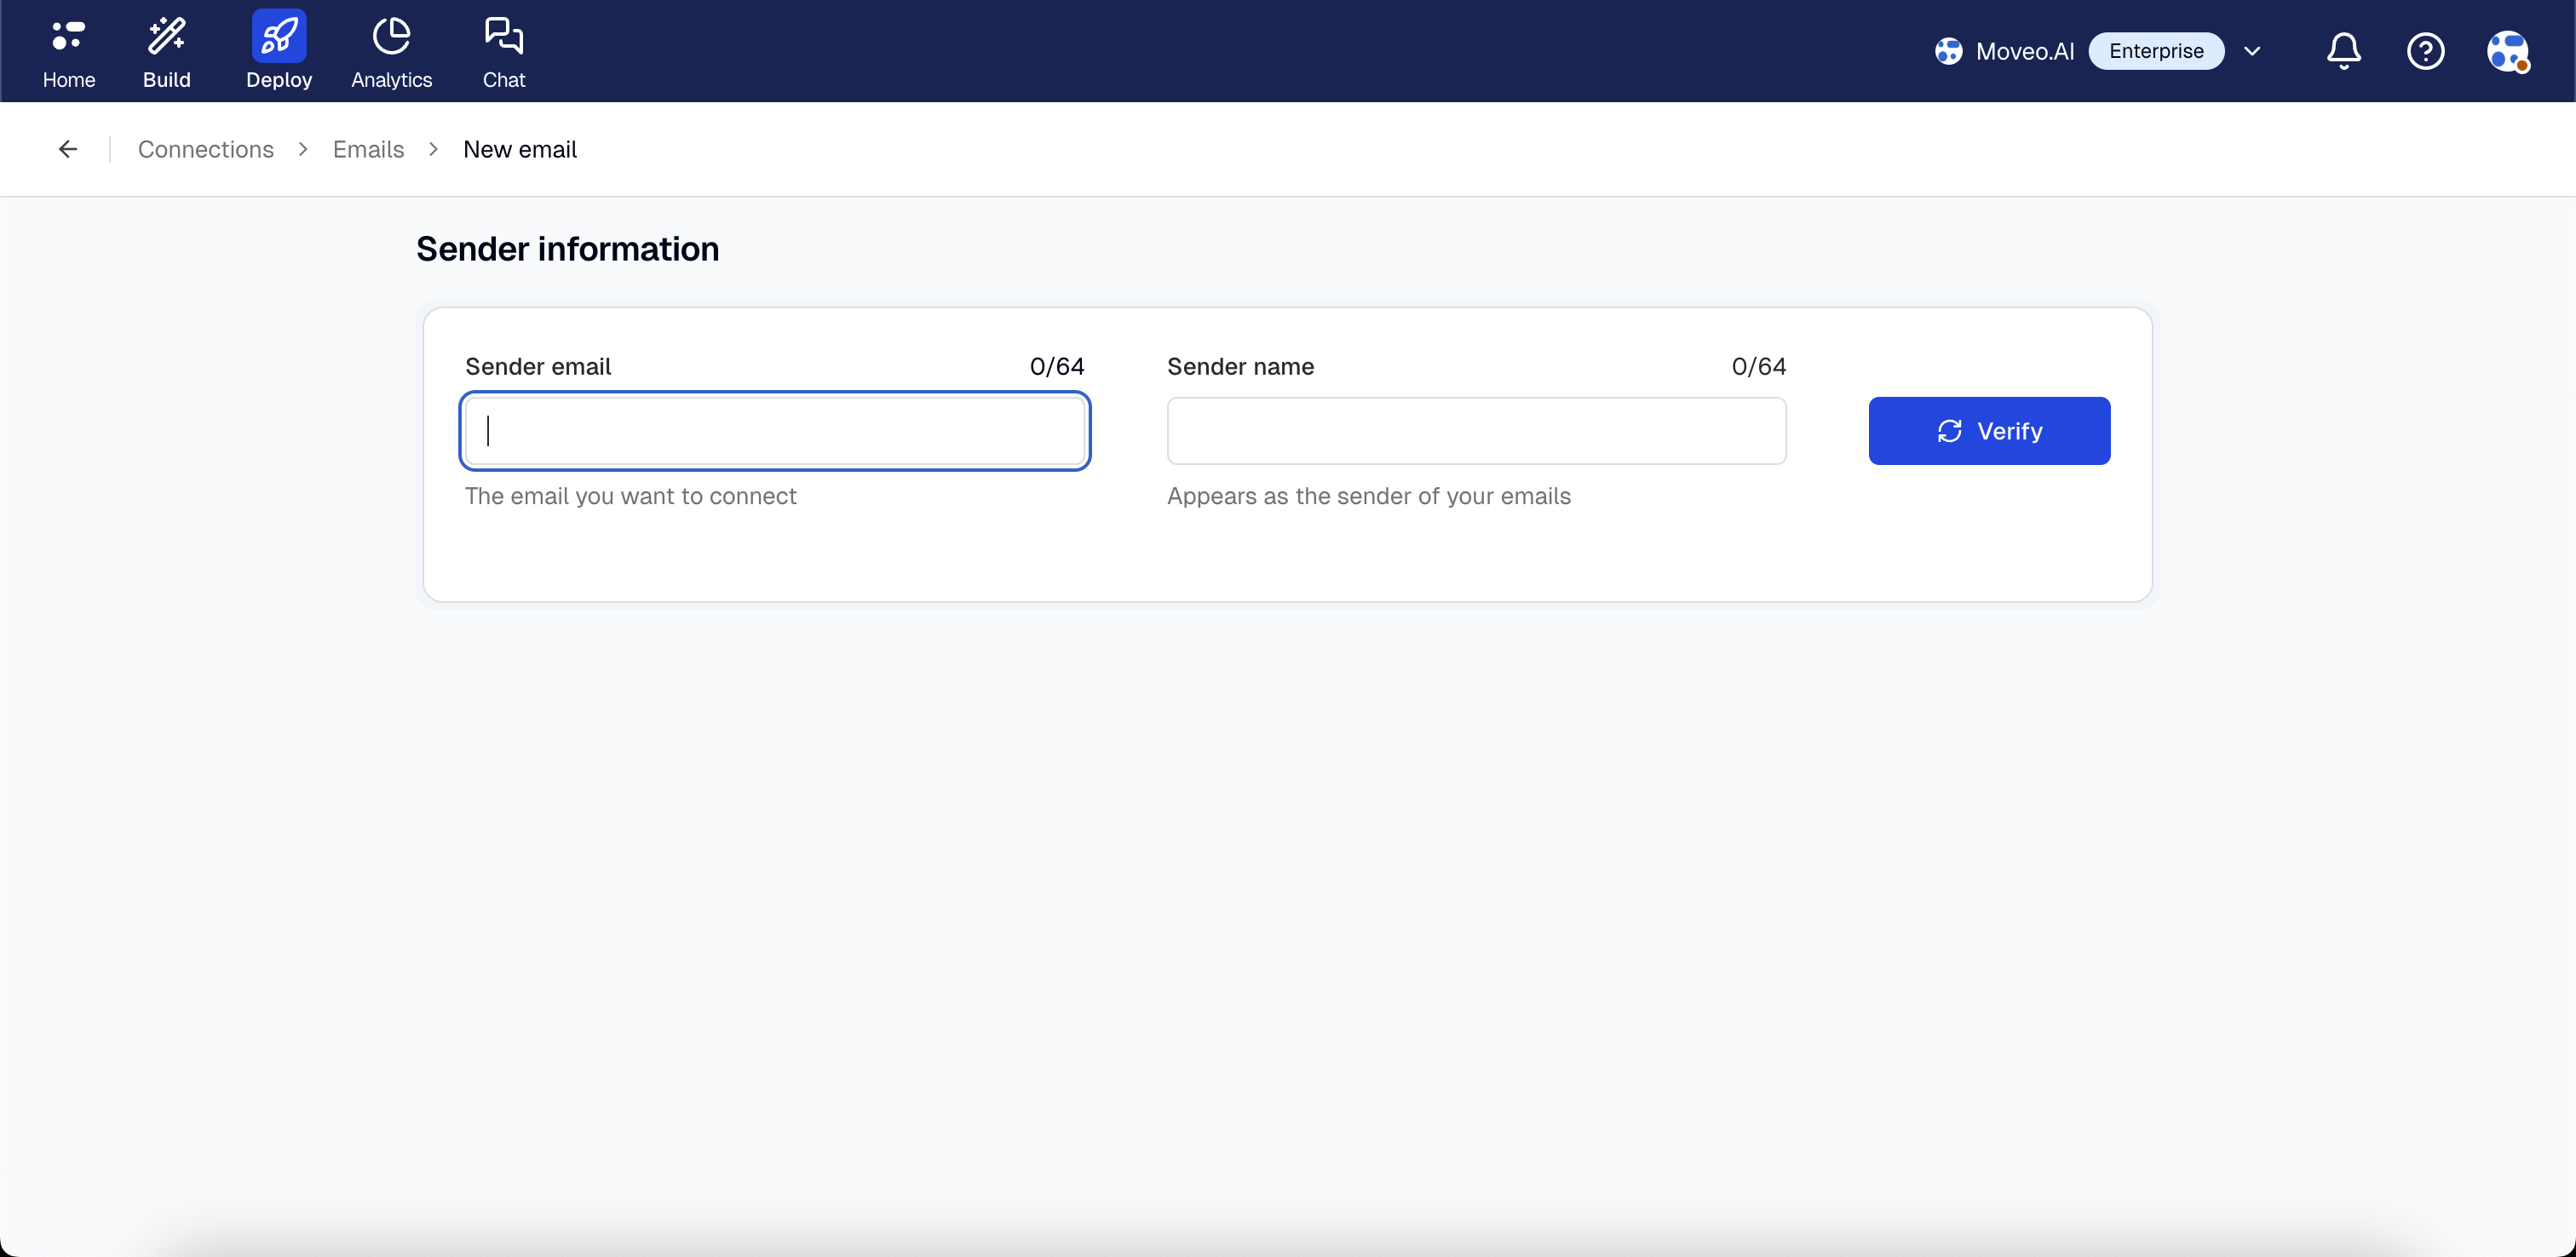
Step 2: Enter Sender information
- In the Sender information form, enter the following:
- Sender email: The email address you want to use for your AI Agent (e.g.,
support@yourdomain.com). - Sender name: The display name that will appear as the sender of your emails (e.g., "Support Team" or "AI Assistant").
- Sender email: The email address you want to use for your AI Agent (e.g.,
- Click Verify to proceed.
Step 3: Complete DNS configuration
To send emails on behalf of your domain, you must complete the DNS configuration. This step is required for the integration to work. Follow the instructions in the DNS configuration section below.
Step 4: Configure email forwarding
To receive inbound emails, you must set up email forwarding from your email service to Moveo. This step is required for the integration to work. Follow the instructions in the Forward your emails to Moveo.ai section below.
DNS configuration
This DNS configuration is required to allow Moveo to send emails on behalf of your domain. Without these records, email replies from your AI Agent cannot be delivered.
To enable Moveo to send emails from your domain, you need to configure DNS records that authorize and authenticate Moveo as a sender.
Step 1: Get DNS configuration details
- After entering your sender information and clicking Verify, you will see the DNS status section.
- The DNS status section shows all required CNAME records with their verification status.
- For each record, you can copy the Host and Value fields using the copy icons next to each field.
- These values will be used to configure DNS records in your domain provider.
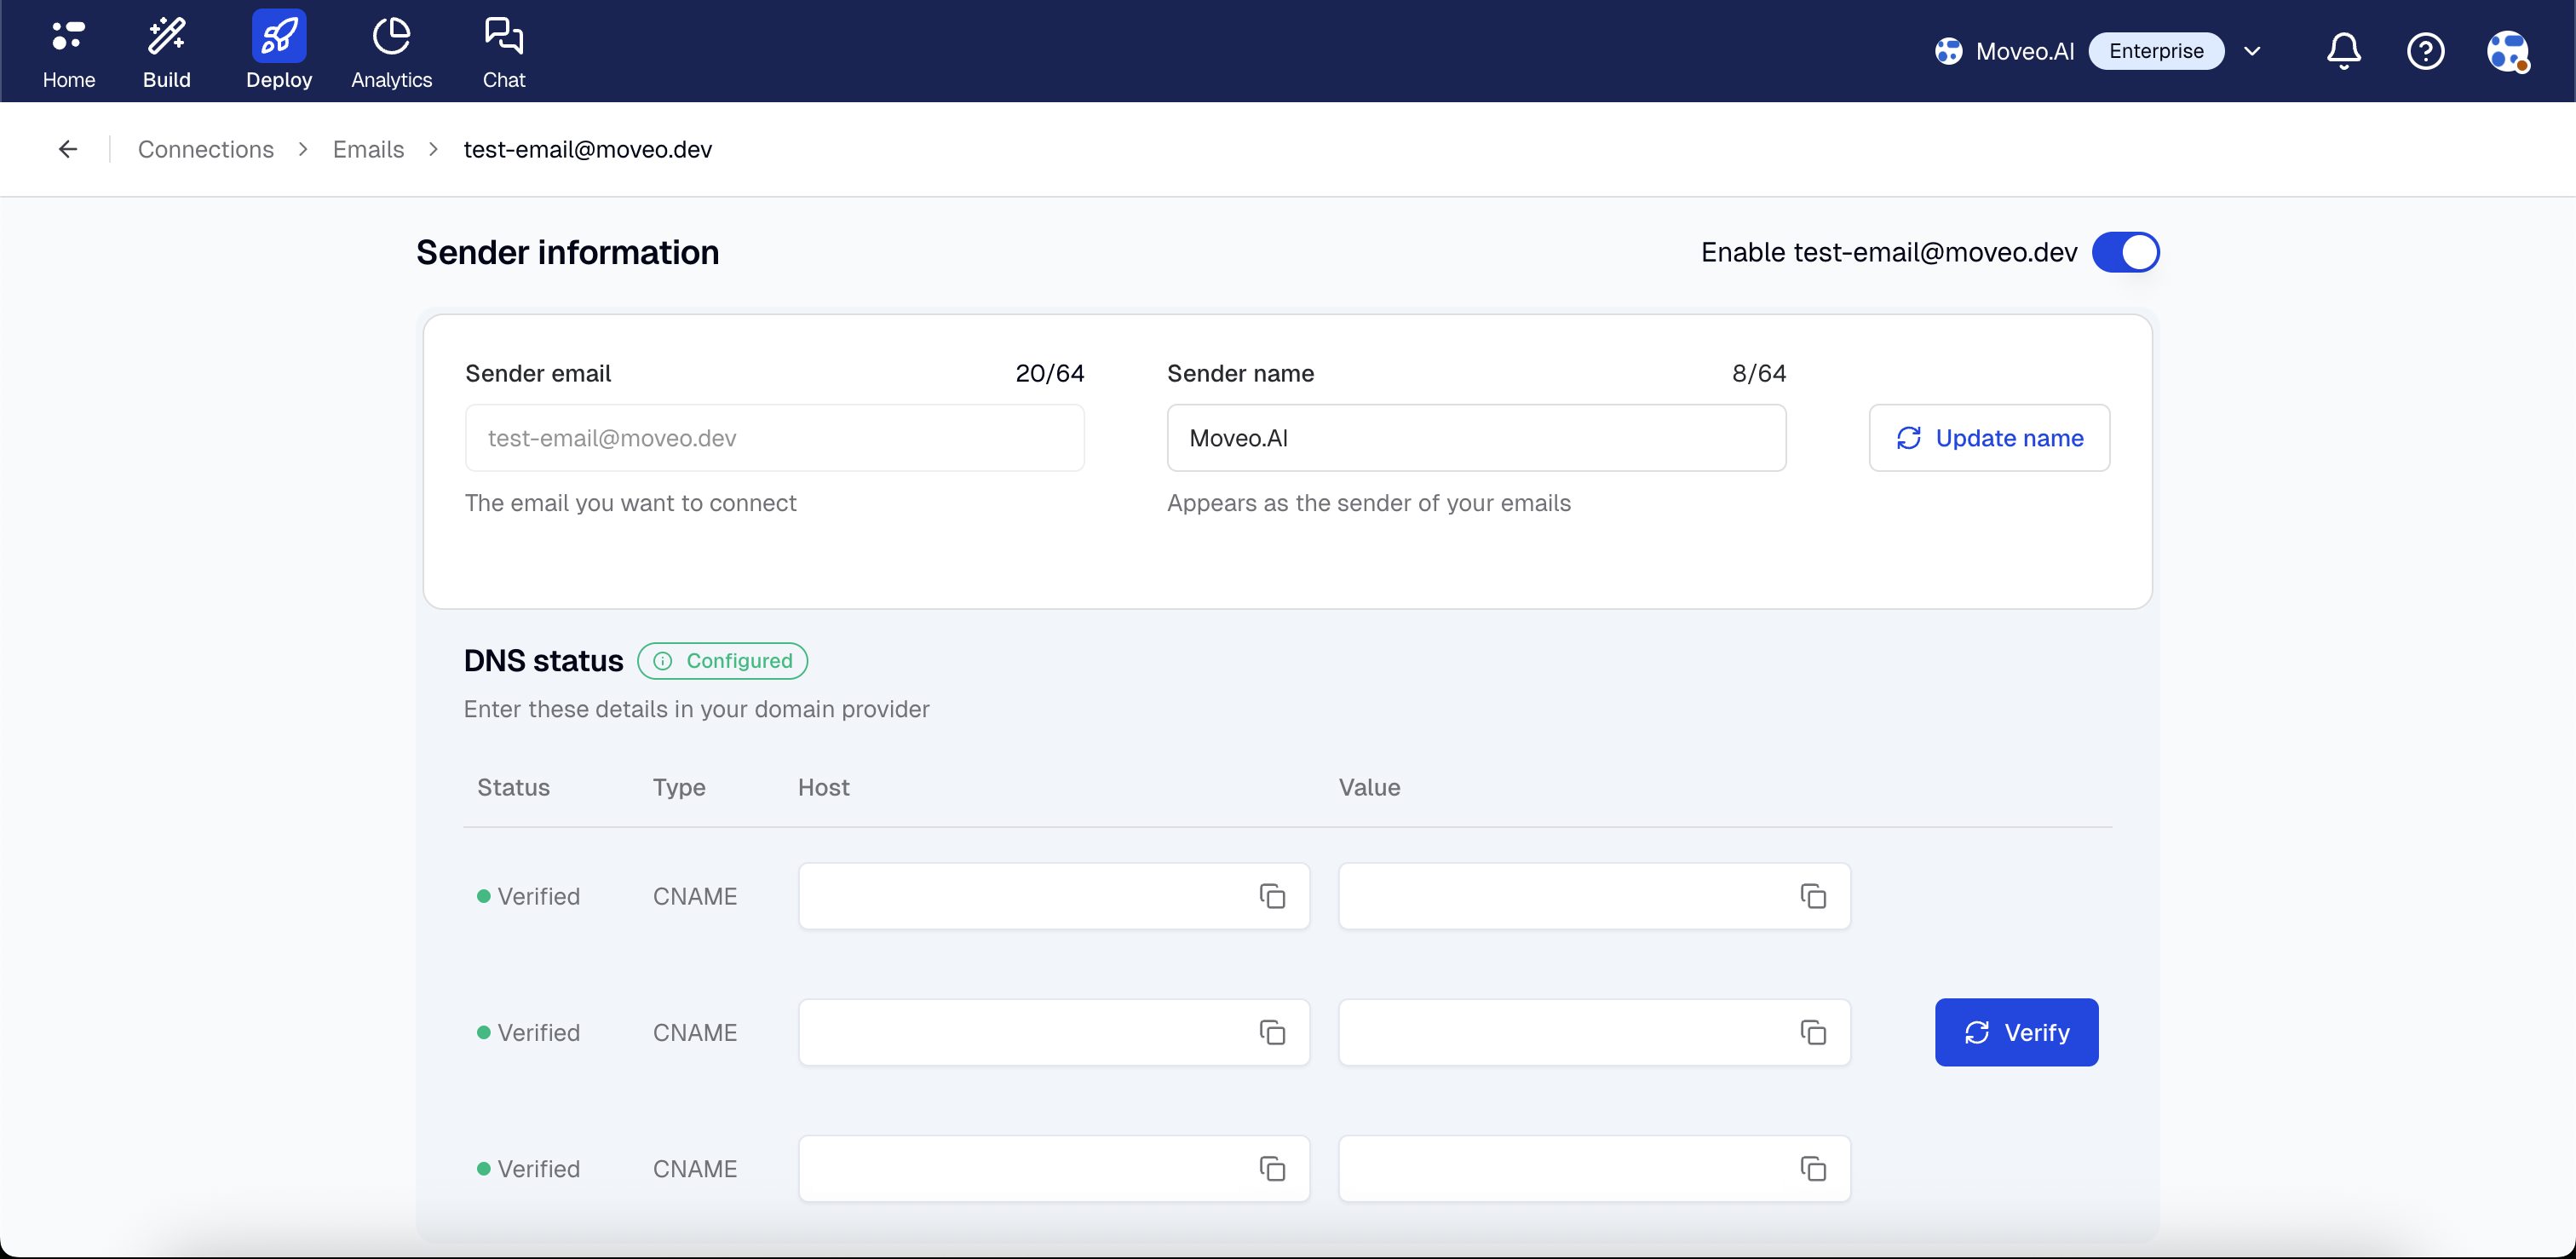
Step 2: Add CNAME records
CNAME records are required for domain verification and tracking.
-
In the DNS Configuration section, you will see three CNAME records provided by Moveo.
-
For each CNAME record:
-
Log in to your domain registrar or DNS provider
-
Navigate to DNS management for your domain
-
Add a new CNAME record with the following:
Type: CNAME
Name/Host: The subdomain provided by Moveo (e.g.,
em1234,s1._domainkey, etc.)Value/Target: The target hostname provided by Moveo
TTL:
3600(or default)
-
-
CNAME records are required for domain verification and must be added before other records can be verified.
CNAME records point to subdomains (like em1234.yourdomain.com). Make sure you're adding these as subdomain records, not root domain records. Some DNS providers require you to enter just the subdomain prefix in the Name/Host field.
Step 3: Add DMARC record (Optional but recommended)
DMARC (Domain-based Message Authentication, Reporting, and Conformance) helps protect your domain from email spoofing. If you already have a DMARC entry configured you can skip this step.
- Create a new TXT record.
- Name/Host:
_dmarc. - Value:
v=DMARC1; p=none;. - TTL:
3600.
Step 4: Verify DNS configuration
-
Return to Moveo's Email integration page.
-
Click Verify to check the status of your DNS records.
-
Moveo will check each record and show whether each is verified or unverified:
Verified: DNS record is correctly configured and verified.
Unverified: DNS record is not found or incorrectly configured.
DNS changes can take anywhere from a few minutes to 48 hours to propagate globally.
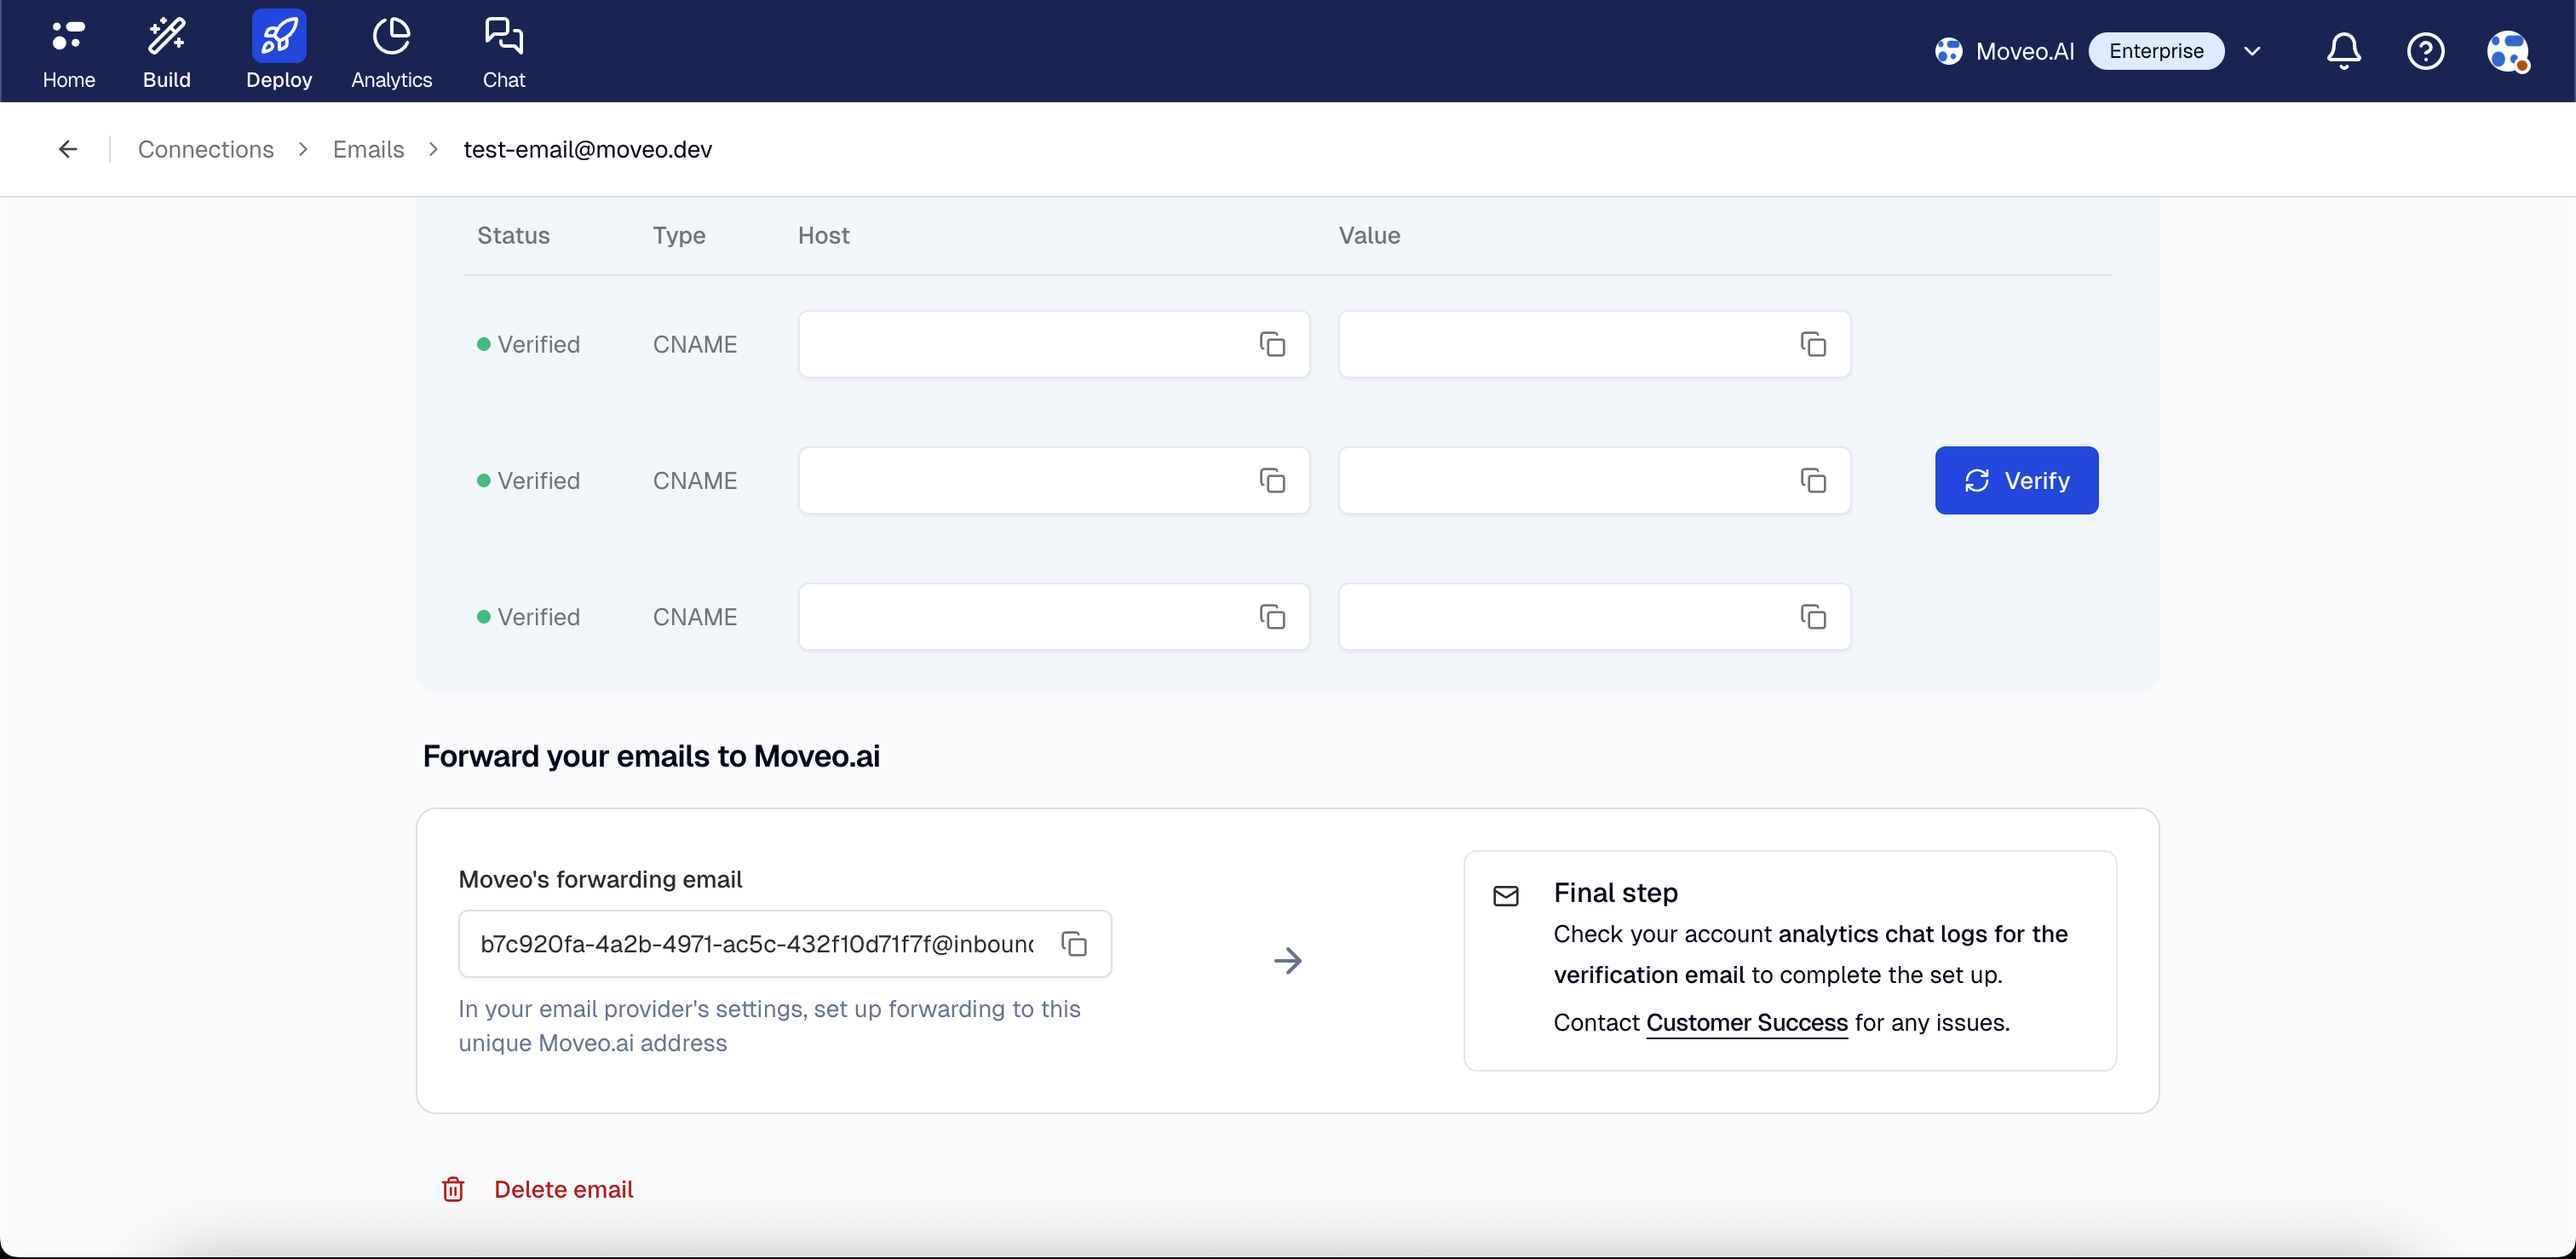
Forward your emails to Moveo.ai
Required step: Email forwarding is required to enable Moveo to receive inbound emails. You must configure forwarding from your email service to Moveo's email processing system.
Email forwarding routes incoming emails from your configured email address to Moveo's AI Agent processing system. This setup works with any email service (Google Workspace, Microsoft 365, custom mail servers, etc.) and allows you to keep your existing email infrastructure while enabling AI Agent responses.
Step 1: Configure forwarding in your email provider
Consult your email provider's documentation for setting up forwarding rules. The general process is:
- Find forwarding or mail routing settings.
- Create a rule that forwards emails to Moveo.
- Forward to the address provided in Moveo's integration configuration.
- If your email provider sends a verification email, this will be forwarded to Moveo and can be viewed in your analytics logs.
Step 2: Verify forwarding in Moveo
- Send a test email to your configured address.
- Verify the email appears in Moveo's analytics within a few minutes.
Some email providers (like Google Workspace or Microsoft 365) may send a verification email to the forwarding address when you set up email forwarding. This verification email will be forwarded to Moveo. You can view this verification email in your analytics logs.
Troubleshooting
DNS records not verifying
Symptoms: DNS verification is unverified after configuring DNS provider
Solutions:
- Wait 24–48 hours for DNS propagation.
- Check for typos in record values (case-sensitive).
- Ensure you're using the exact values from Moveo (no extra spaces).
- Check if your DNS provider requires a trailing dot (.) in hostnames.
Email forwarding not working
Symptoms: Inbound emails not reaching Moveo, forwarding rule not triggering
Solutions:
- Verify forwarding rule is active and correctly configured in your email provider.
- Test forwarding by sending a test email and checking if it reaches Moveo.
- Check email provider logs for forwarding errors.
- Ensure forwarding address from Moveo is correct (no typos).
- Verify the email address matches exactly between forwarding rule and Moveo configuration.
- Review email provider's forwarding limits or restrictions.
- Check spam filters aren't blocking forwarded emails.
- If your email provider sent a verification email, check your analytics logs as it may have been forwarded automatically.
Emails going to spam
Conversation threads breaking
Symptoms: Each email appears as a new conversation instead of continuing existing threads
Solutions:
- Check if email client is preserving threading headers.
- Test with different email clients (Gmail, Outlook, etc.).
- Contact Moveo support at
support@moveo.aiif threading issues persist.
Limitations
Email platform restrictions
- Message size: Standard email size limits apply (typically 30 MB including attachments).
- File attachments: Supported, but large attachments may affect delivery speed.
- Email format: Supports HTML and plain text emails.
Integration constraints
- One email address per integration: Each integration handles one email address.
- Thread management: Requires proper email client support for threading.
- DNS propagation: Initial setup requires waiting for DNS propagation (up to 48 hours).
- Domain verification: Domain must be verified before emails can be sent.
Best practices
Email setup
- Use a dedicated email address for your AI Agent (e.g.,
support@yourdomain.com,help@yourdomain.com). - Configure the DMARC record (optional but recommended) for best deliverability.
- Test email delivery thoroughly before going live.
- Monitor email deliverability metrics regularly.
Compliance
- Monitor for unauthorized email sending.
- Follow email best practices and anti-spam guidelines.
- Protect your domain's sender reputation.
Next steps
Once your email integration is active:
- Test thoroughly by sending test emails from different addresses.
- Monitor initial conversations to ensure proper threading and responses.
- Optimize AI Agent responses for email format and clarity.